No Churn Ice Cream
on Jun 24, 2022, Updated Dec 22, 2023
This post may contain affiliate links. Please read our disclosure policy.
How to make rich, creamy, ice cream without an ice cream maker!

No ice cream maker? No problem! Ice cream makers are great. But maybe it’s not a purchase you’ve felt worth your while. They do take up real estate in your kitchen and usually your freezer (the inner container often has to be frozen for the appliance to do its job). But hooray, and lucky for us — we can get to homemade ice cream with just a food processor and your freezer (and a pot and a zipper-top plastic bag, which I am confident that you own).
And the sky’s the limit when it comes to flavorings. The recipe below is for vanilla bean ice cream, but you can mix in crushed cookies, candy bars, butterscotch sauce, melted caramel, pretzels, whatever you want. The ice cream is naturally gluten-free, so if that’s something you need to pay attention to, make sure any add-ins are gluten-free as well. Really, there are no rules, just lots of no ice cream maker ice cream possibilities.
By signing up, you agree to our Privacy Policy.
No Churn Vanilla Ice Cream
This no-churn ice cream is quite smooth and softens easily (no stabilizers! All natural!), so be ready to dig in when you take it from the freezer. You can make the base weeks ahead of time if you like so that it’s ready to whir up when you have a craving for homemade ice cream.
How to Make Homemade Vanilla Ice Cream Without an Ice Cream Maker
Place the cream, milk, sugar, and salt in a medium saucepan. Slice the vanilla bean in half down the length of the bean, and use a knife to scrap out the tiny black seeds in the center of the pod. Add the seeds to the pot, and reserve the outer part of the bean. Heat the cream mixture over medium-low heat, stirring frequently, until the sugar is dissolved, 4 to 5 minutes.
Meanwhile, place the egg yolks in a medium-sized bowl and whisk until blended. When the sugar has dissolved, slowly pour about 1 cup of the milk mixture into the bowl with the yolks, whisking constantly as you pour. As soon as the mixture is well blended and smooth, return the pot to the stove over low heat, and slowly pour the warmed yolk mixture back into the pot, whisking constantly. Cook, whisking frequently, for another 4 to 5 minutes until the mixture is thick enough to coat the back of a spoon. Remove from the heat, add the reserved vanilla bean halves, and cool to room temperature.
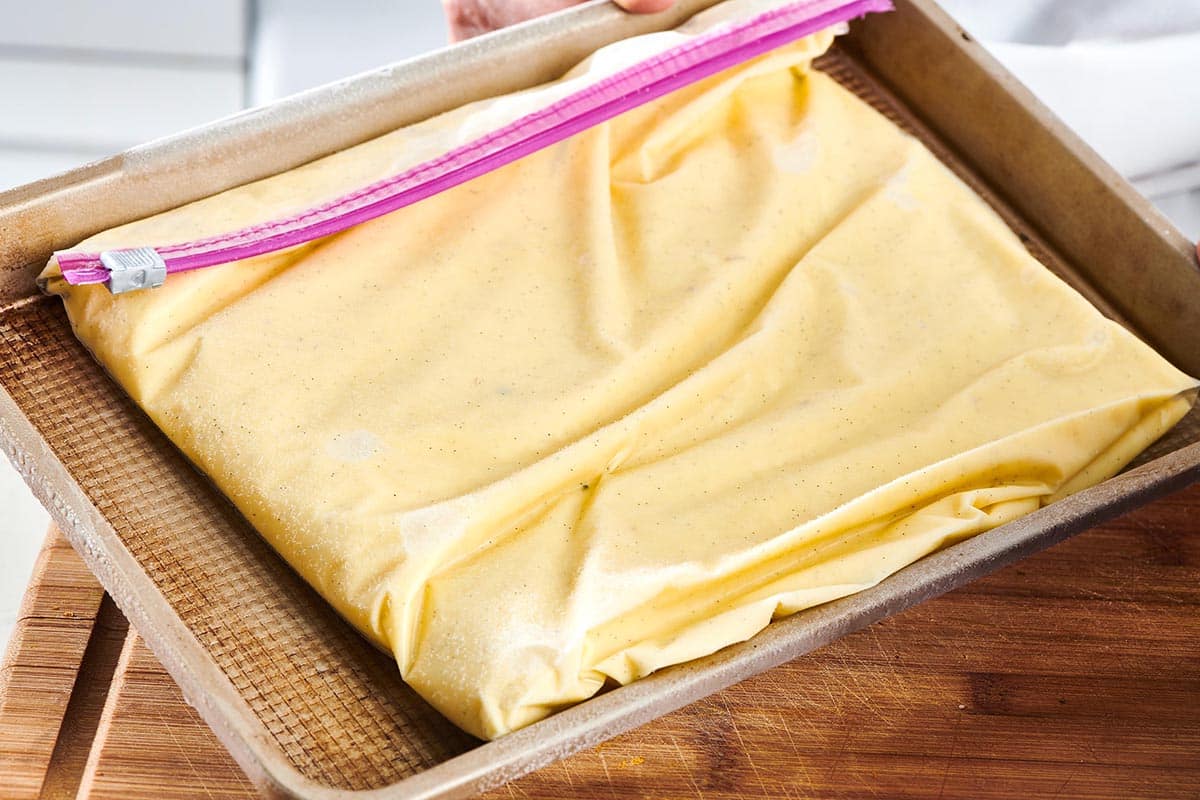
When cool, remove the two halves of the vanilla bean. Transfer the ice cream mixture to a gallon-sized freezer-proof zipper-top bag. Make sure all of the air is pressed out, and lay the bag on a baking sheet or other tray surface so that the ice cream base lays in the bag in a flat, thin layer. Place the bag flat in the freezer and freeze until solid, at least 6 hours.
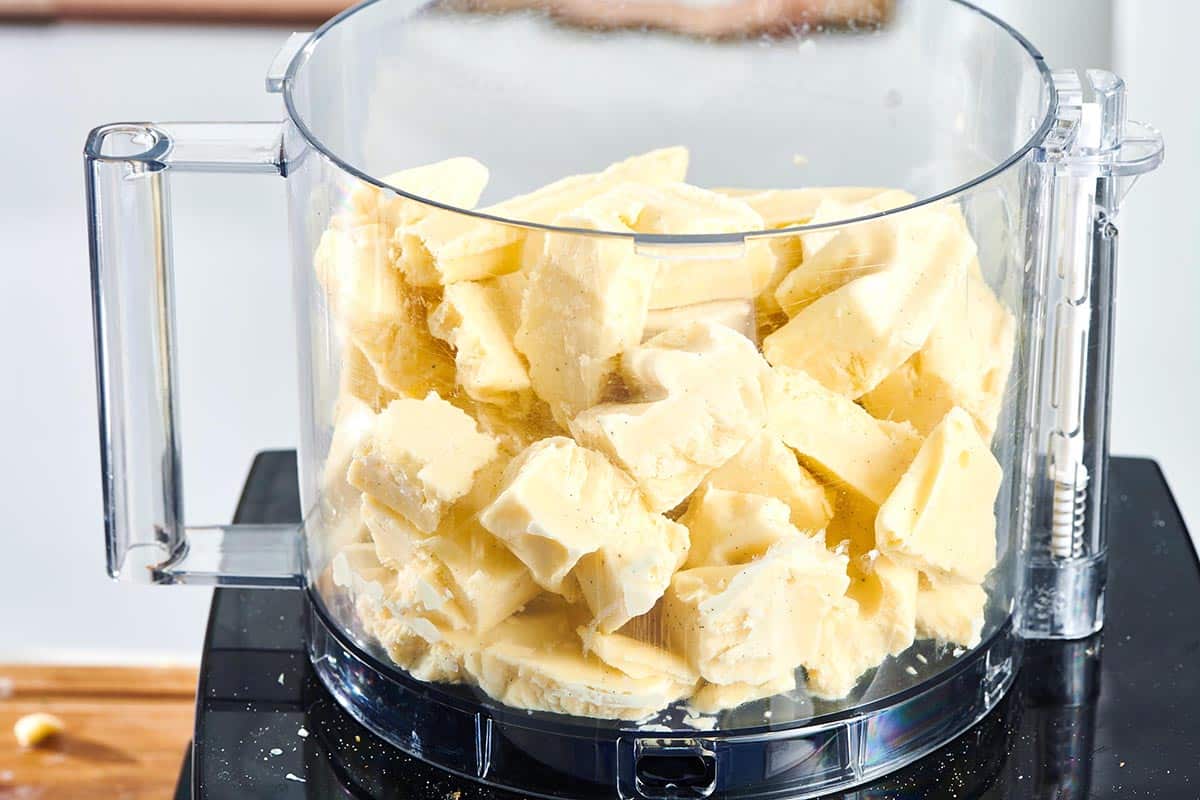
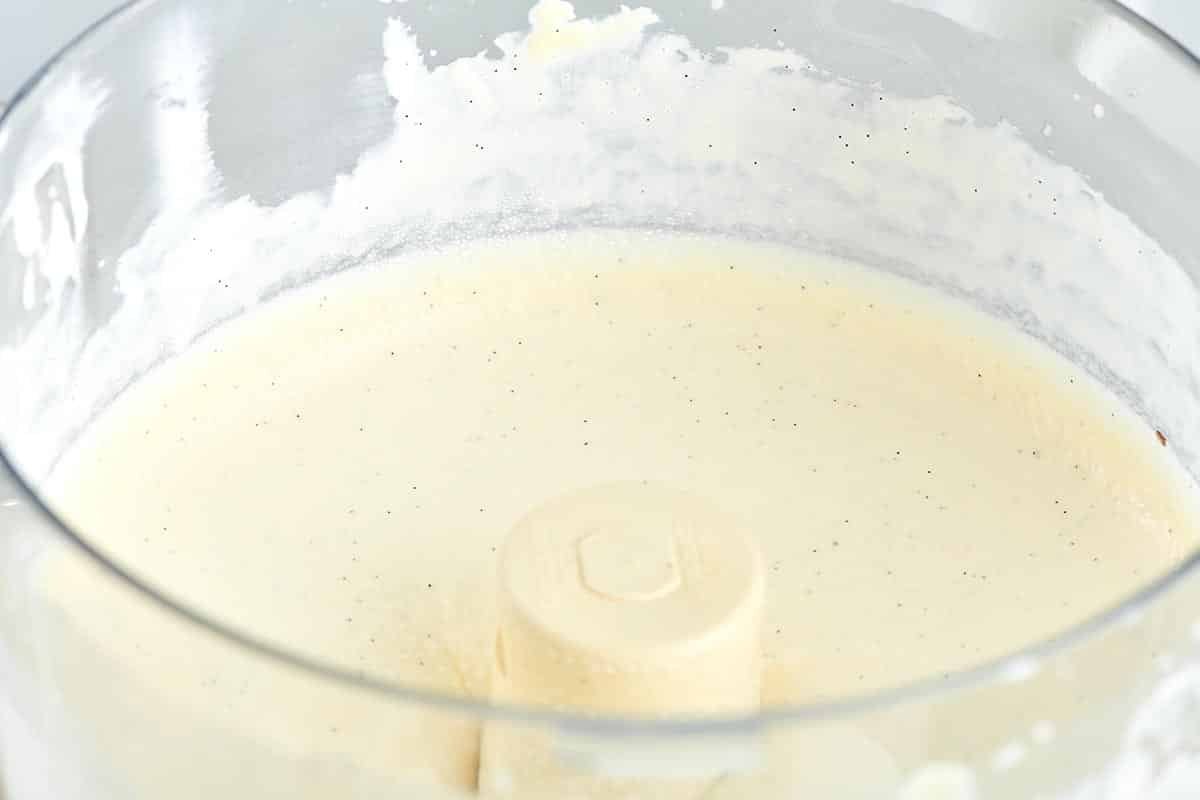
Set up the food processor with the metal blade. Break the frozen ice cream mixture slab into small pieces and add them to the food processor.
Process until smooth. It will look grainy at first and then become creamy. You may need to let it sit for a few minutes for the ice cream to soften enough to puree.
At this point, you can pulse in some small items like candies or chunks of cookies. Or simply transfer to a container with a lid and freeze until ready to eat.
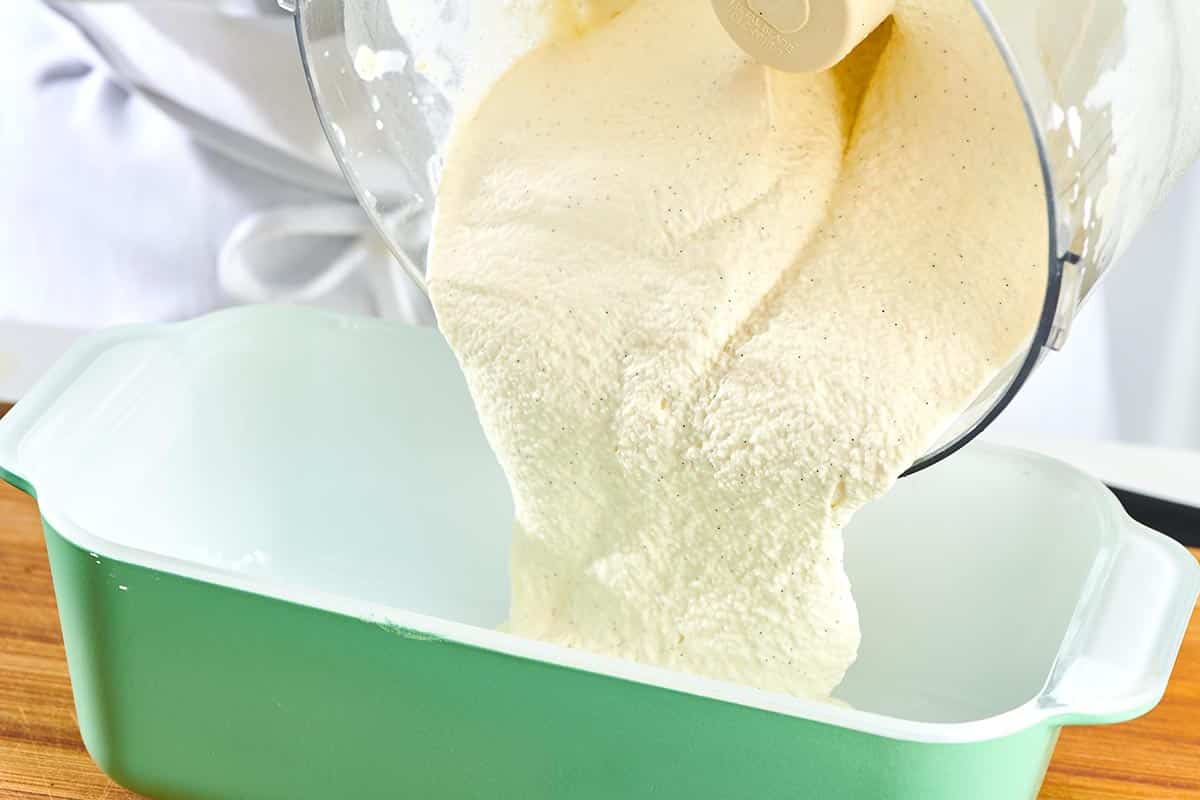
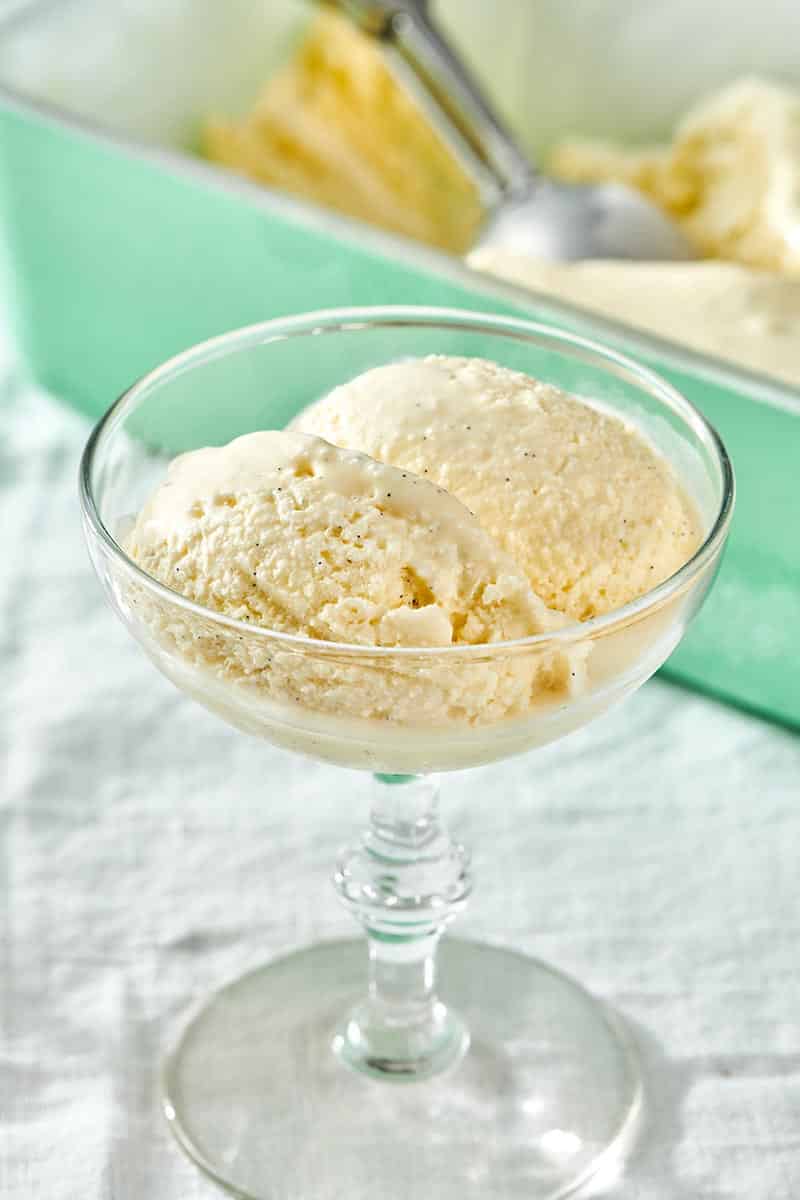
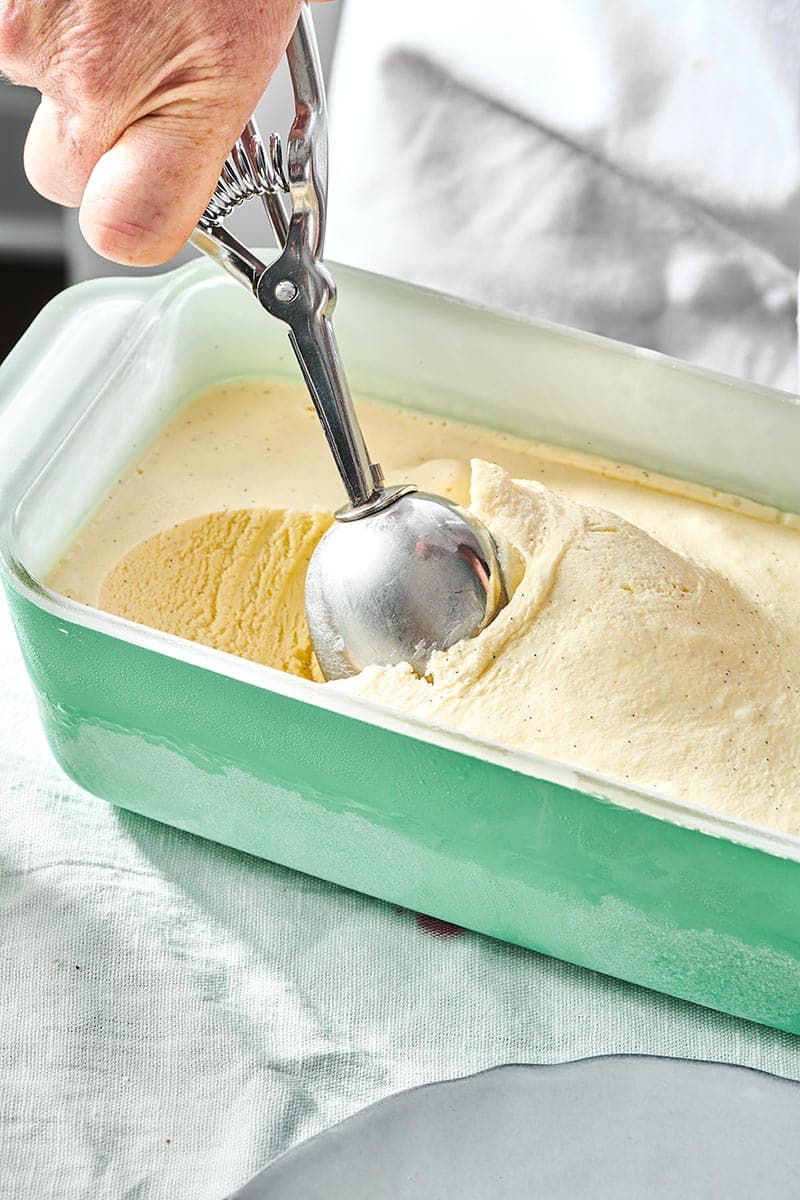
Freeze for at least 2 hours until it firms back up again. Serve this no-churn ice cream with whatever sauce you like (or sprinkles or other toppings).

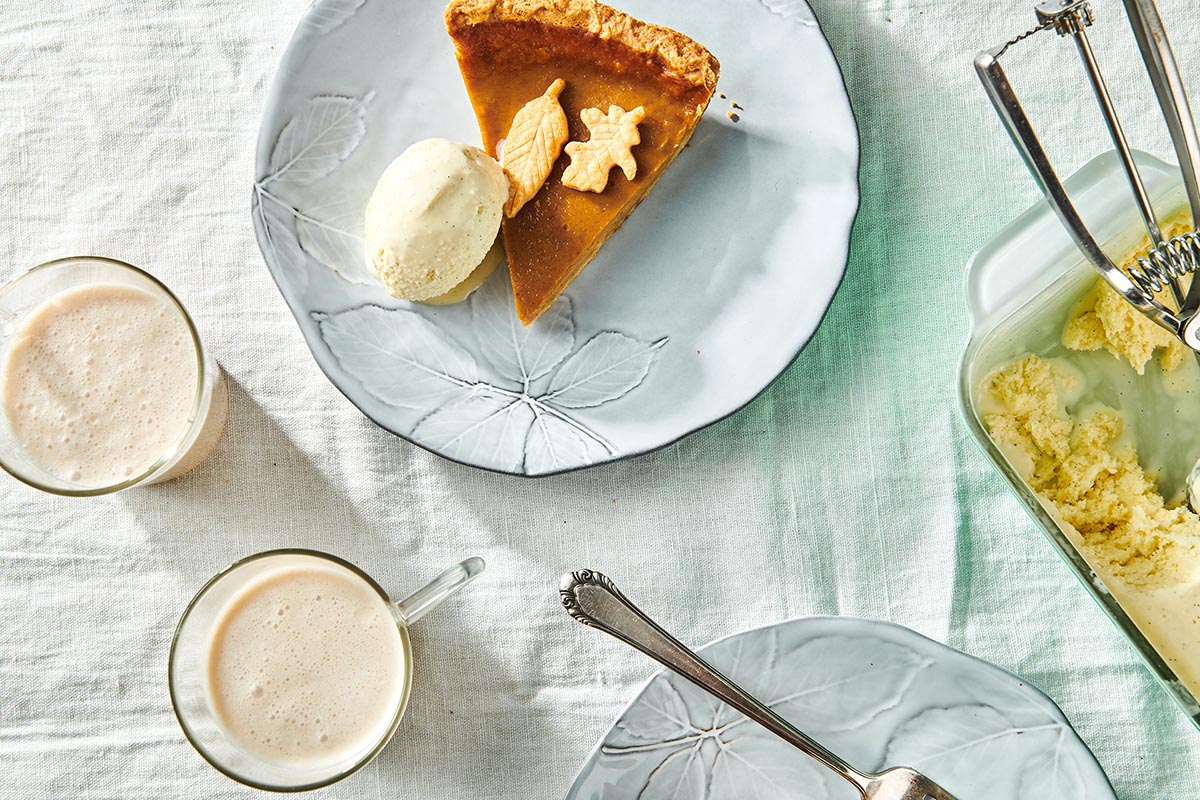
What to Serve with No Churn Ice Cream:
- Easy Pumpkin Pie
- Best Apple Streusel Pie
- Plum and Nectarine Crisp
- Fudgy Chocolate Cake
- Easy Apple Crisp
- Hot Fudge Sauce
- Caramel Sauce
- Strawberry Topping
Other Summer Dessert Recipes:
- Atlantic Beach Pie
- Ice Cream Sandwiches
- Chocolate Peanut Butter Ice Cream Pie
- Old Fashioned Berry Cobbler
Pin this now to find it later
Pin It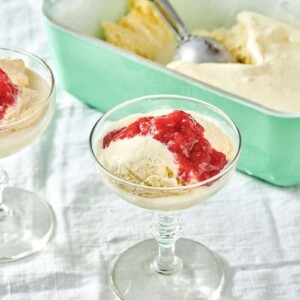
No Churn Ice Cream
Equipment
Ingredients
- 2 cups heavy cream
- 1 cup whole milk
- ⅓ cup sugar
- ½ teaspoon kosher salt
- 1 whole vanilla bean
- 6 large egg yolks
- ½ cup softened fudge sauce or strawberry sauce (optional)
Instructions
- Place the cream, milk, sugar and salt in a medium saucepan. Slice the vanilla bean in half down the length of the bean, and use a knife to scrap out the tiny black seeds in the center of the pod. Add the seeds to the pot, and reserve the outer part of the bean.
- Heat the cream mixture over medium low heat, stirring frequently, until the sugar is dissolved, 4 to 5 minutes. Meanwhile, place the egg yolks in a medium sized bowl and whisk until blended. When the sugar has dissolved in the cream mixture, slowly pour about 1 cup of the mixture into the bowl with the yolks, whisking constantly as you pour to make sure the mixture blends without the eggs starting to scramble. As soon as the mixture is well blended and smooth, return the pot to the stove over low heat, and slowly pour the warmed yolk mixture back into the pot, again whisking all the while. Use a rubber spatula to get every bit back into the pot. Cook, whisking very frequently, for another 4 to 5 minutes until the mixture is thick enough to coat the back of a spoon. Remove from the heat, add the reserved vanilla bean halves, and cool to room temperature.
- When cool, remove the two halves of the vanilla bean. Transfer the ice cream mixture to a gallon-sized freezer-proof zipper top bag. Make sure all of the air is pressed out, and lay the bag on a baking sheet or other tray surface so that the ice cream base lays in the bag in a flat thin layer. Place the bag flat in the freezer and freeze until solid, at least 6 hours.
- Set up the food processor with the metal blade. Break the frozen ice cream mixture slab into small pieces and add them to the food processor. Process until smooth. It will look grainy at first, and then become creamy. You may need to let it sit for a few minutes for the ice cream to soften enough to puree.
- At this point you can pulse in some small items like candies or chunks of cookies. Or simply transfer to a container with a lid and freeze until ready to eat. Or transfer it to a container, and then swirl in some softened fudge sauce. Freeze for at least 2 hours until it firms back up again. Serve with whatever sauce you like (or sprinkles or other toppings).