Homemade Chicken Tenders
on Oct 03, 2021, Updated Jul 19, 2023
This post may contain affiliate links. Please read our disclosure policy.
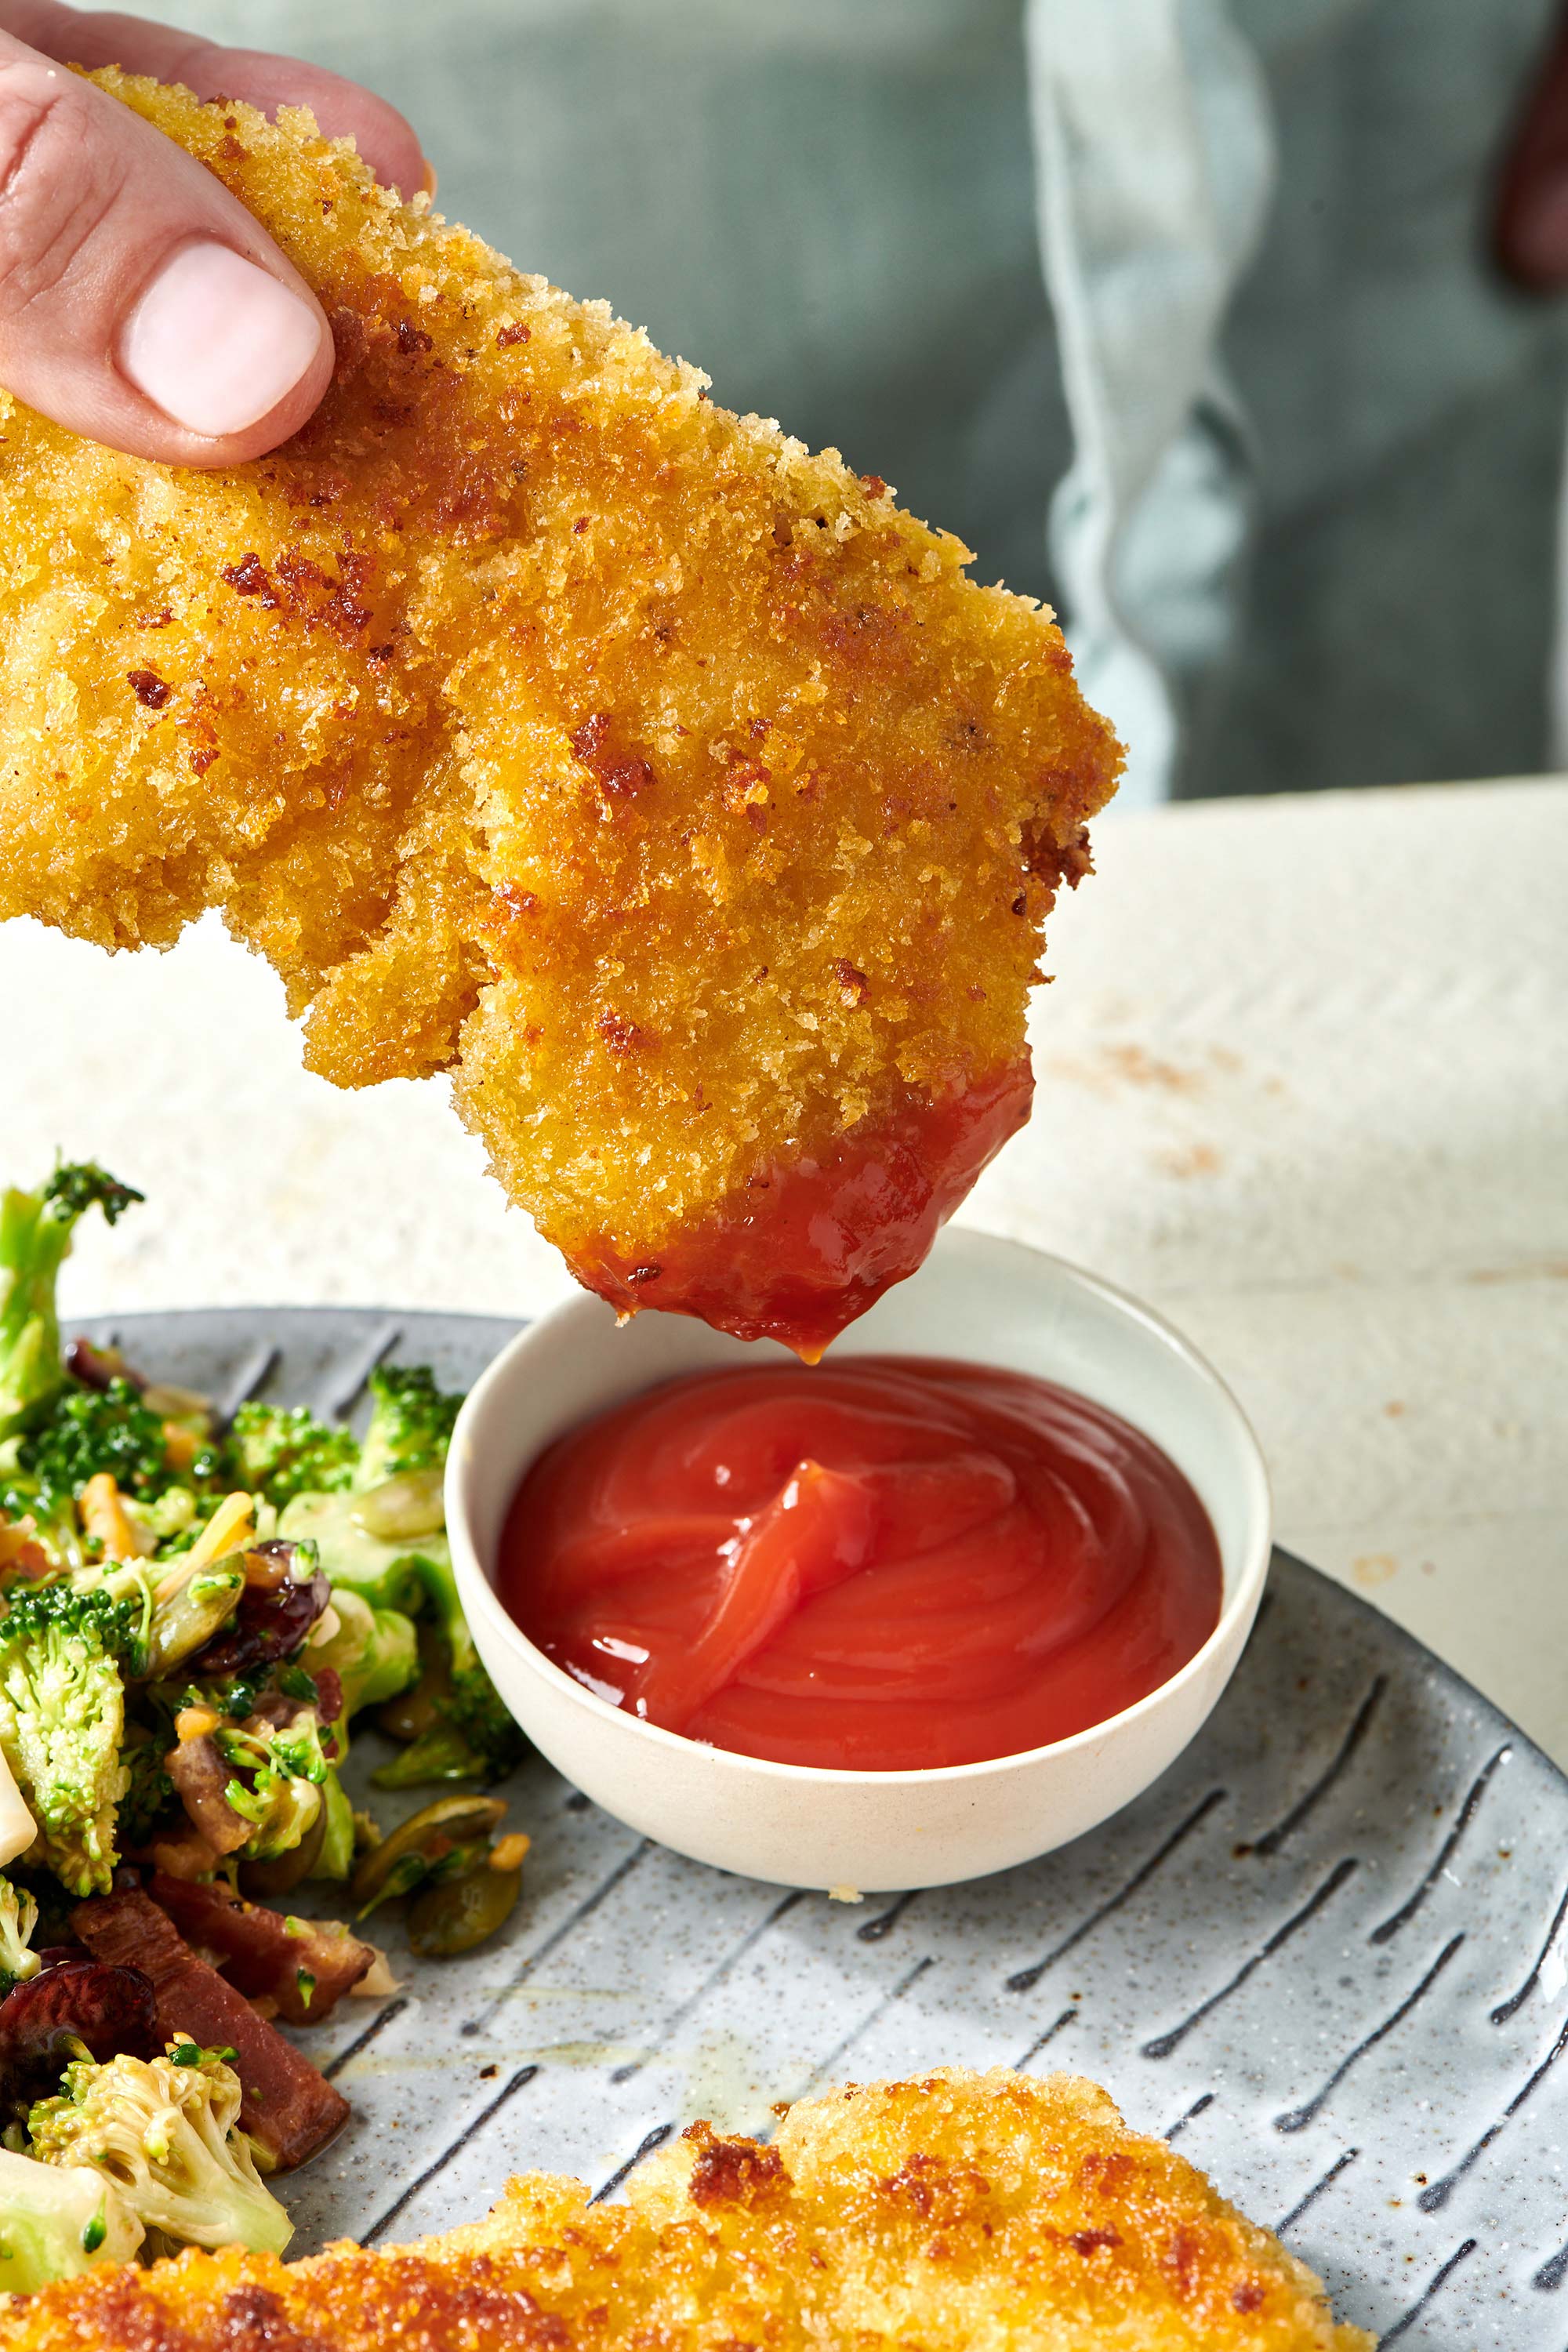
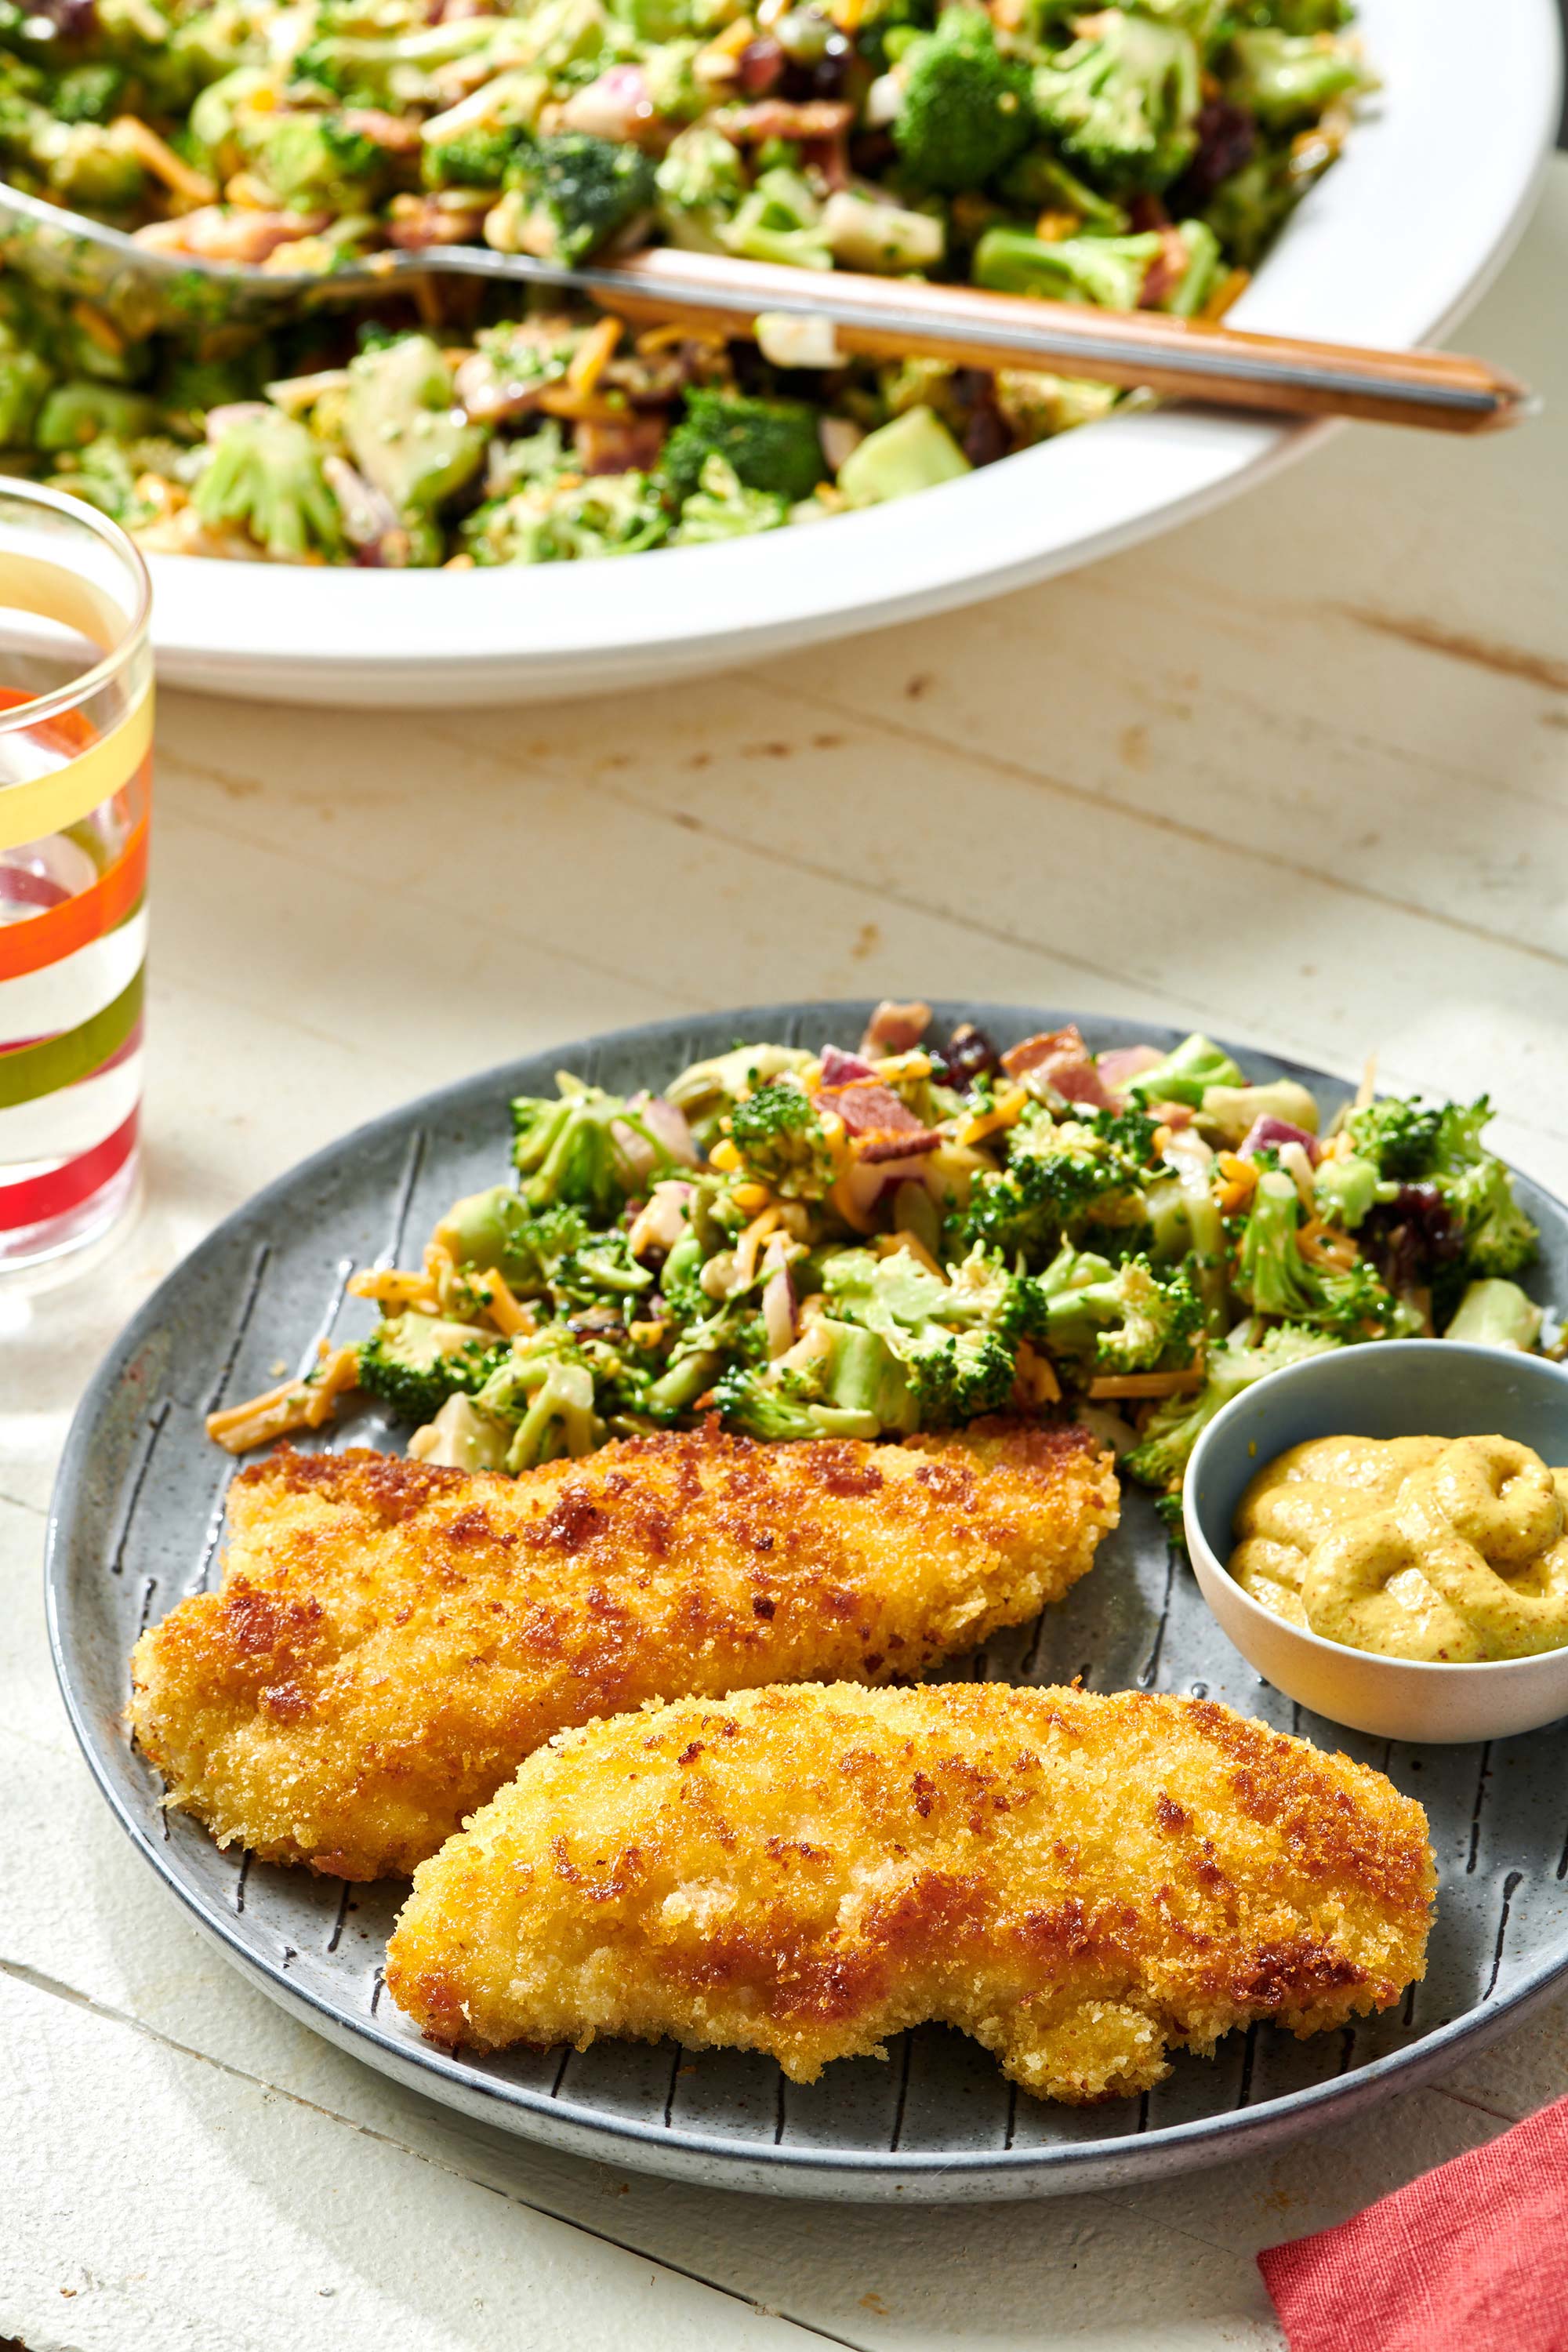
Crispy and juicy, made with real white-meat chicken, these chicken tenders aren't just for the kids!
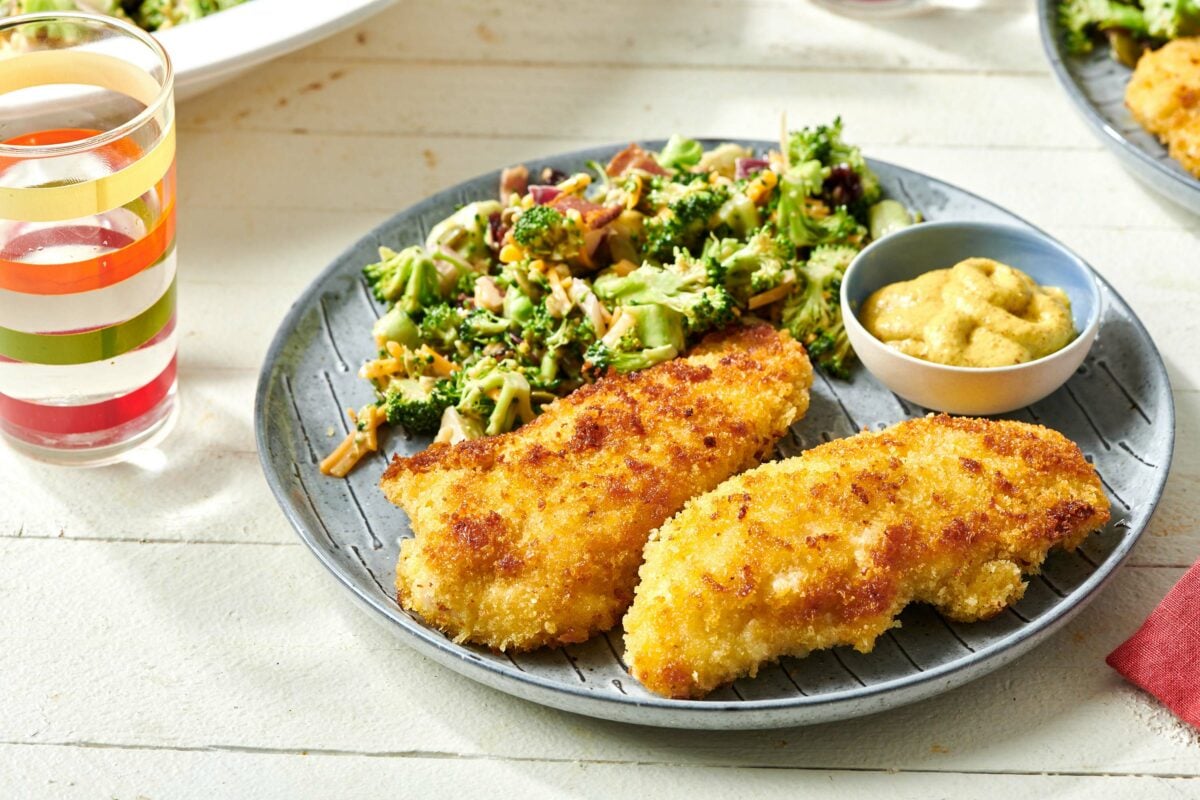
These are the chicken tenders you wish you and your kids could always be eating, made from real white meat chicken, lightly breaded, crispy and crunchy. No fillers, nothing ground up, just delicious pan-crisped strips of chicken ready to be dunked in the condiment of your choice (or not!). Also great on top of a salad!
If you have kids, you are probably no stranger to chicken nuggets. Fried chicken nuggets (or tenders, or fingers, or strips) are like a running theme song in the lives of families with younger kids. And let’s be honest…when they are good, they’re good! But sometimes, you might feel a bit baffled by the mystery mixture inside those little golden chunks.
By signing up, you agree to our Privacy Policy.
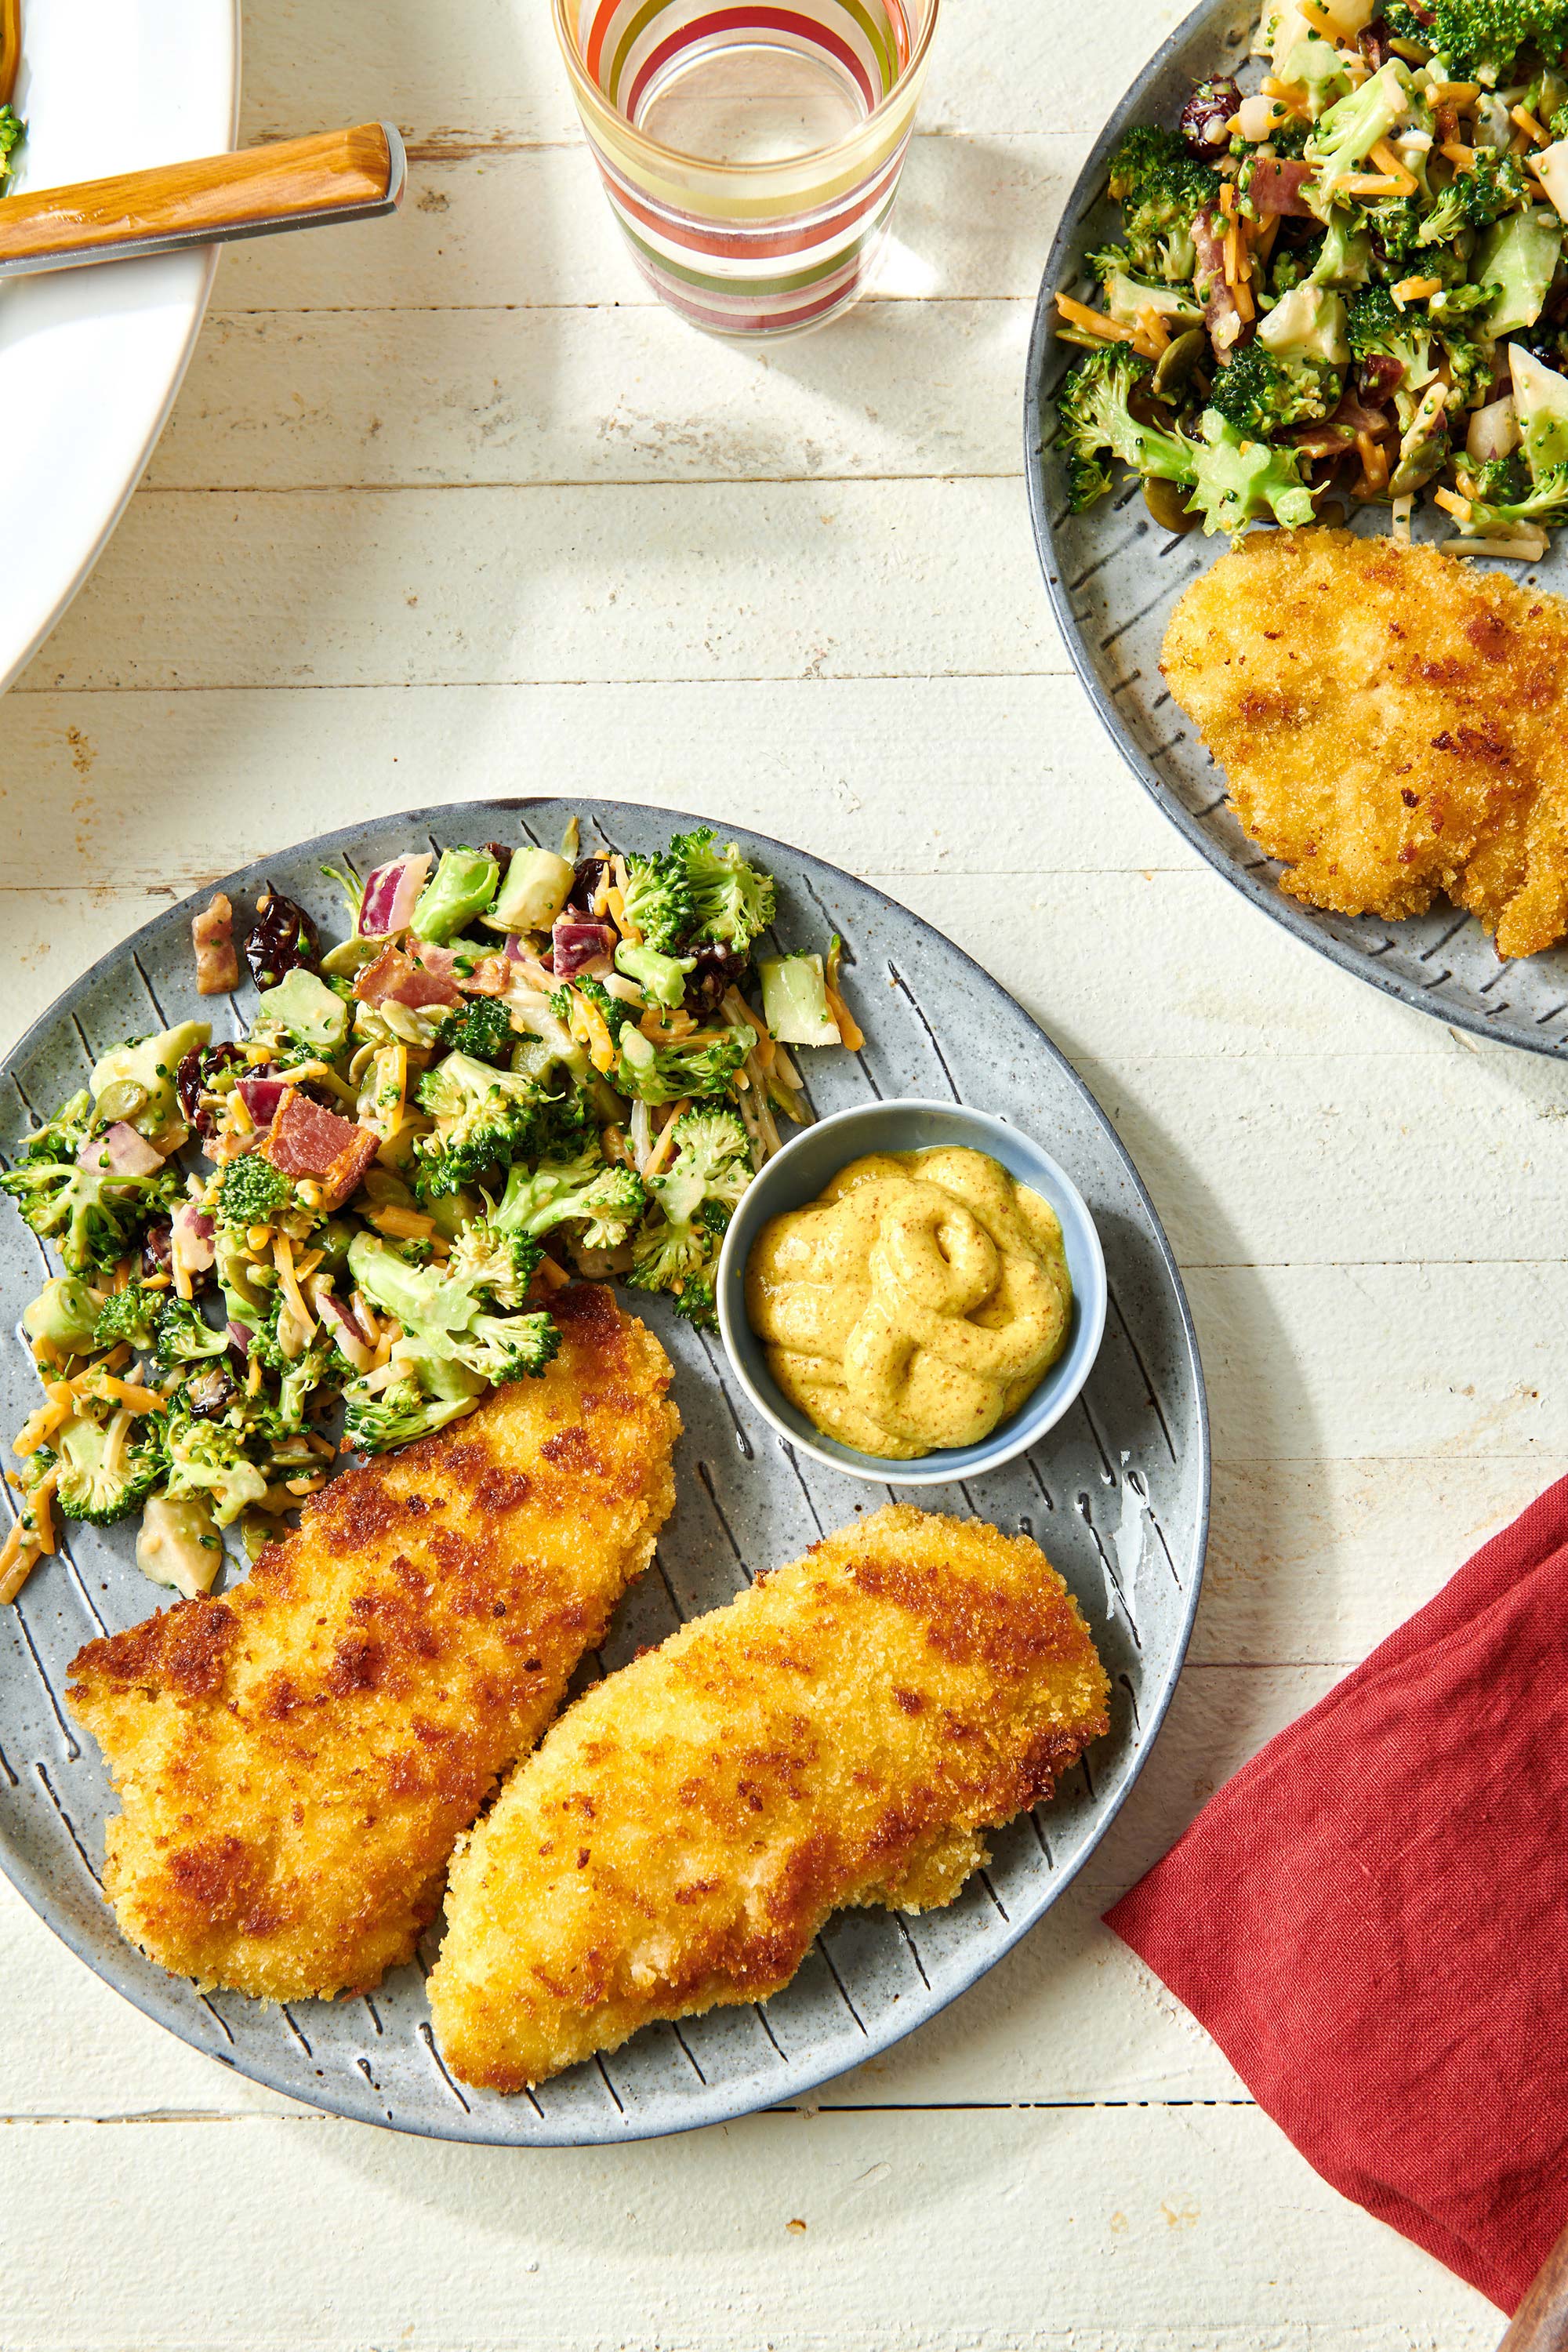
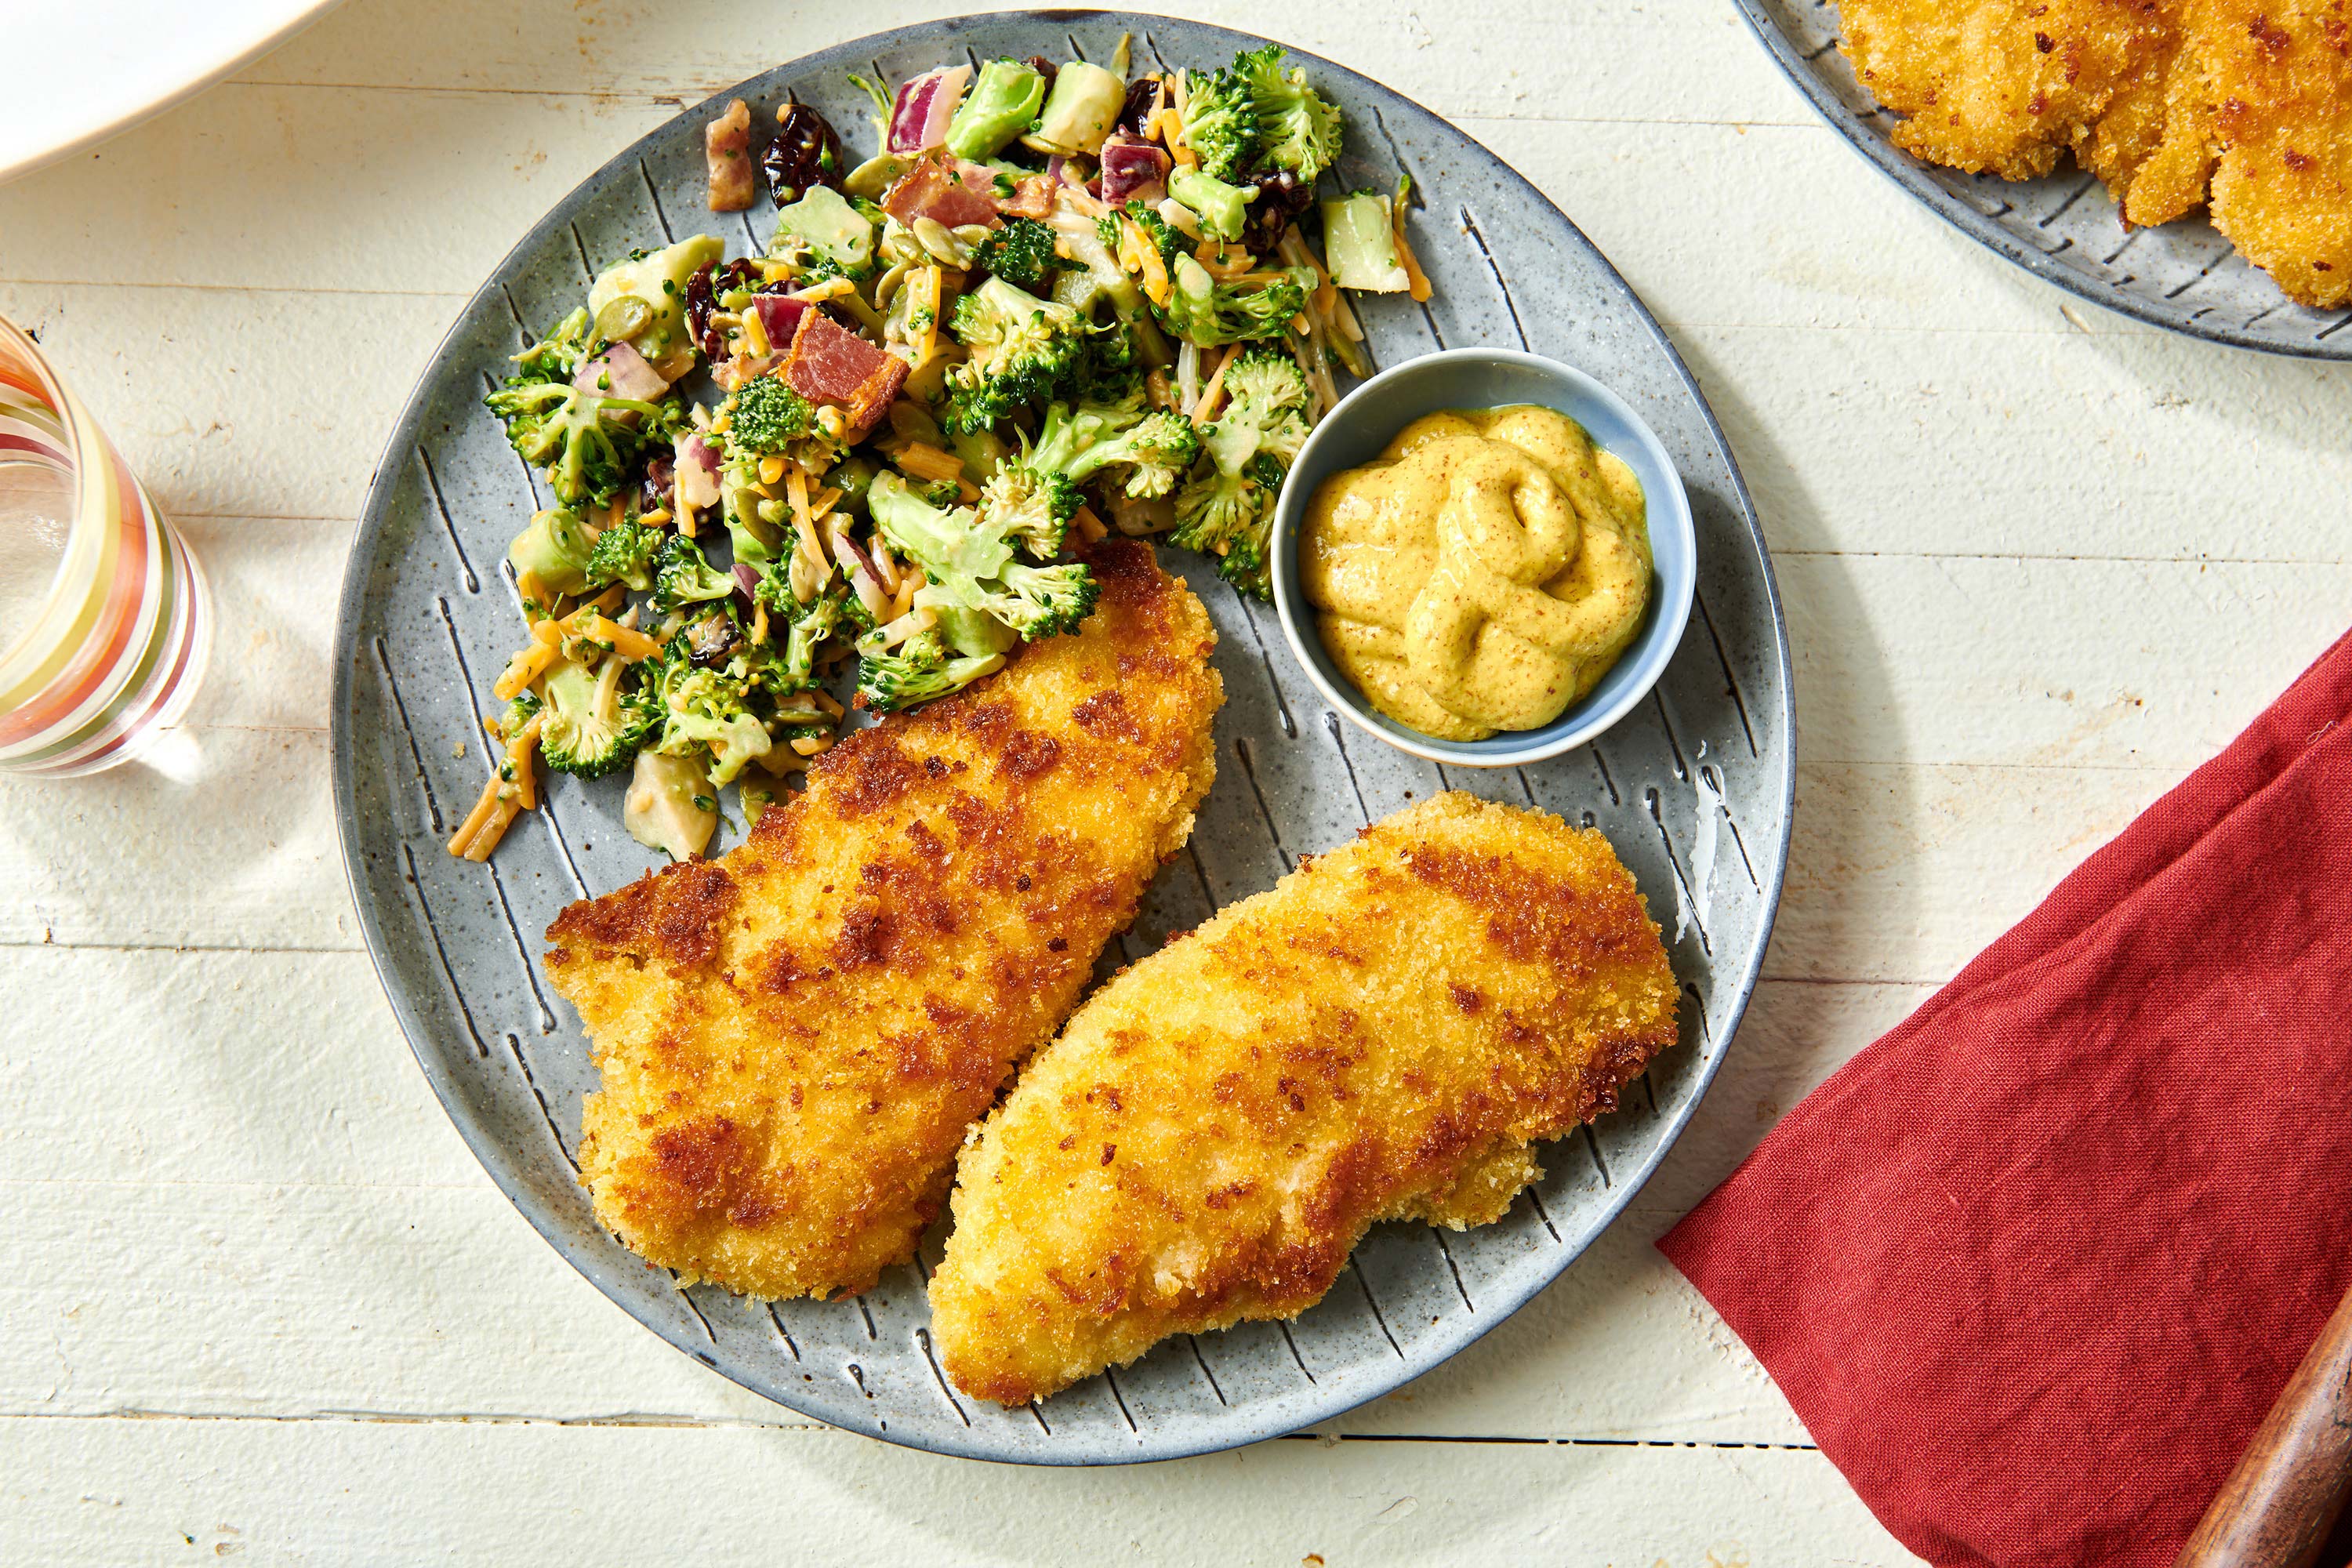
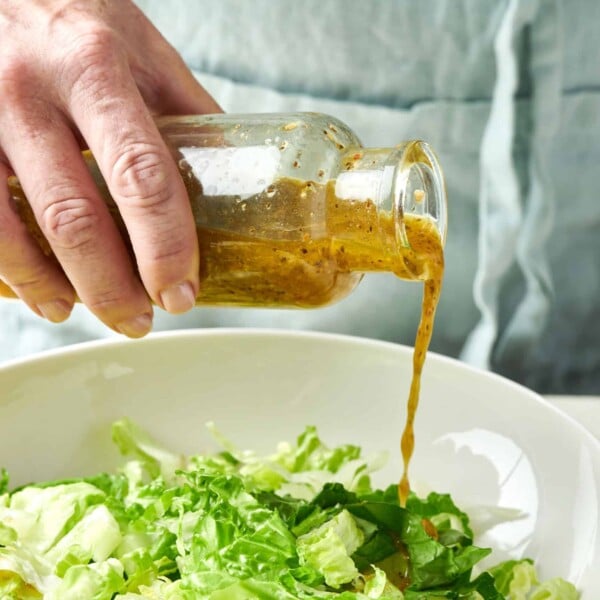
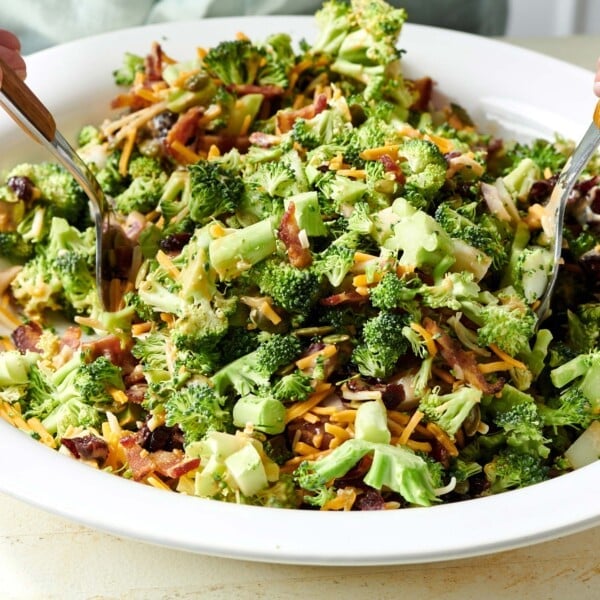
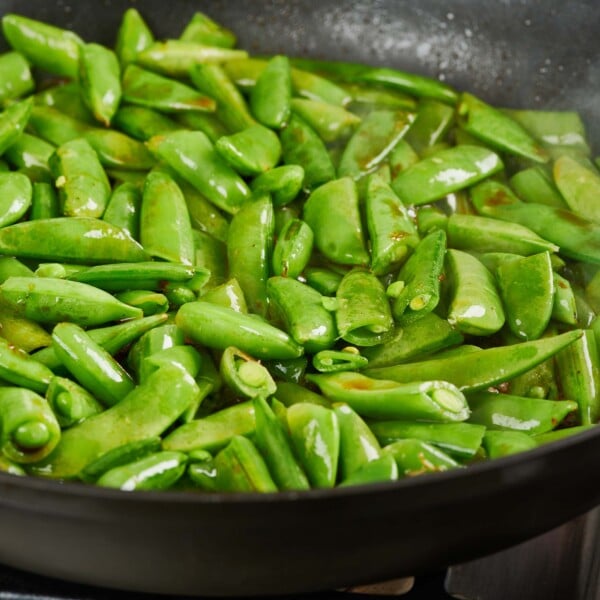
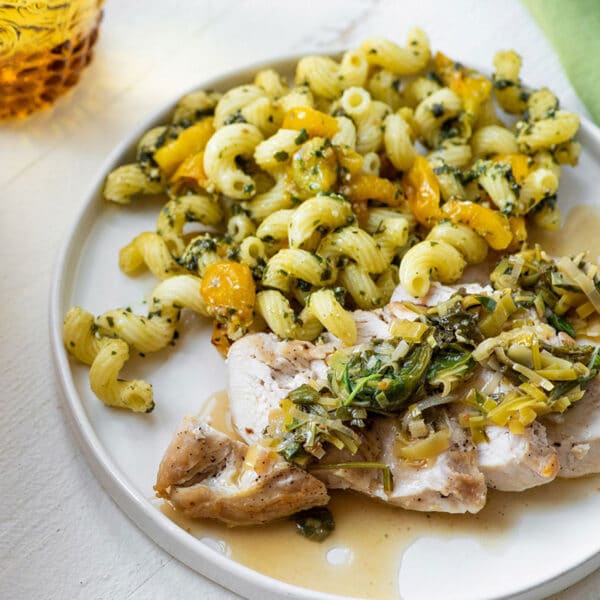
Here’s a very simple recipe for making the really, really good ones at home with the kids without a question in the world as to what the ingredients are. You can pair them with any kind of vegetable, such as sautéed sugar snap peas or broccoli. Or serve them with a simple salad like a Classic Caesar or a Mixed Lettuce Salad with Mustard Vinaigrette.
What's In This Post?
Homemade Chicken Tenders: Crispy and juicy, made with real white meat chicken — these are the real deal, and definitely not just for the kids!
Homemade vs. Frozen Chicken Nuggets
A long time ago, when my kids were fairly wee, I wrote an article where I had to test and evaluate as many types of nationally branded frozen or refrigerated chicken nuggets as I could find. At first, my children could not believe their luck and were giddily high-fiving each other all over the house (frozen chicken nuggets do not make many appearances on our dinner table). “This is awesome!” they cried, beaming at me as though I had invented video games.
Well, 63 nuggets, tenders, fingers, popcorn bites, and sticks later, they (and a stalwart group of their friends) were a little green around the gills. And even though often there were 6 or 7 nuggets per tasting, and they only had to taste one bite of each kind, they didn’t find all that many that were worth a second nugget in the end.
There is an awful lot of ground-up, chicken-esque filling in some of these nuggets, and in many cases, not a whole lot that tasted like actual chicken. One brand had somewhere close to 35 ingredients, a few of which were sodium diacetate, silicon dioxide, sodium tripolyphosphate, and artificial flavoring. Gosh, I must have run out of sodium tripolyphosphate and not even realized it — how embarrassing.
Ingredients
- Chicken – You can either buy packaged tenders or boneless, skinless whole chicken breasts and cut them into strips yourself.
- Flour – The flour mix is used to prep the chicken strips for their Panko encrusting and helps the crunchy coating stick.
- Paprika – Just a touch of paprika in the flour mix gives these chicken tenders some nice color and flavor.
- Salt and pepper – Make sure to season the flour generously for the best flavor.
- Eggs – Beaten eggs allow the panko to form a nice crust on the chicken strips. I always liked to hand this step off to the kids, even if it meant fishing a few eggshell bits out of the mixture afterward — they loved having that agency in the kitchen!
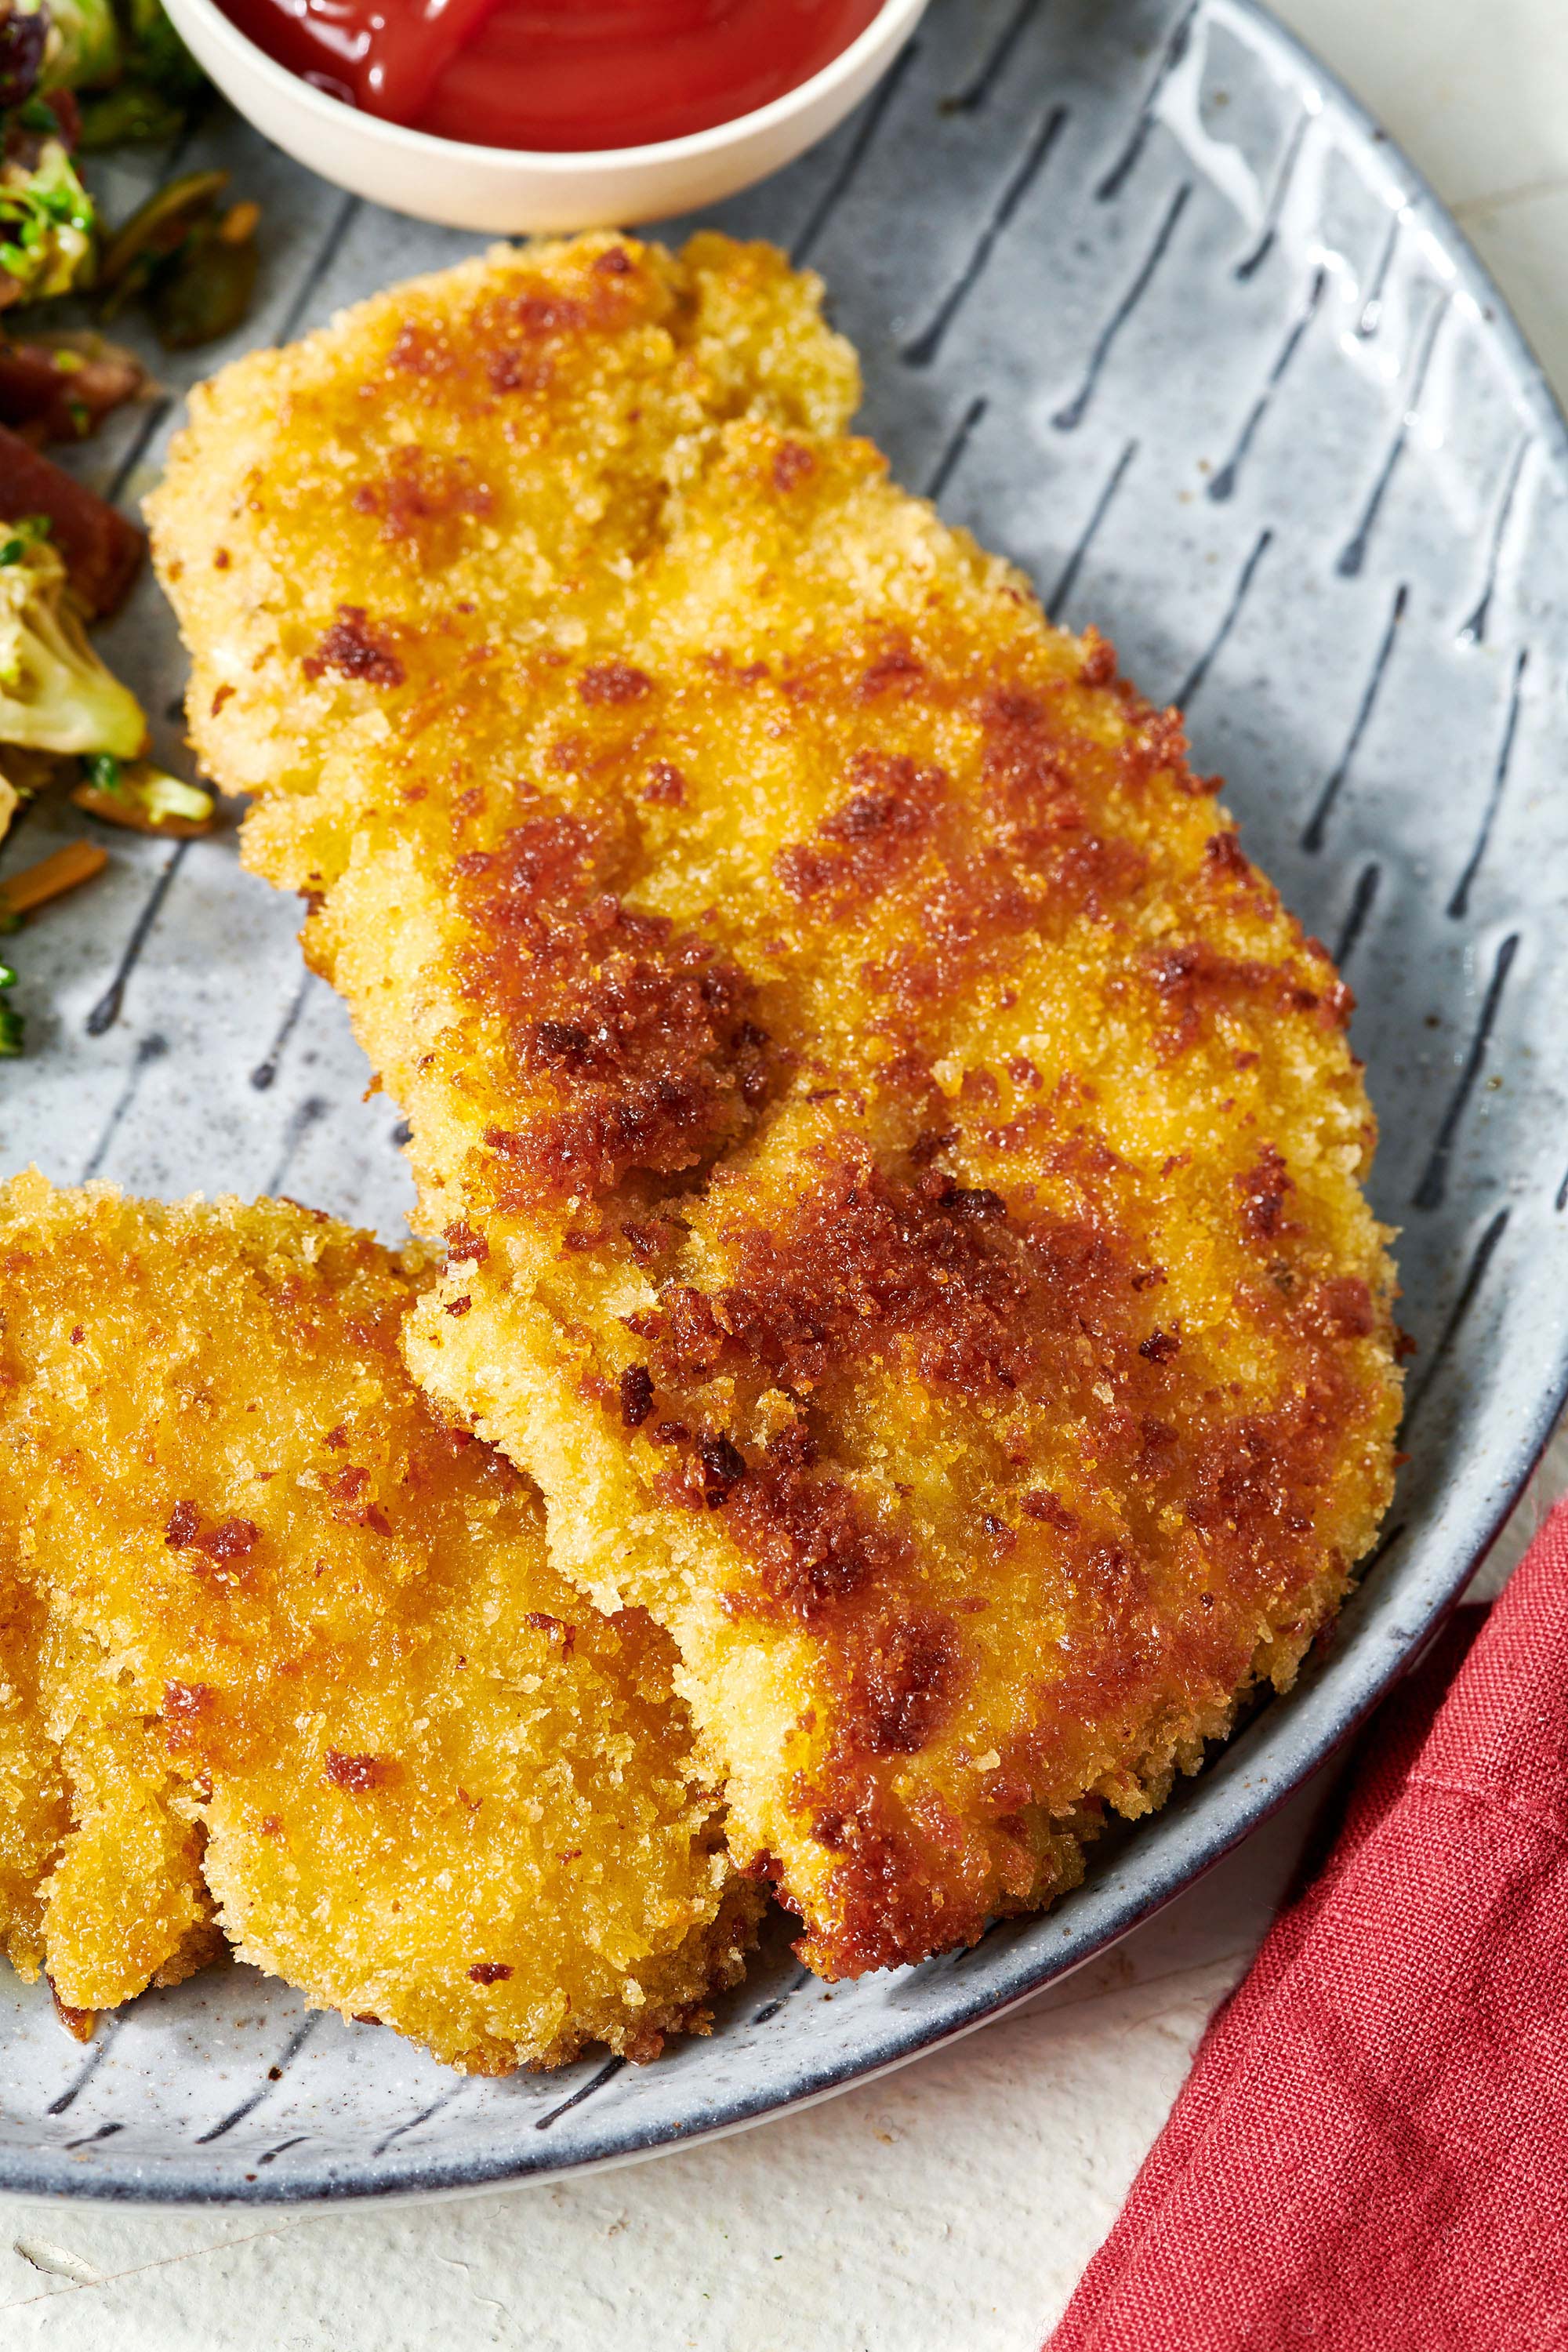
- Panko breadcrumbs – These Japanese breadcrumbs are the secret to how these tenders get that crispy exterior. You can use regular breadcrumbs, but panko breadcrumbs are lighter and flakier.
- Olive oil – For pan frying the tenders — you can use another oil like vegetable or canola if you like.
How to Make Chicken Tenders
- Prep the chicken: If you are using breasts instead of tenders, cut the chicken into ½-inch thick strips.
- Create your breading station: You need three shallow bowls for this. In the first bowl, stir up the flour with the paprika, salt, and pepper. Beat eggs in the second. Shake the Panko into the third.
- Bread your tenders: Coat each chicken strip in the flour mixture, then dip them into the beaten eggs, then roll them in the Panko.
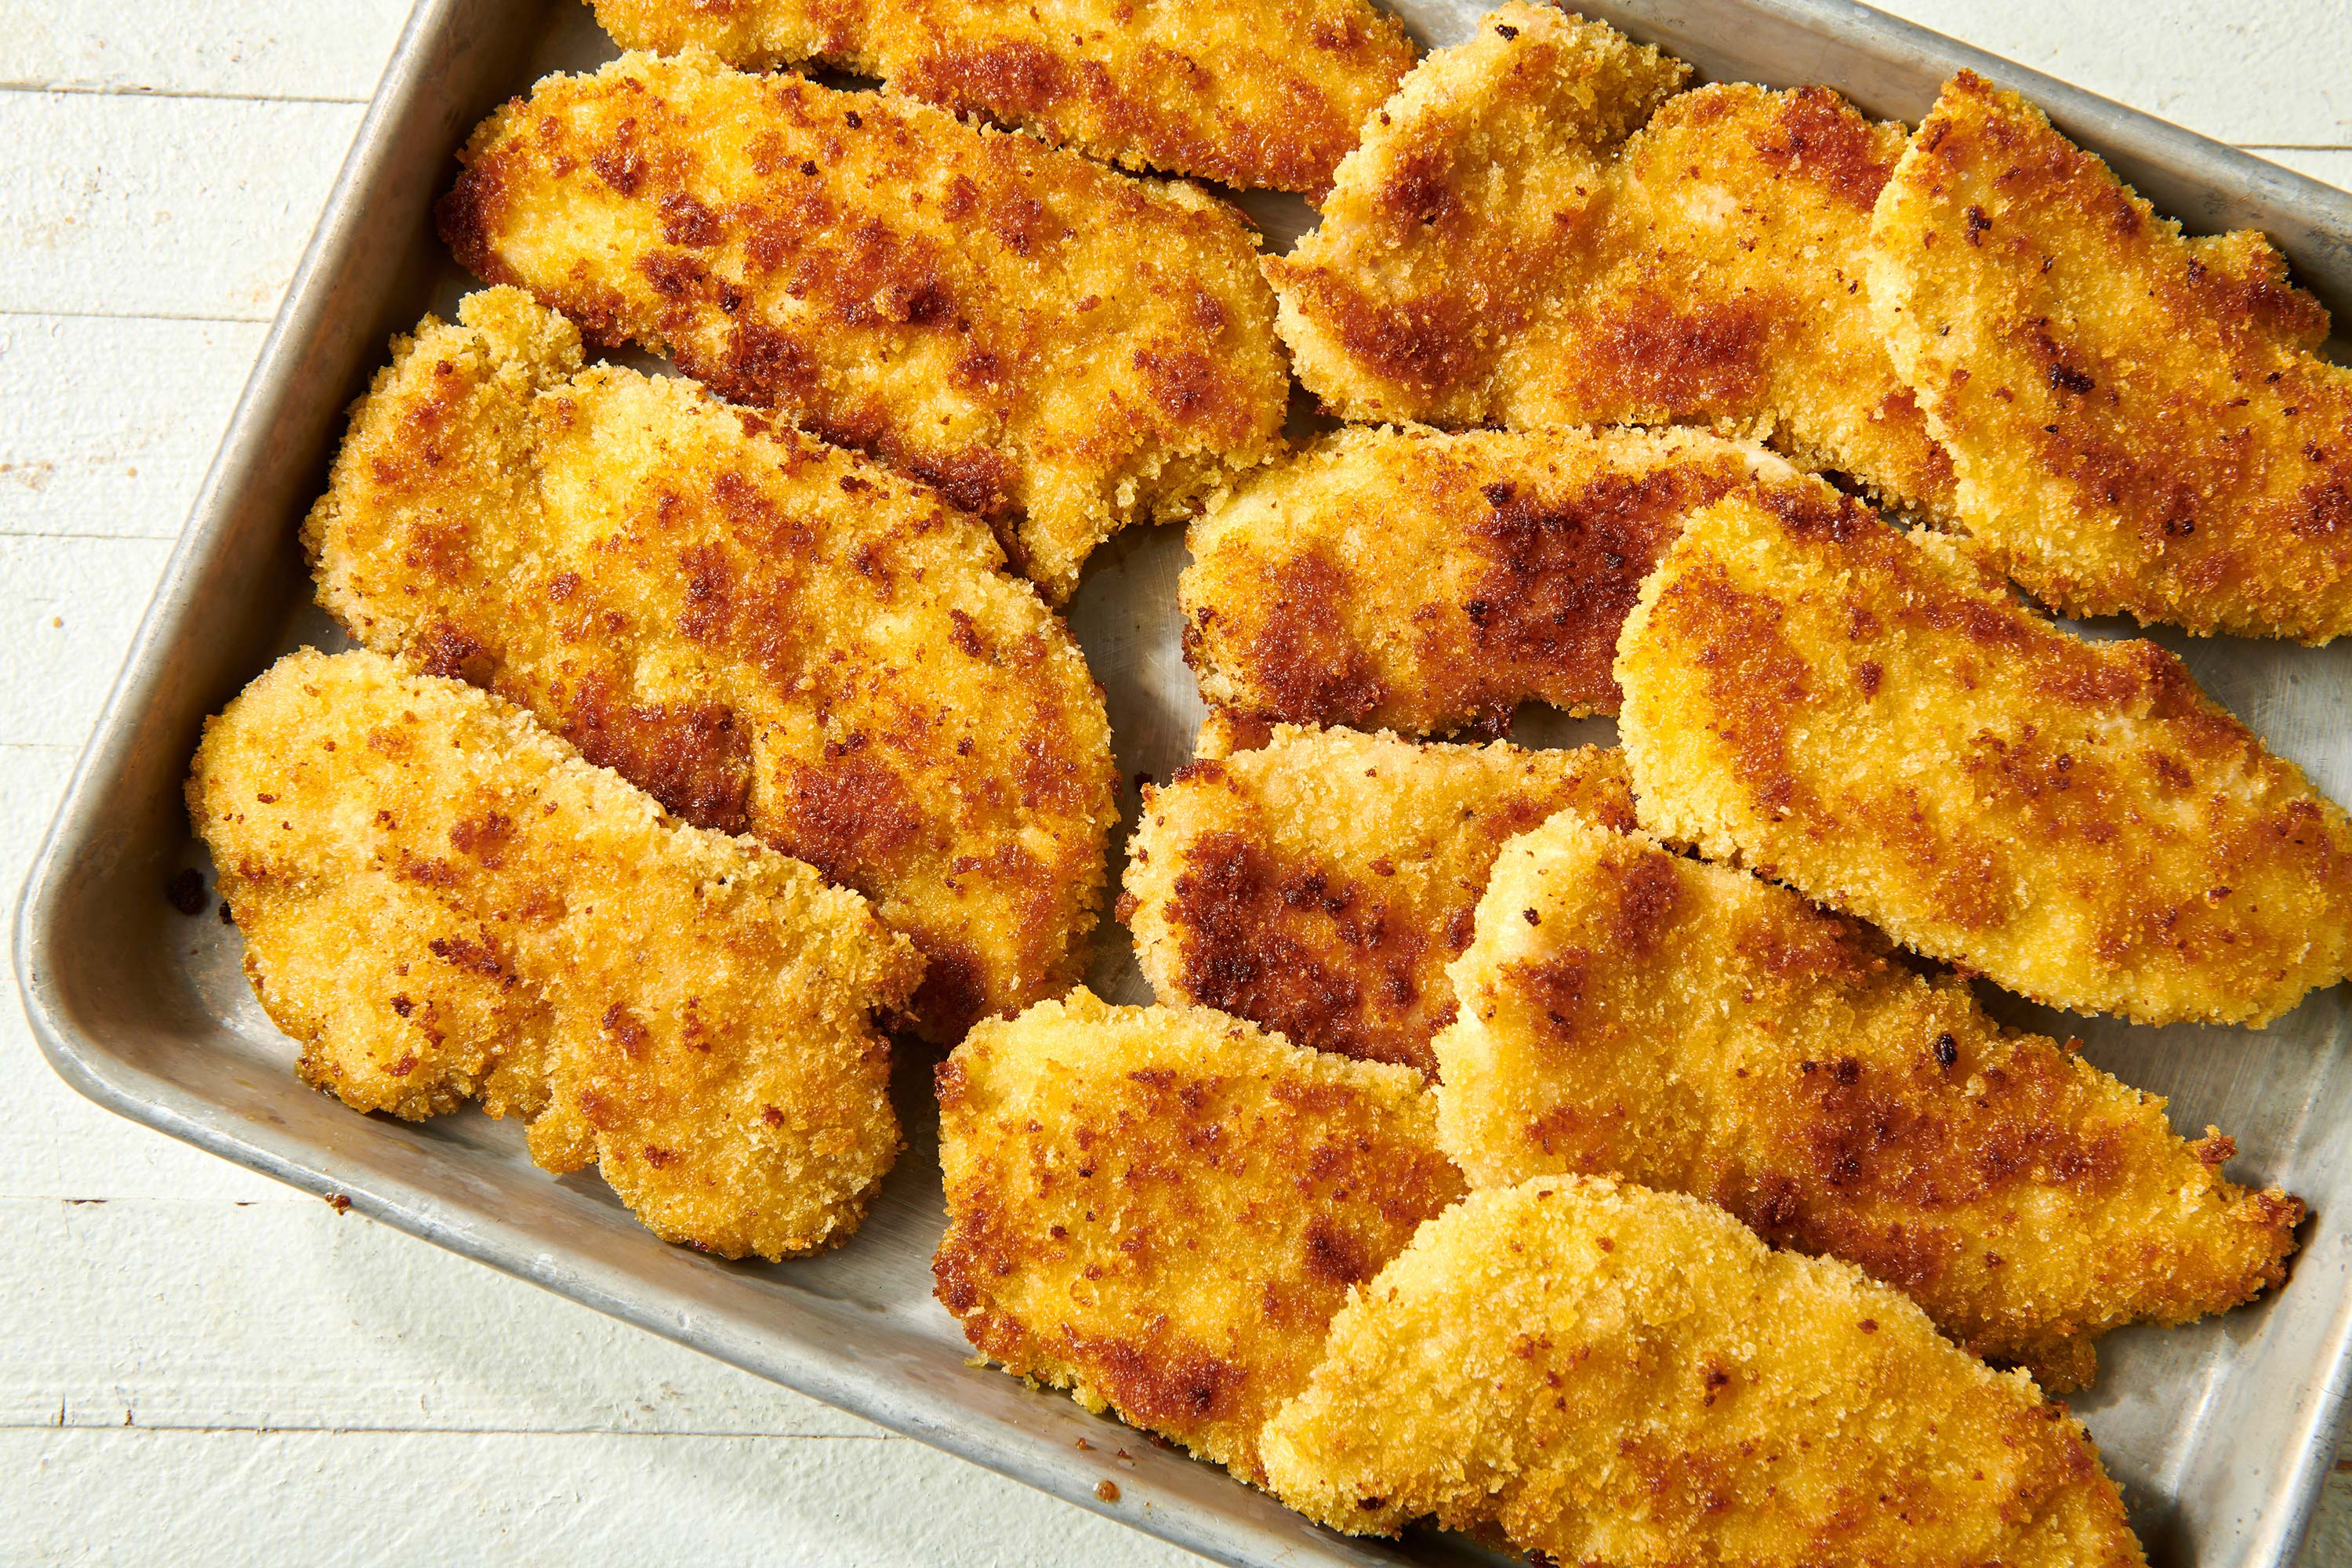
- Cook: Heat 2 tablespoons of the oil in a large skillet over medium heat. Sauté about half of the chicken tenders for about 4 minutes on each side, until lightly browned and the chicken is cooked through. Repeat with the rest of the tenders.
- Serve: Serve with whatever dipping sauces you and your kids are into.
What the Kids Can Do to Help
- Measure and mix the dry ingredients.
- Crack and beat the eggs (check for errant eggshell bits!).
- Dip and coat the chicken tenders in each of the bowls. Note: Make sure to have a dish towel on hand, and remind them to wash their hands well with warm soapy water before and after handling the chicken.
- Pick the condiments of their choice.
FAQs
Panko is a Japanese-style breadcrumb, traditionally used as a coating for various fried foods. Panko is lighter and fluffier than traditional breadcrumbs, partly because the bread is grated into larger, flakier crumbs and partly because it is usually made without the crusts. Besides its use as a coating, it can also be used in recipes as a binder: in meatloaf or crab cakes, for instance.
There are three quick parts to the breading process. First, the chicken is dipped into seasoned all-purpose flour, which adheres to the chicken, and helps the beaten egg stick to the strips better. Then, the egg makes the final coating of Panko cling better to the chicken, resulting in a nicely crispy exterior.
Funnily enough, there’s actually a part of the chicken called the tenderloin. It’s a thin muscle located beneath the breast, and it’s used to create chicken tenders because it’s quite tender itself (ha, ha) and easier to chew than other parts of the chicken. You can either use chicken tenders for these homemade tenders or just cut the breast meat cut into bite-sized strips.
Storage and Leftovers
Leftover chicken tenders can be kept in the fridge for up to 3 or 4 days. Reheat them in a preheated 350-degree oven for about 6 to 7 minutes, until warm throughout. Think about cutting leftovers into smaller pieces and adding them on top of a salad for some crunchy protein (warm or cold).
What to Serve With Homemade Chicken Tenders
More Kid-Friendly Recipes
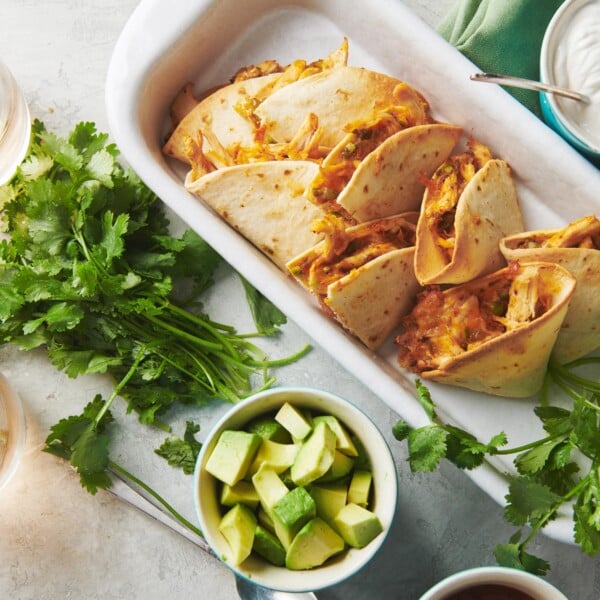
- Barbecued Chicken Quesadillas
- Cauliflower Tots
- Homemade Pizza Dough
- Gingerbread Cake
- Easy Creamed Spinach
Pin this now to find it later
Pin It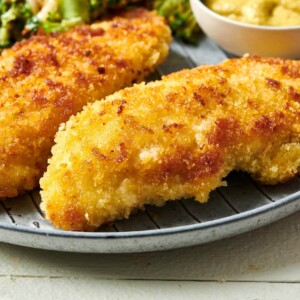
Homemade Chicken Tenders
Ingredients
- 1 pound chicken tenders (or boneless skinless chicken breasts)
- ½ cup all-purpose flour
- 1 teaspoon paprika
- 1 teaspoon coarse or kosher salt
- ¼ teaspoon ground black pepper
- 2 eggs (lightly beaten)
- ¾ cup Panko breadcrumbs
- 3 tablespoons olive oil (divided)
To Serve (Optional)
- Ketchup
- Mustard or honey mustard
- Barbecue sauce
Instructions
- If you are using breasts, not tenders, cut the chicken into ½-inch thick strips.
- In a shallow bowl, stir up the flour with the paprika, salt, and pepper. Place the beaten eggs in another shallow bowl. Place the Panko in a third shallow bowl.
- Coat each chicken strip first in the flour mixture, then dip them into the beaten eggs, and roll them in the Panko.
- Heat 2 tablespoons of the oil in a large skillet over medium heat. Sauté about half of the chicken tenders for about 4 minutes on each side, until lightly browned and the chicken is cooked through. Remove, set aside on a plate lined with a paper towel, then heat up the rest of the oil, then sauté the rest of the chicken the same way.
- Serve with whatever dipping sauces your kids are into.


These look simple and delicious–not just for kids anymore! Quick question: have you tried baking them? I would love to have an oven baked recipe.
You can bake them! I would give them a little spritz of olive oil if you have a mister to ensure the crust gets nicely crispy – otherwise just go ahead and bake them at 350 for abiout 10 minutes, until cooked throughout. the outside bread crumb coating will be a bit drier, but they will taste good!