Perfect Pan-Seared Scallops
on Jan 08, 2023, Updated Feb 06, 2025
This post may contain affiliate links. Please read our disclosure policy.
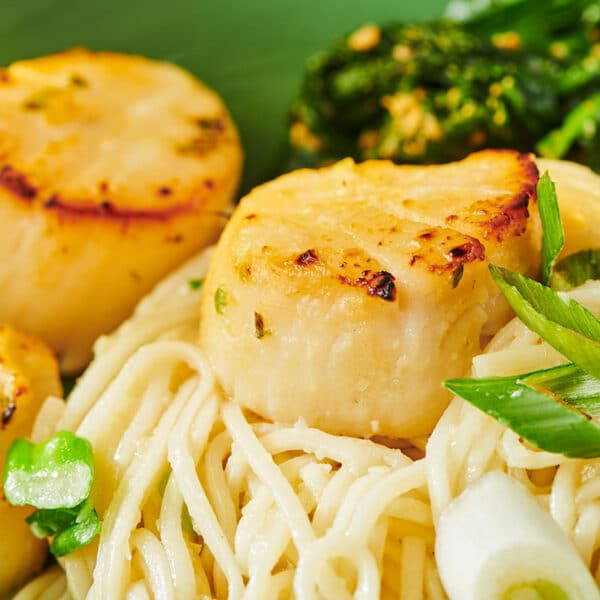
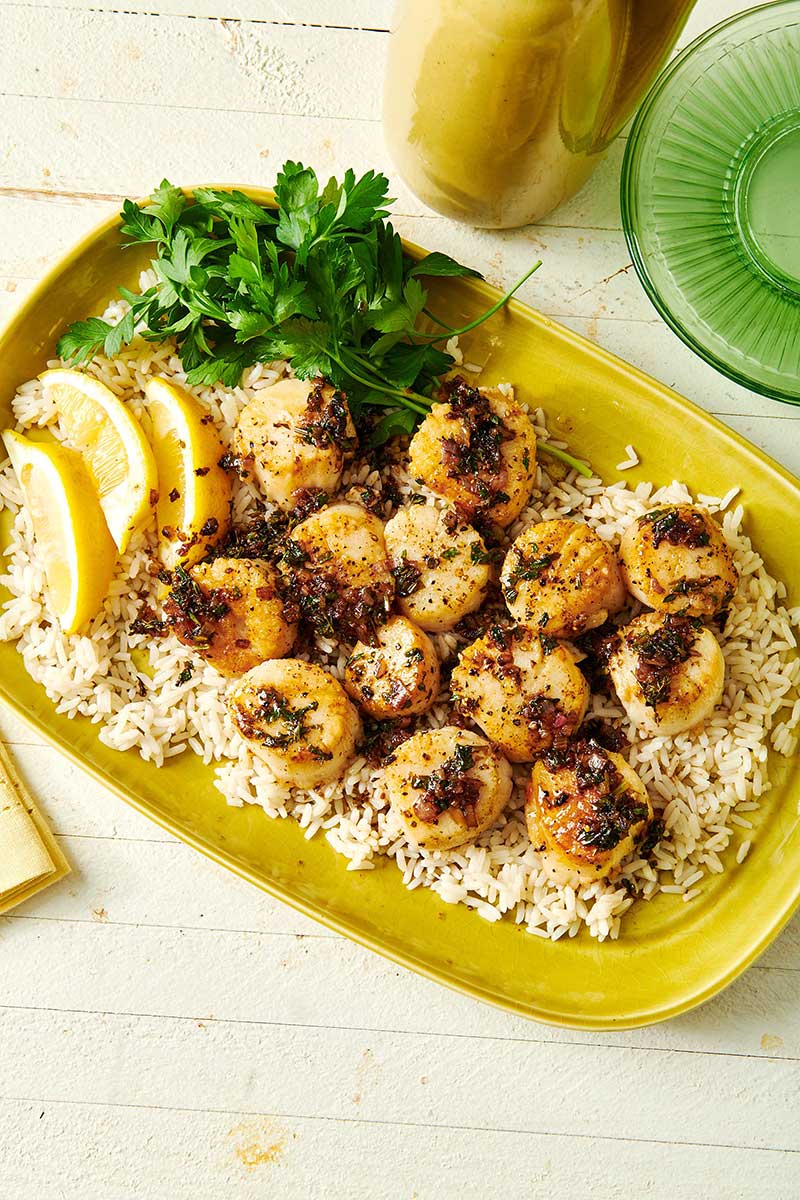
Plump, rich, creamy scallops with a perfect browned exterior are just minutes away and so easy to make at home!
Big, fat, richly flavored, ivory-colored seared sea scallops are something many of us have only enjoyed at a restaurant. While they may be intimidating and seem like a night-out indulgence, scallops are almost stupidly easy to cook as long as you keep a few things in mind! Dry the scallops well before serving, use a hot pan, and don’t flip them too early. Follow this recipe for perfectly cooked sea scallops at home.
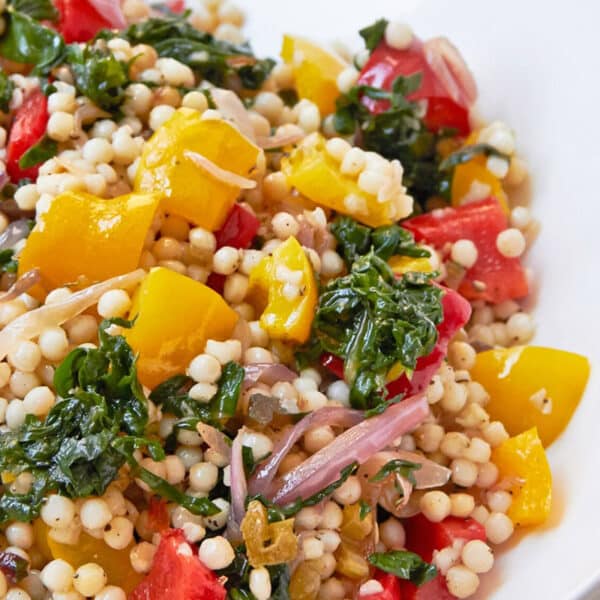
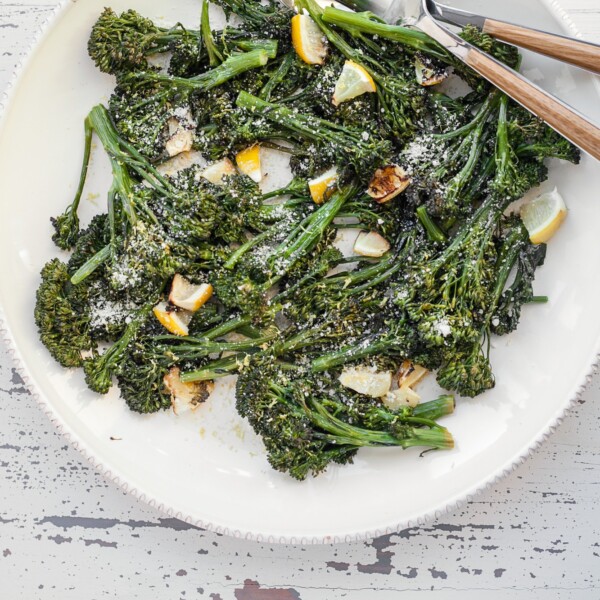
These pan-seared sea scallops would be great with a drizzle of Lemon Butter Sauce and atop Cheesy Rice with Broccoli, Polenta, or Herb Mashed Potatoes.
By signing up, you agree to our Privacy Policy.
What's In This Post?
Perfect Pan-Seared Scallops: Plump, rich, creamy scallops with a perfect browned exterior are just minutes away and so easy to make at home!
What Are Scallops?
Scallops are mollusks, and in the same family as clams or mussels. Sea scallops in the U.S. are usually from the cold waters of the North Atlantic. They are much larger than bay scallops, which are very seasonal and might come from the area around Long Island and also further south. Sea scallops take best to pan searing, with their thickness and generous surface area.
Buying Scallops
For beautifully pan-seared or browned scallops, you want to make sure your scallops are the large sea scallops, not the smaller bay scallops. Buy them from a reputable seafood store with a high turnover. Scallops can be pricey, but making them at home is significantly less expensive than ordering them in a restaurant!
The scallops should look moist (even if they are dry sea scallops; more on that below!), have a pale pinkish-white hue, look translucent, and smell very fresh. Avoid scallops that feel slimy, have an “off” smell, or a dull color. Look for sea scallops from 1/2 to 1 inch in height and 1 to 2 inches in width.
Dry Vs. Wet Scallops
Dry scallops are what you want; look for diver-caught or dry-packed on the sign or label. They have a sweet flavor and an appealing creamy texture, and they brown up perfectly in a hot pan (and they are also great for grilling, broiling, etc.). Most dry scallops have a slightly ivory-pink hue; bright white scallops are usually wet and treated with a solution.
Wet scallops have been treated with a solution of preservatives to extend their shelf life, and you want to avoid these. The solution mutes the bright, briny flavor of the scallops and diminishes their texture. Also, even when patting them dry with paper towels, it’s very difficult to get them dry enough before they hit the pan to achieve a golden-brown crust.
If you don’t know if they are dry or wet or if they aren’t labeled properly, ask at the seafood counter! If you can only find wet scallops, double the drying time instructed in the recipe below.
Pan-Seared Scallops Ingredients
- Large sea scallops – A good quality dry scallop will make or break this recipe. Read the notes about choosing the best type of scallops above.
- Olive oil – You can also use canola oil or vegetable oil.
- Unsalted butter
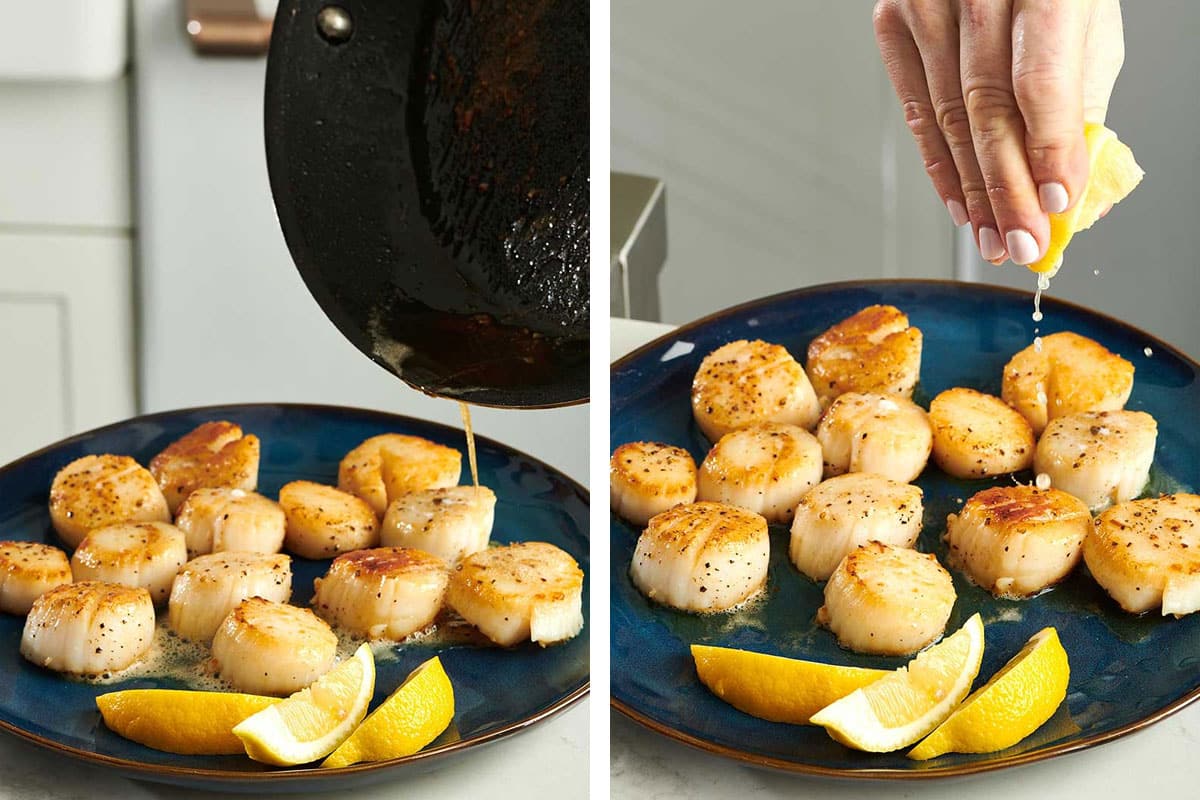
- Lemon wedges – Squeeze over lemon juice before serving.
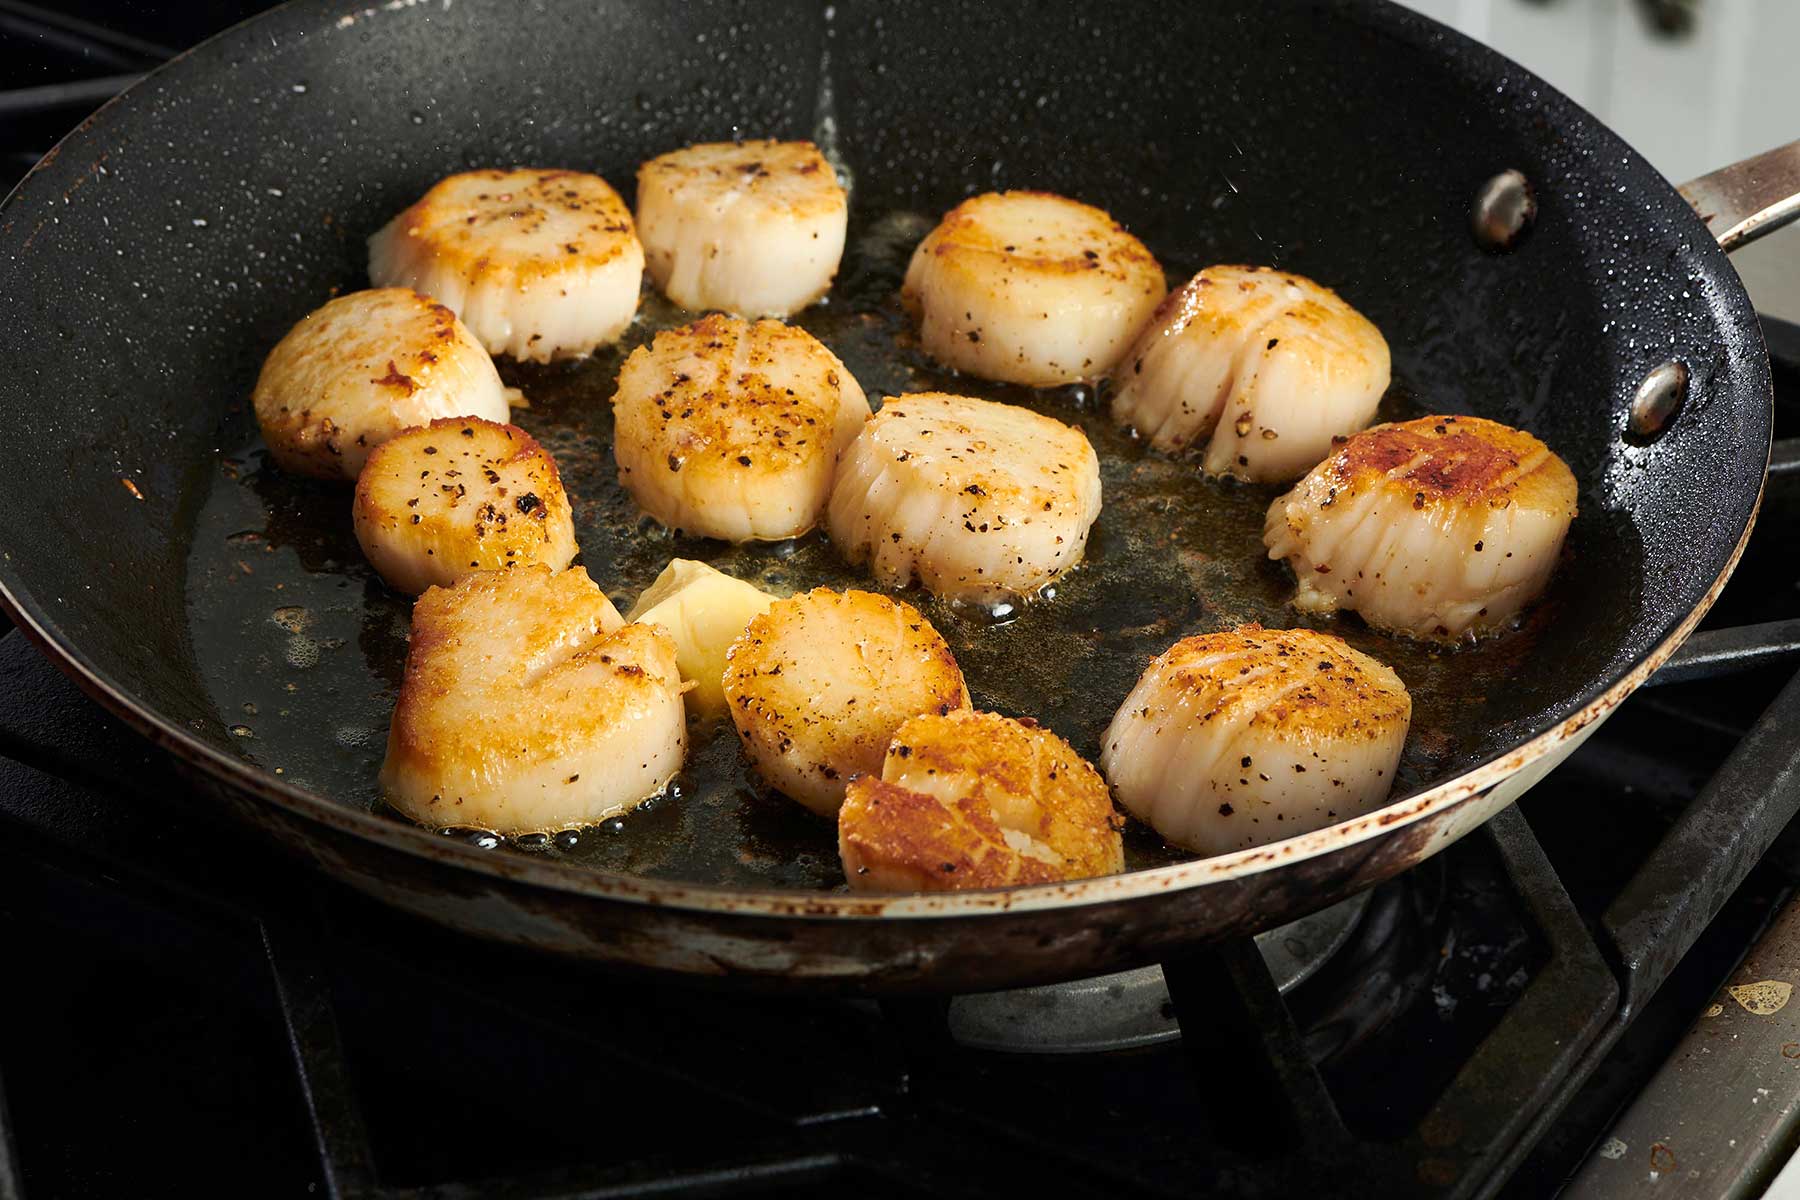
How to Cook Pan-Seared Scallops
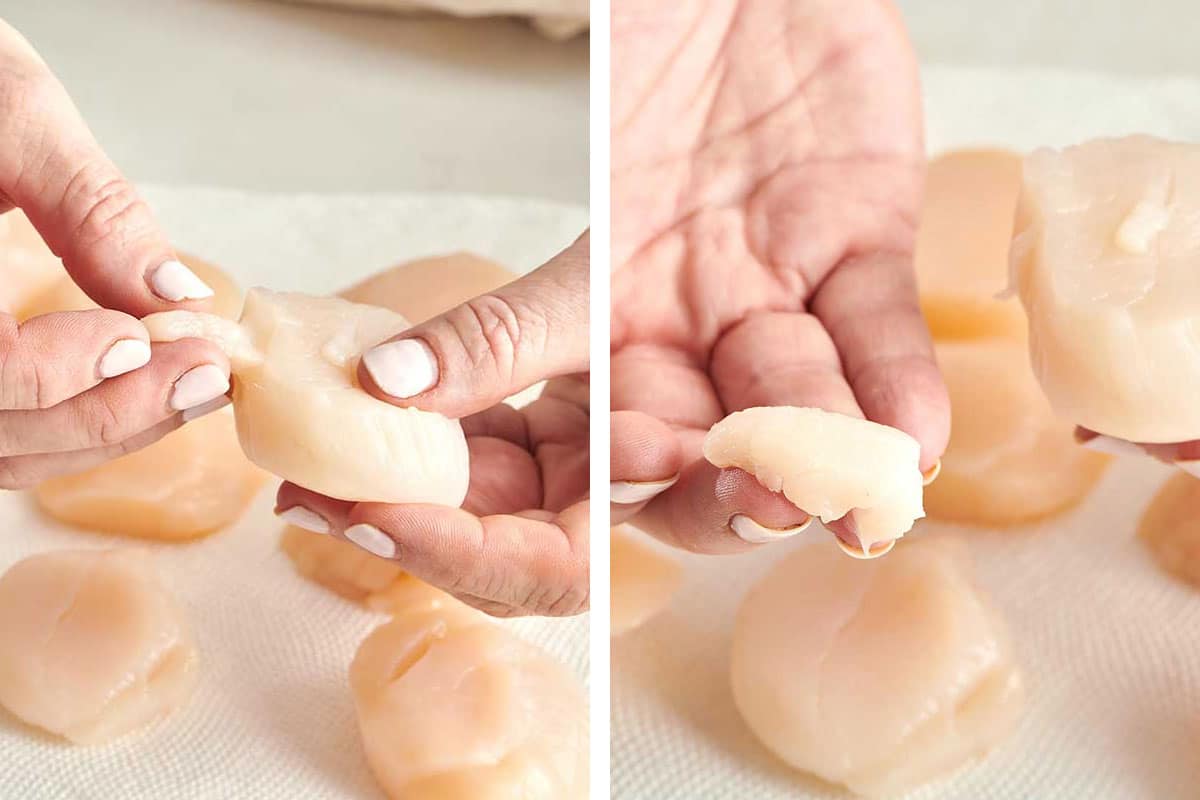
- Prepare the scallops: Remove the side muscle from the scallops, pat them dry with paper towels, and let them sit for 5 minutes.
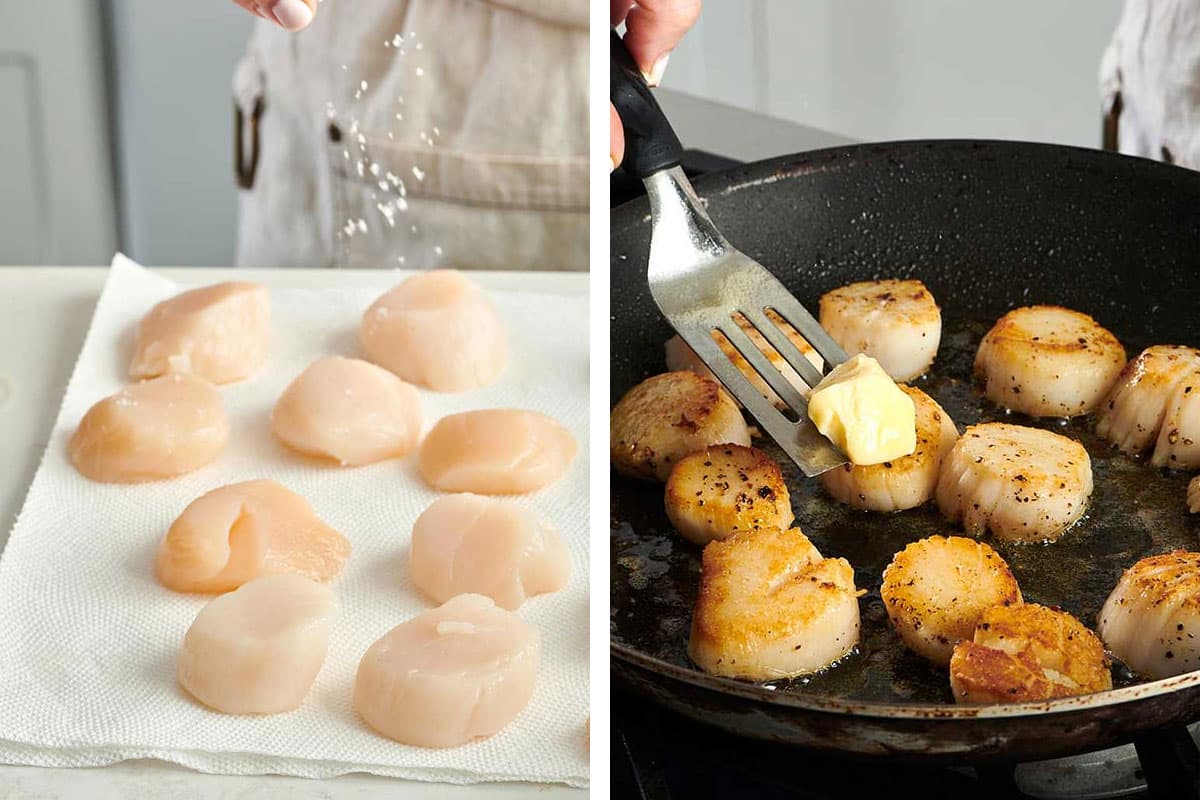
- Cook the scallops: Season the scallops with salt and pepper. When the oil in the pan is hot, add the scallops without crowding them (cook in batches if needed). Cook for about 3 minutes until the bottom is golden brown. Flip. While the second side is browning, add the butter to the pan, and as it melts, use a spoon to baste the tops of the scallops.
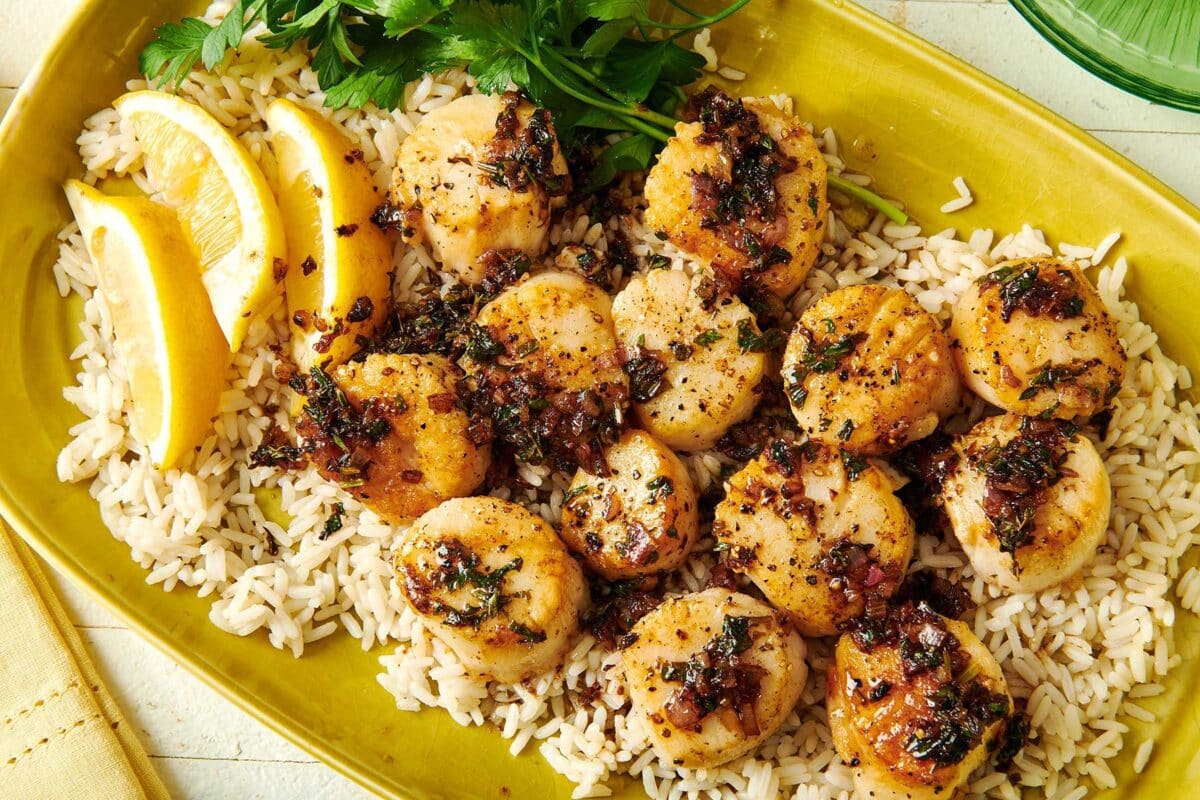
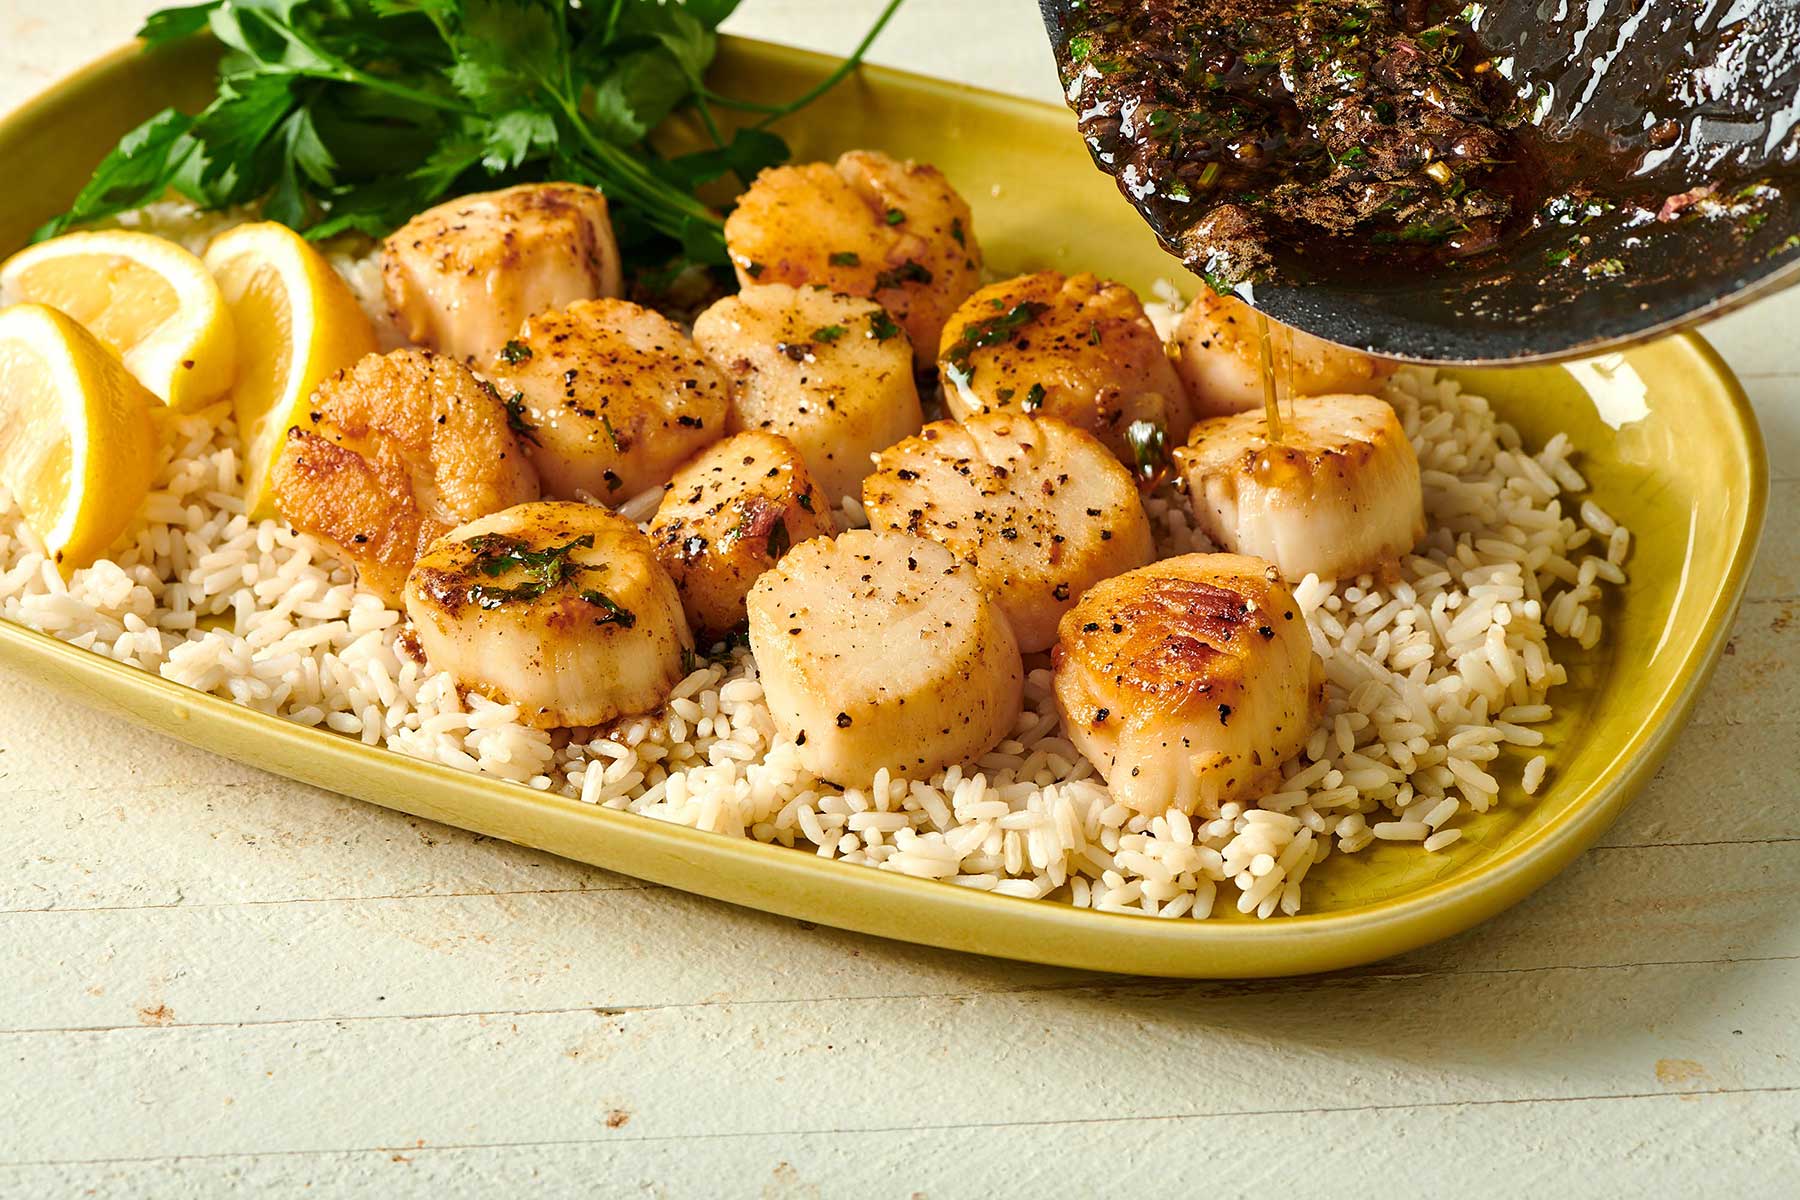
- Finish and serve: Transfer the scallops to a plate, drizzle the pan juices over the scallops, and serve with the lemon wedges and some parsley if desired.
How to Avoid Rubbery Scallops
Cook the scallops just until barely cooked through. It is better to slightly undercook scallops than to overcook them. They will get rubbery if overcooked, and you don’t want to do that to this splurge seafood! Also, remove the side muscle or tendon from the scallops before cooking them. It’s edible but a tougher part of the scallop, and most people are happier with it removed.
Tips
There are just a few things you need to keep in mind to get perfectly caramelized, seared sea scallops:
- Dry the scallops well. Even if you are using dry-packed scallops (which you should be), you want to get them as dry as you can. Blot the scallops dry with a clean dishtowel or paper towels before cooking them. Removing as much moisture as possible helps with browning.

- Salt just before cooking. Use kosher or flaky sea salt, not iodized salt. Don’t salt the scallops until just before cooking them. Salting them too early will start to pull out moisture from the middle of the scallops and impede browning.
- Nonstick pans are great for scallops. If you have a nonstick pan, use it. A cast iron skillet, which is naturally nonstick if seasoned properly and used regularly, is also a good alternative. Other pans will also work; if you are using a regular pan, try also to use a very thin spatula. Make sure to let the scallops sit in the hot pan until properly browned, and use decisive moments when flipping the scallops to keep the outside from getting scuffed up.
- Cook over high heat. You won’t be able to get that beautifully browned outer crust on the scallops while maintaining a perfectly cooked interior without high heat. Make sure your pan is completely hot before you add the scallops.
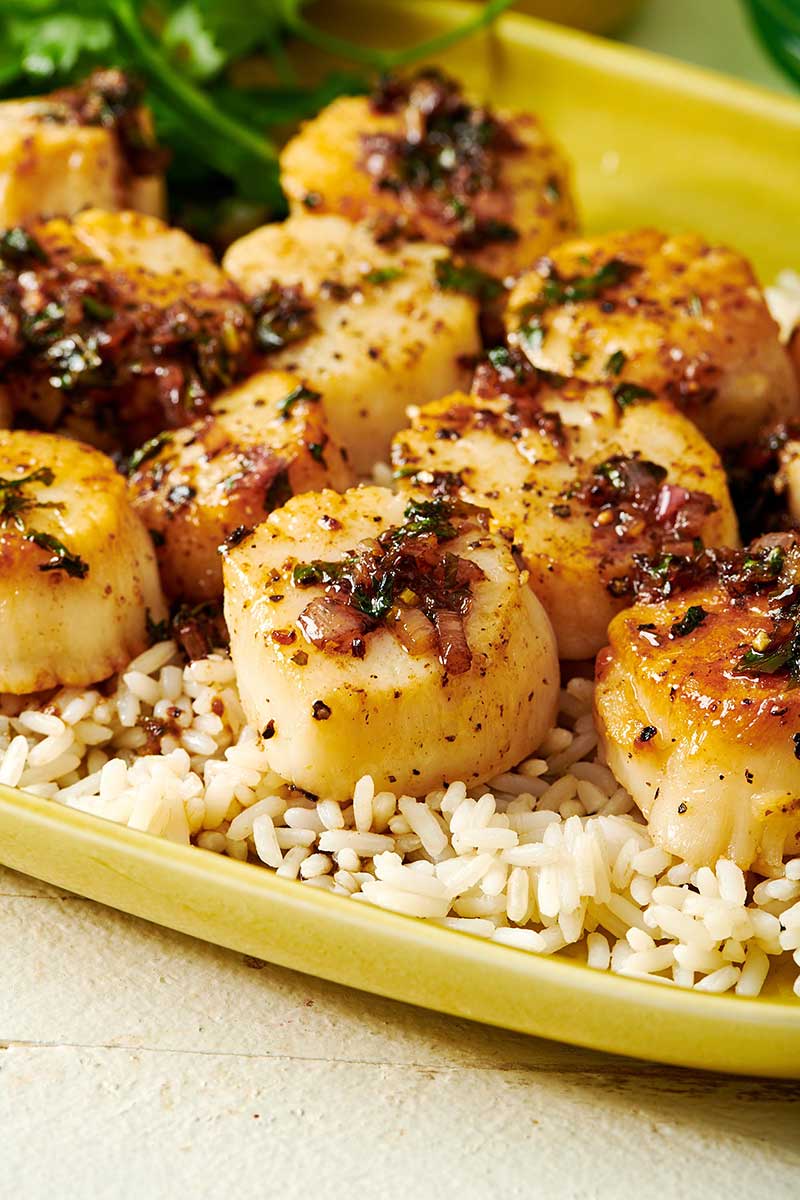
- Brown the first side thoroughly. In order to have the nice caramelization without overcooking the scallops, you’ll want to let the first side brown more than the second, and then serve the scallops with the more caramelized side up. This will allow you to get that wonderful sweet crust but not risk overcooking the center before the bottom gets as browned as the top. It also makes for the prettiest presentation.
- Baste with butter. Add the butter midway through the cooking process. This allows you to get that wonderful butter flavor on the scallops without allowing enough time for the butter to start to burn over the considerably high heat.
Storage
Leftover cooked scallops will stay well in an airtight container in the fridge for up to 4 days.
Unlike clams, oysters, and some other mollusks, scallops are not sold live and, therefore, are extremely perishable. Raw scallops should be kept for no more than 1 day in the fridge or on ice. If you are not ready to cook them and want to freeze the scallops, wrap them tightly in plastic wrap, place them in a freezer-proof bag or container, and store them for up to 3 months.
What to Serve With Pan-Seared Scallops

More Scallop Recipes
Pin this now to find it later
Pin It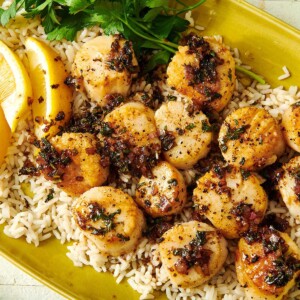
Perfect Pan-Seared Scallops
Ingredients
- 1 pound large sea scallops
- 1 tablespoon olive oil
- Kosher salt and freshly ground black pepper (to taste)
- 2 tablespoons unsalted butter
- Lemon wedges (to serve)
Instructions
- Remove the side muscle or tendon from the scallops before cooking them. It’s edible, but a tougher part of the scallop, and most people are happier with it removed. Place the scallops on a clean dishtowel or paper towels. Cover them with another clean dishtowel or paper towels, press the toweling gently onto the surface of the scallops, and let sit for 5 minutes.
- Heat the oil in a large pan, preferably nonstick, over medium-high heat. While the pan is heating, season the scallops on both sides with salt and pepper. Add the scallops without crowding them in the pan (cook in batches if needed). Cook, without moving, for about 3 minutes until the bottom is nicely browned. Flip the scallops with a spatula and allow the other side browns, for about 1 to 2 minutes. While the second side is browning, add the butter to the pan and as it melts, use a spoon to baste the tops of the scallops.
- Transfer the scallops to a plate (f you are making a sauce for the scallops, you can tent them with aluminum foil to keep them warm while you make the sauce). Drizzle the pan juices over the scallops and serve with the lemon wedges.
Notes
- Dry the scallops well. Even if you are using dry-packed scallops (which you should be), you want to get them as dry as you can. Blot the scallops dry with a clean dishtowel or paper towels before cooking them.
- Salt just before cooking. Use kosher or flaky sea salt, not iodized salt. Salting them too early will start to pull out moisture from the middle of the scallops and impede browning.
- Nonstick pans are great for scallops. If you have a nonstick or cast iron pan, use it. Try also to use a very thin spatula.
- Be patient. Make sure to let the scallops sit in the hot pan until properly browned, and use decisive moments when flipping the scallops to keep the outside from getting scuffed up.
- Cook over high heat. Make sure your pan is completely hot before you add the scallops.
- Brown the first side thoroughly. In order to have the nice caramelization without overcooking the scallops, you’ll want to let the first side brown more than the second, and then serve the scallops with the more caramelized side up.