How to Blanch Green Beans
on Mar 10, 2026
This post may contain affiliate links. Please read our disclosure policy.
This simple blanching method takes just minutes and keeps green beans bright, tender-crisp, and ready for freezing, salads, or sautés.
Blanching green beans is the easiest way to keep them bright green, crisp-tender, and ready to enjoy in all kinds of ways. Whether you’re prepping for a salad, a crudités platter, or the freezer, this quick technique locks in color and texture with very little effort.
Before you start, bring a large pot of well-salted water to a boil. Set up a large bowl of ice water nearby and have a colander or slotted spoon ready—once the beans are done, you want to move fast.
What's In This Post?
How Long to Blanch Green Beans
- Thin green beans: 1–3 minutes
- Medium green beans: 2–4 minutes
- Thick or mature green beans: 3–5 minutes
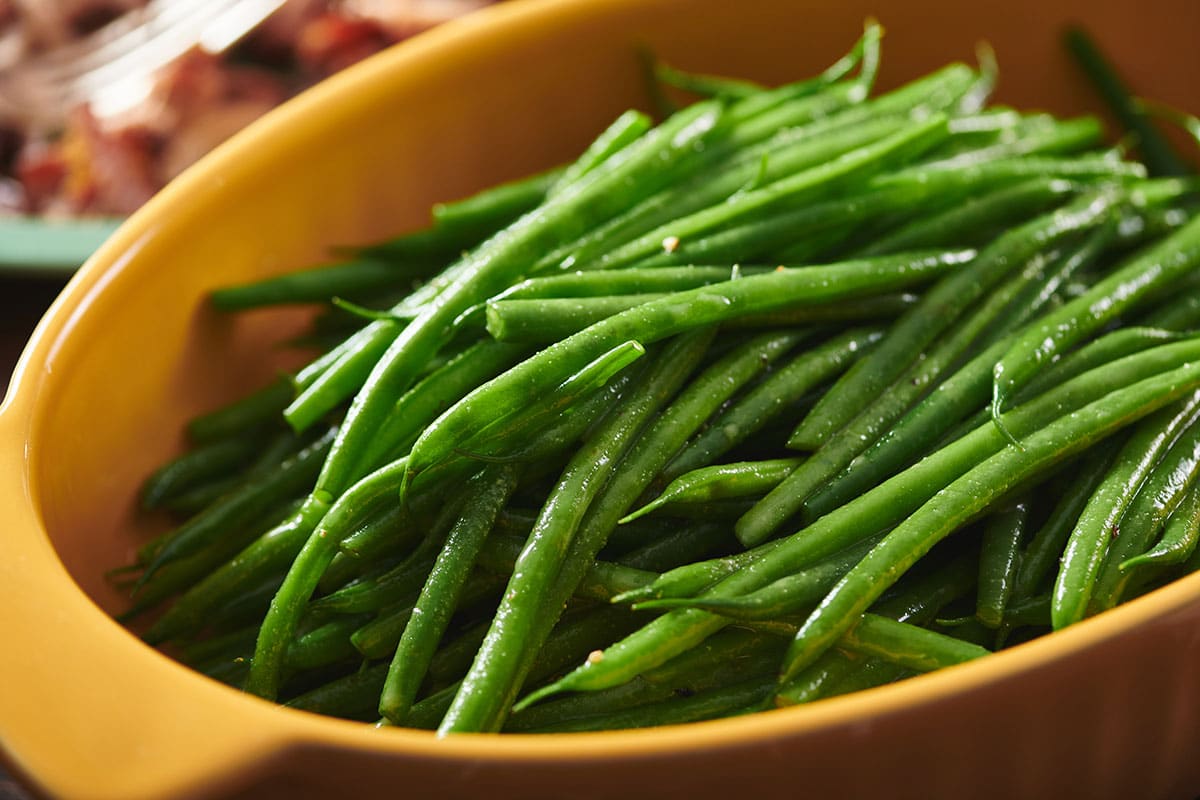
They should be bright green and crisp-tender—not limp, and not raw.
By signing up, you agree to our Privacy Policy.
Step-by-Step: How to Blanch Green Beans

- Trim the green beans: Snap off the stem ends and remove any strings from mature green beans. Thin, young beans usually don’t need trimming.

- Boil briefly: Add the green beans to the boiling water. Work in batches if needed so the water stays at a rolling boil. Cook for 2 to 5 minutes, depending on thickness and how tender you like them.
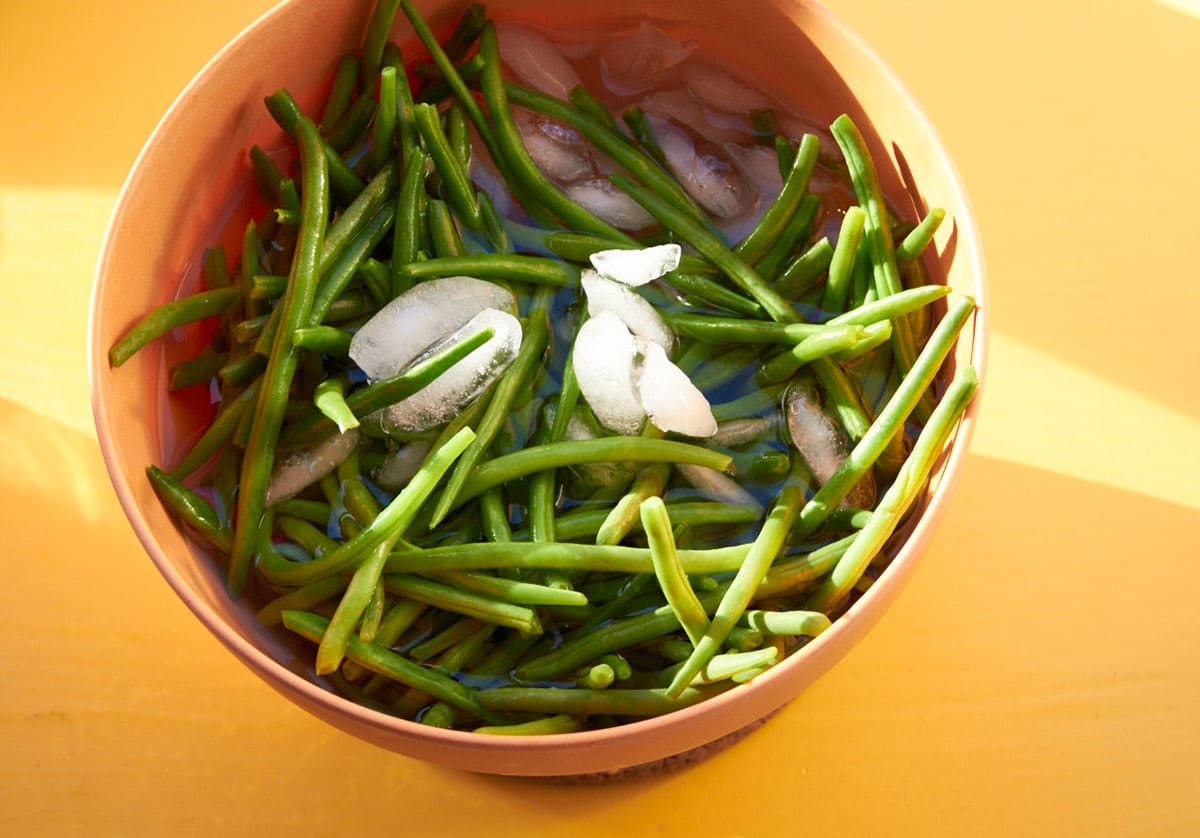
- Shock in ice water: Transfer the beans directly into the ice bath. Let cool for 1 to 2 minutes, until completely cold, then drain well. This stops the cooking and preserves their color.
- Use or store: Serve right away, refrigerate for later, or freeze for long-term storage.
Common Mistakes When Blanching Green Beans (and How to Avoid Them)

Overcrowding the pot: Too many beans at once drops the water temperature and leads to uneven cooking. Blanch in batches if necessary.
Not salting the water: Blanching water should taste like the sea. This is your only chance to season the beans themselves.
Skipping the ice bath: Without the ice bath, the beans keep cooking and quickly turn dull and soft. Don’t skip it.
Not drying before storing or freezing: Excess moisture leads to soggy beans, ice crystals, or freezer burn. Drain well and pat dry.
Also see How to Cook Fresh Green Beans and How to Cook Haricots Verts!
FAQs
Blanch green beans for 1 to 5 minutes in boiling salted water. Thinner beans need just 1 or 2 minutes; thicker, more mature beans can go up to 5 minutes. They should be bright green and crisp-tender.
The ice bath stops the cooking immediately. This keeps the beans from turning mushy and locks in their bright green color.
Yes. Blanched green beans can be made up to 2 days ahead, drained well, and stored in an airtight container in the refrigerator.
They’re partially cooked. Blanching tenderizes the beans and sets the color, but they’re meant to be finished later (in a stir-fry or sauté) or served as is (crisp-tender)
They’re safe to eat, but the texture, color, and flavor will suffer because enzymes keep breaking the beans down in the freezer. Unblanched green beans tend to turn limp, dull in color, and taste flat much faster than blanched ones.
How to Freeze Green Beans After Blanching
Blanching is essential if you want frozen green beans that actually taste good later. If you’re planning to freeze the beans, dry them thoroughly after blanching and cooling—extra moisture leads to icy clumps, and nobody needs that.
- Blanch the green beans according to the instructions above.
- Cool completely in the ice bath, then drain and pat very dry.
- Spread the beans in a single layer on a baking sheet and freeze until solid.
- Transfer to freezer-safe bags or containers, pressing out excess air.
Frozen blanched green beans will keep well for up to 8 months. Cook them straight from frozen—no need to thaw.
Recipes That Use Blanched Green Beans
- Fresh Green Bean Casserole
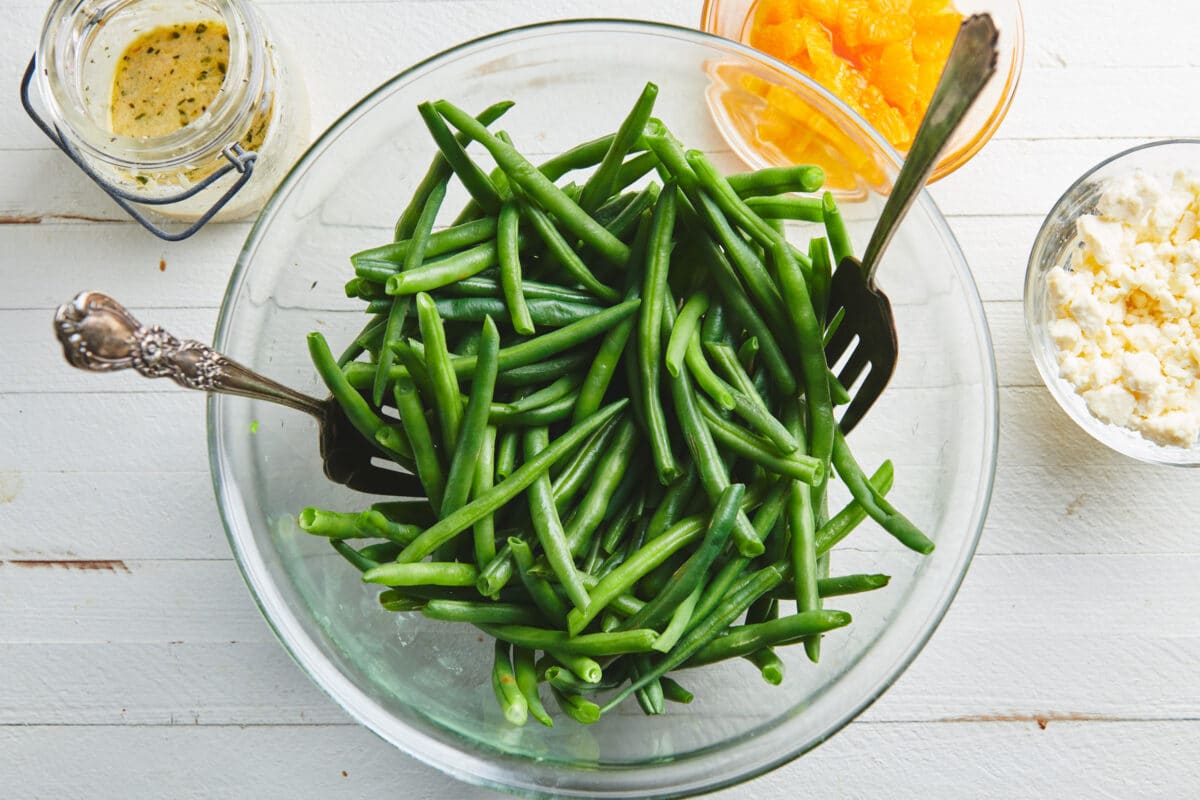
- Green Bean Salad with Clementine Oranges and Feta
- Green Beans with Tarragon Vinaigrette
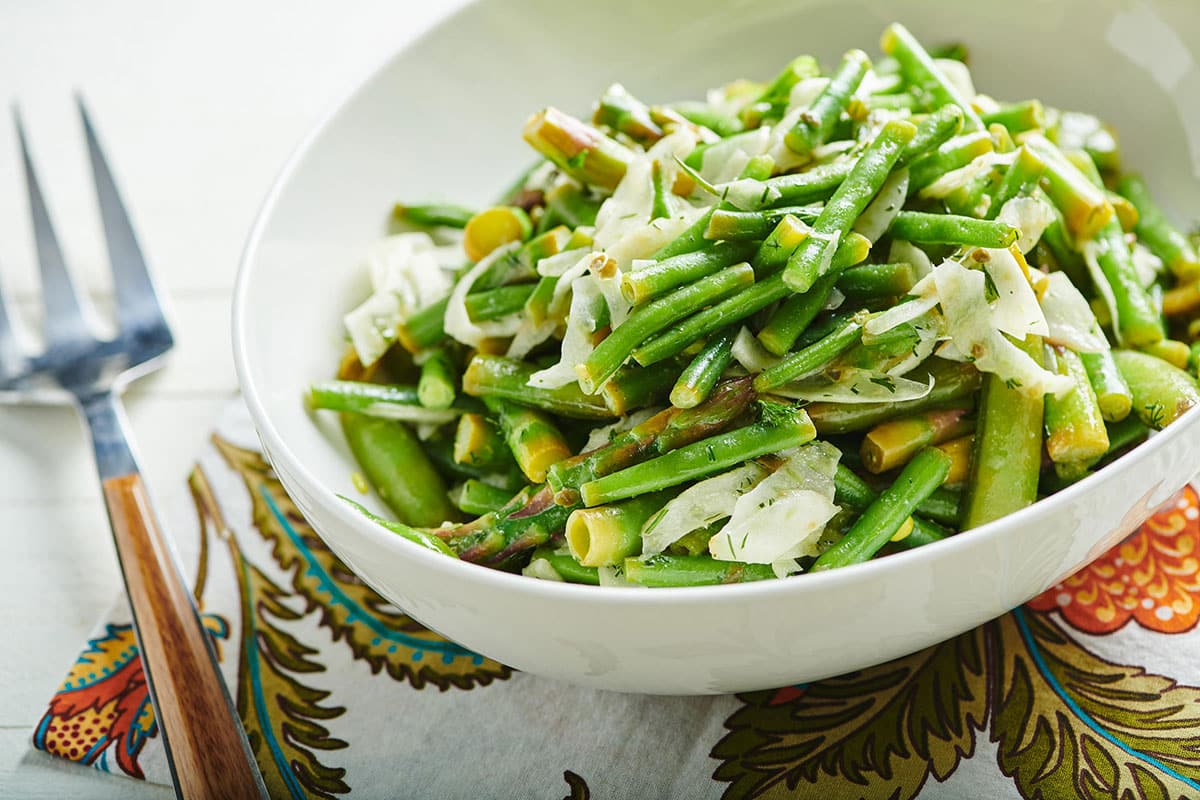
- Spring Vegetable Salad
- All-Green Vegetable Crudités Basket
- Rice and Vegetable Salad
- Honey Mustard Green Beans
Pin this now to find it later
Pin It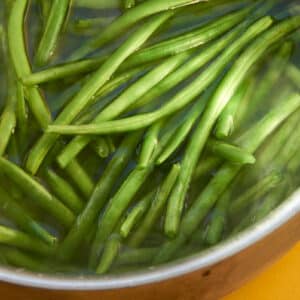
How to Blanch Green Beans (Quick Method)
Ingredients
- 1 pound green beans
Instructions
- Bring a large pot of well-salted water to a boil. Fill a large bowl with ice water and set it nearby. Have a colander, strainer, or slotted spoon ready to go.
- For mature green beans, snap off the stem ends and remove any strings. Very thin, young beans usually don’t need trimming at all.
- Add the green beans to the boiling water. If you’re blanching a lot, work in batches so the water stays at a rolling boil. Cook for 2 to 5 minutes, depending on whether you want them more crisp or more tender.
- Transfer the beans directly from the pot into the ice bath. Let them cool for 1 to 2 minutes, until completely cold, then drain well. This step stops the cooking and locks in that bright green color.
- Blanched green beans can be served right away, added to salads, used in cooked recipes, arranged on a crudités platter, or frozen for later.
Notes
- Thin green beans: 1–3 minutes
- Medium green beans: 2–4 minutes
- Thick or mature green beans: 3–5 minutes
Nutrition
More Fresh Veggie Cooking Tips
Fresh vegetables are very easy to prepare, especially if you get a few pro tips. Here’s a few more you might like…