How to Cook Perfect Farro on the Stove
Updated Dec 23, 2025
This post may contain affiliate links. Please read our disclosure policy.
Learn how to cook perfect farro on the stove with the simple, foolproof method. Whether using pearled, semi-pearled, or whole farro, you'll get tender chewy grains every time in about 30 minutes. Perfect for salads, bowls, soups, or as a hearty side, farro is a versatile pantry staple that is easy, nutritious, and delicious.
Farro is an ancient whole grain with a nutty flavor and a pleasantly chewy texture. Once you know how to cook it properly on the stove, it becomes a pantry hero — perfect for salads, bowls, soups, or as a hearty side with just farro, liquid, and a pinch of salt (plus an optional toast for extra flavor), you can have tender, flavorful grains in about 30 minutes.
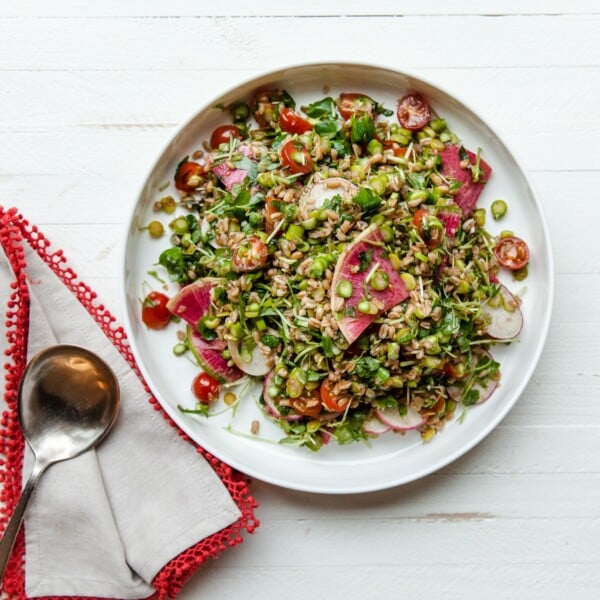
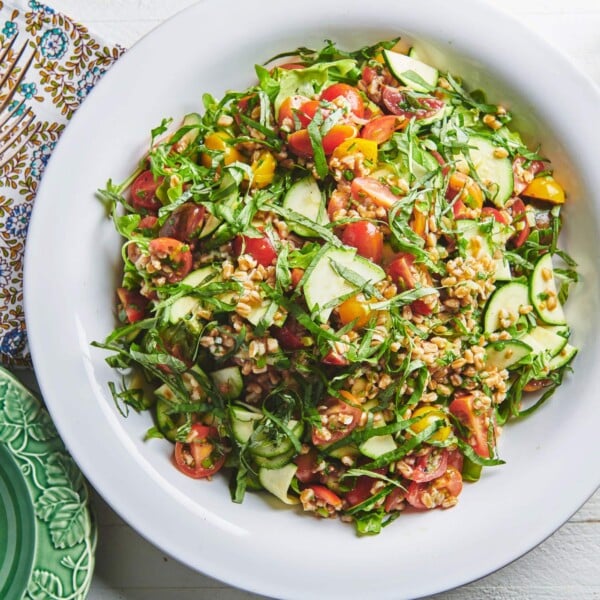
Once you have your cooked farro, try Farro and Vegetable Salad, Farro with Grilled Broccoli and Sweet Onions, or Tomato and Farro Salad.
What's In This Post?
What You Need to Know About Farro
What Is Farro?
Farro is an ancient grain often confused with barley, but it’s slightly smaller, heartier, and cooks faster (especially pearled farro). Its nutty flavor and chewy texture make it versatile for many dishes.
By signing up, you agree to our Privacy Policy.
Types of Farro
- Pearled farro: Quickest to cook; most bran removed.
- Semi-pearled farro: Balanced nutrition and chewiness.
- Whole farro: Hearty and chewy, best soaked before cooking.
Nutrition Snapshot
High in fiber, protein, iron, and B vitamins, farro will fill you up without weighing you down. According to BeyondCeliac.org, farro is a type of wheat that contains gluten.
Buying Tips
Pearled or semi-pearled farro is best for stovetop cooking. Whole farro works but needs soaking or longer simmering.
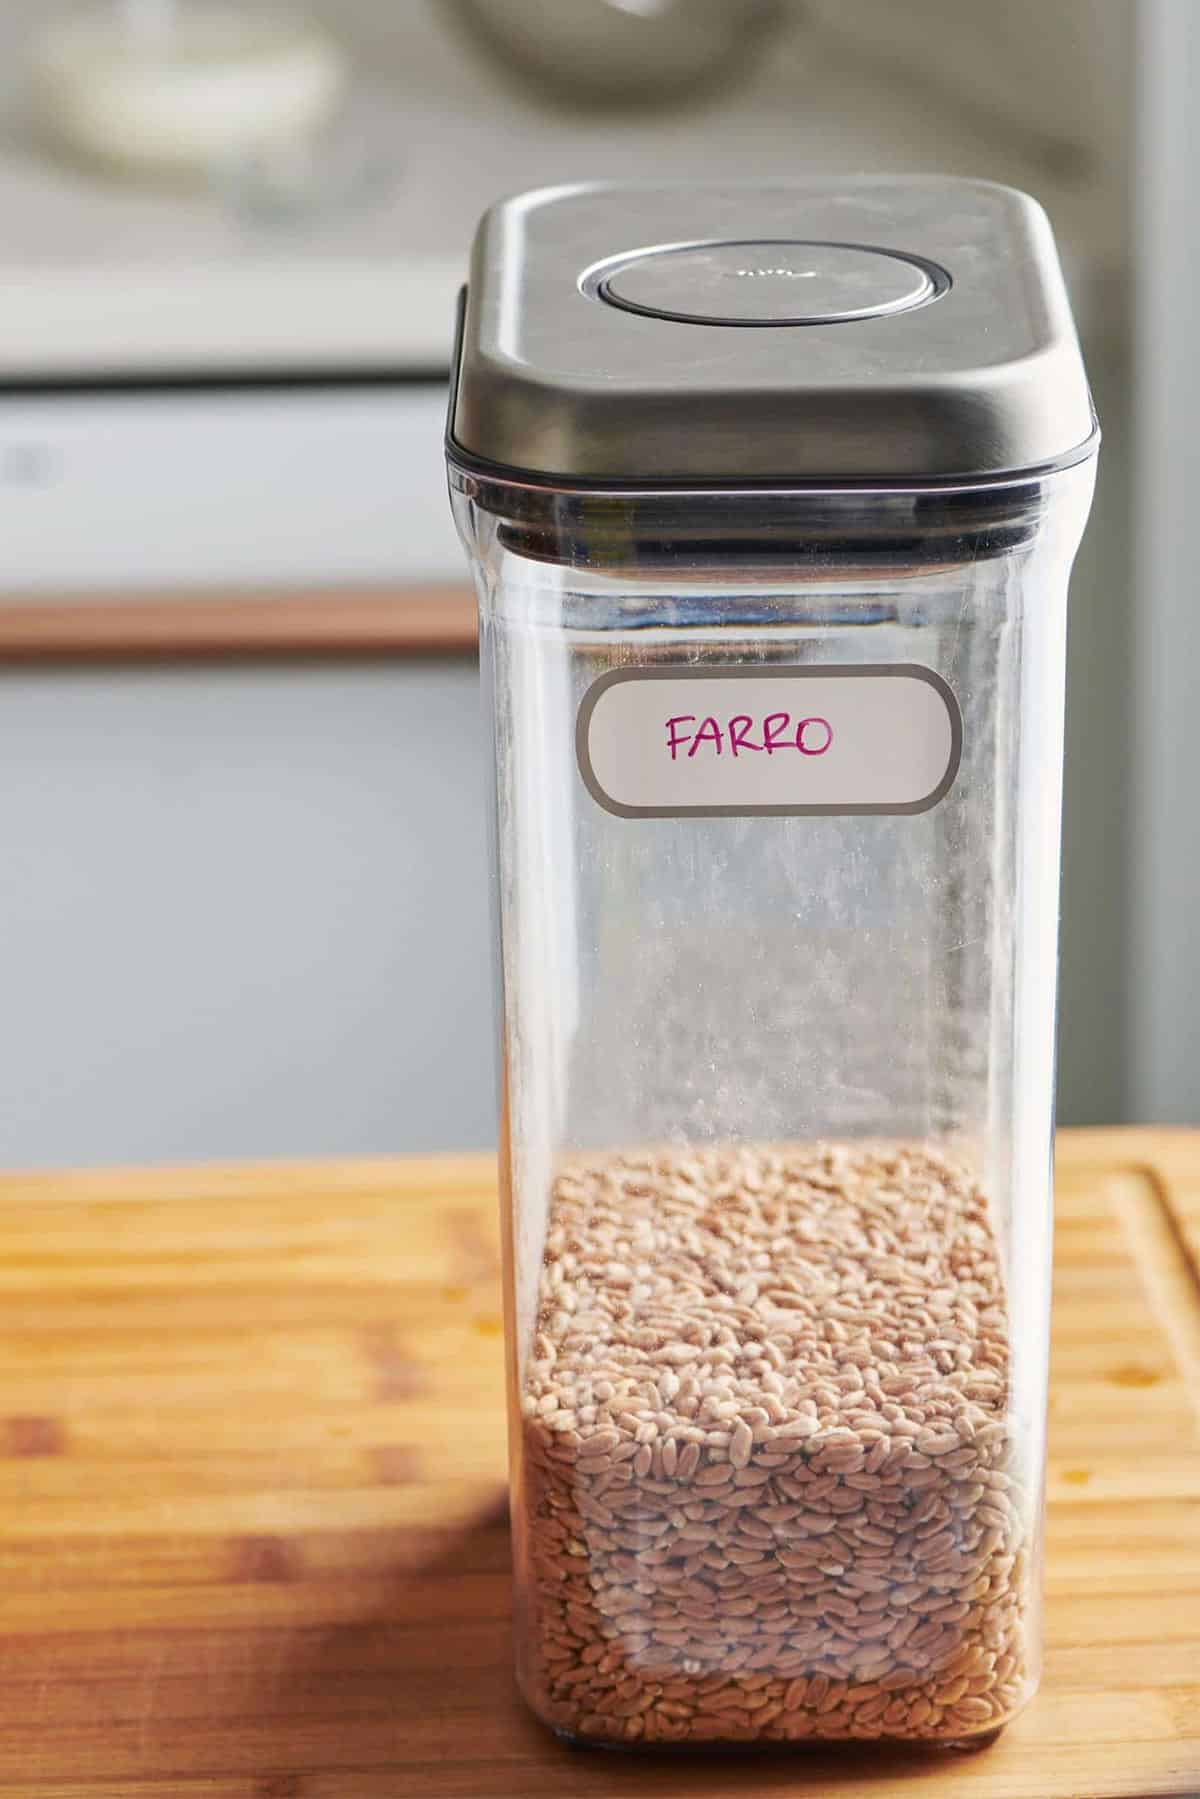
Farro is available packaged (Bob’s Red Mill brand is often the one stores carry), or it may be in the bulk foods aisle of well-stocked supermarkets and natural foods stores. Or you can buy farro online.
My Secret for Perfect Stovetop Farro

I like cooking farro in a diluted broth, allowing it to simmer and absorb flavor, then draining off any excess liquid. All broth will impart lots of flavor to the grain, but a diluted broth will allow the nutty flavor of the farro to shine through, with a boost of additional umami. Using more liquid than the grains will absorb when they are cooked through also means you don’t have to worry about the farro drying out or, worse, burning on the bottom of the pot.
Cooking Tip
Always rinse farro before cooking. Toast dry farro for extra nuttiness, and remember: 1 cup farro = 3 cups liquid for stovetop cooking.
Stovetop Method for Perfect Farro
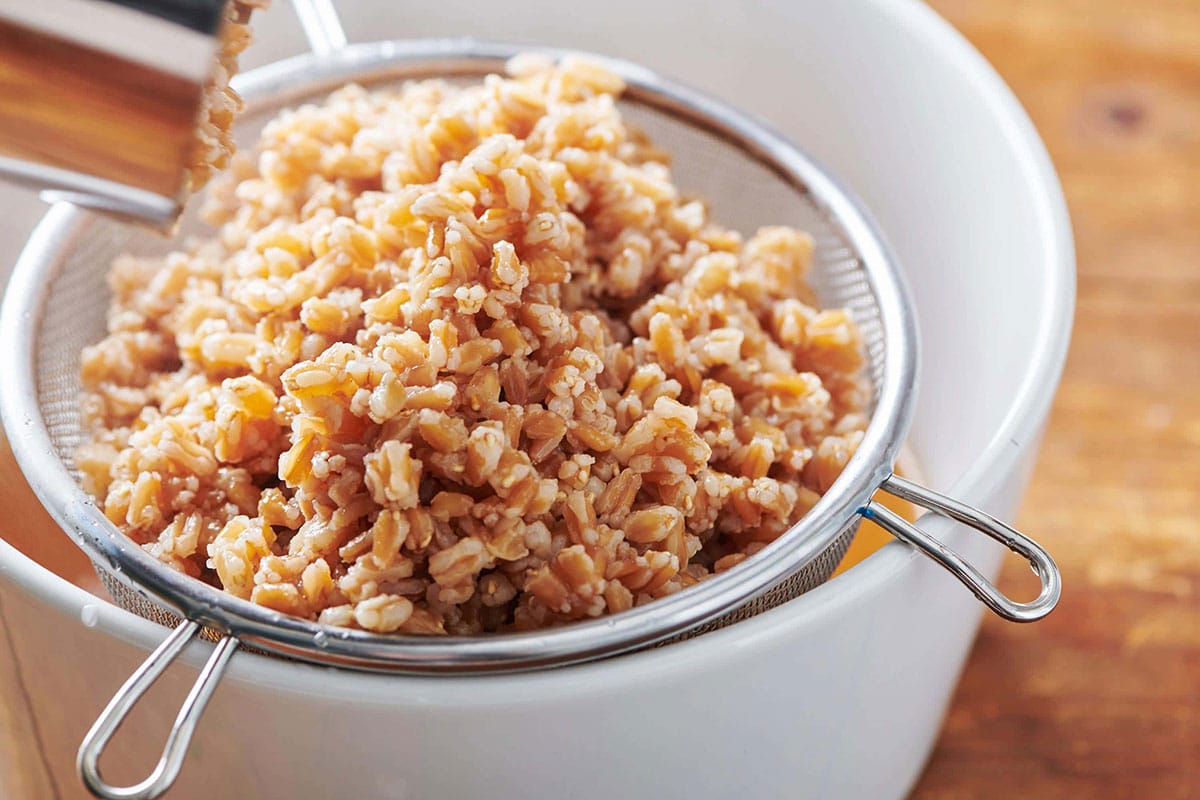
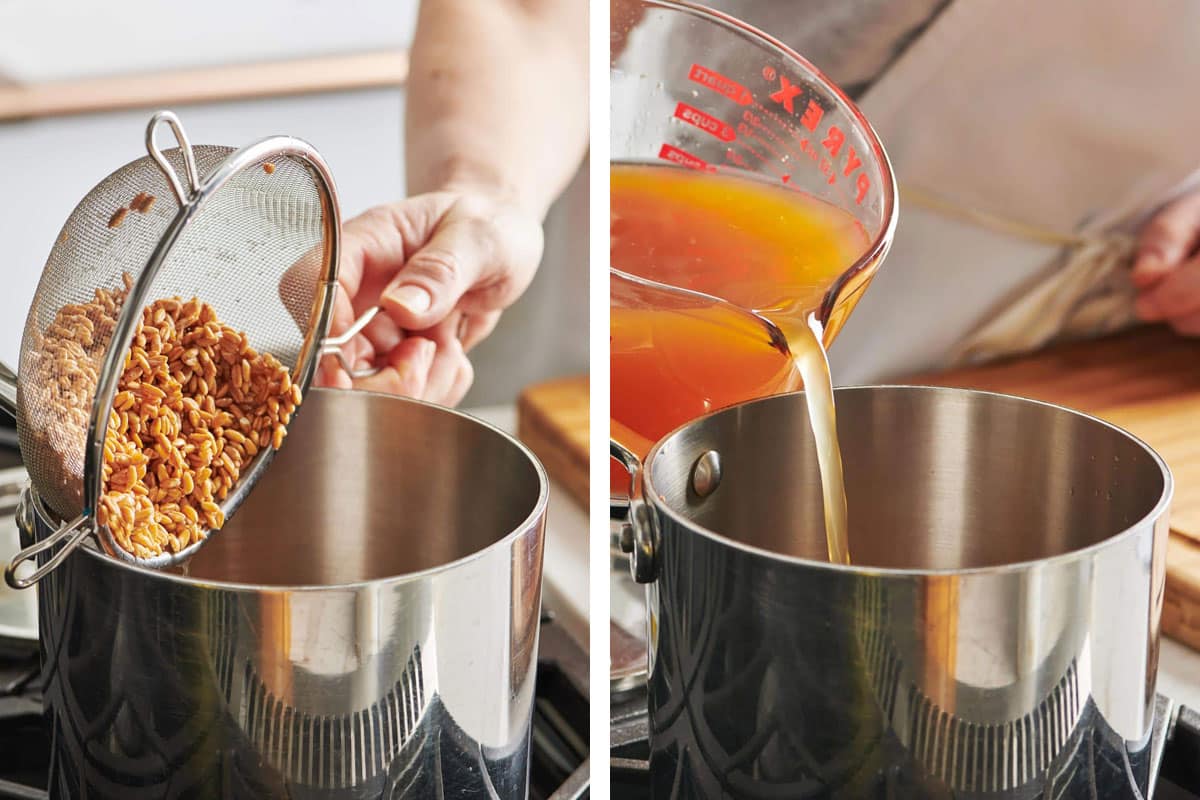
- Prepare the farro: Rinse farro in a fine-mesh sieve or strainer under cold water; drain.

- Optional: Toast rinsed farro in a dry pot over medium heat for a few minutes to enhance the nutty flavor.
- Combine farro and liquid: Add farro, liquid, salt, and optional butter/oil to the pot. Bring to a boil.
- Simmer: Reduce the heat to low, cover, and simmer for 25-35 minutes, until tender but still chewy.
- Drain and cool: Drain any remaining liquid. Spread on a rimmed tray if cooling for salad, which will keep the grains from steaming into mush.

Farro-to-Liquid Ratio
Remember…1 part farro: 3 parts liquid. One cup of dried farro will make about 2 to 2 1/2 cups of cooked farro.
| Farro | Water or Broth or a Combination |
|---|---|
| 1/2 cup | 1 1/2 cups |
| 1 cup | 3 cups |
| 1 1/2 cups | 4 1/2 cups |
| 2 cups | 6 cups |
Farro Cook Times by Type
Farro can take anywhere from 25 to 40 minutes on the stove to become tender. The cooking time depends on the type of farro, the age of the grain, how deep or shallow your pot is, and whether other ingredients have been added to the pot.
| Farro Type | Cook Time (unsoaked) | Notes |
|---|---|---|
| Pearled Farro | 15-20 min | Quickest, minimal prep. |
| Semi-Pearled Farro | 25-30 min | Balanced chew and nutrition. |
| Whole Farro | 35-45 min+ | Soak ≥8 hours to reduce cooking time. |
Quick Tips for Cooking Farro Perfectly
- Rinse farro before cooking to remove dust or debris.
- Toast for a deeper, nuttier flavor.
- Use broth for a richer flavor or water for a lighter taste.
- Make sure that the liquid doesn’t evaporate, as then the bottom grains will start to brown and burn.
- Cool quickly for salads by spreading on a tray – avoids mush.
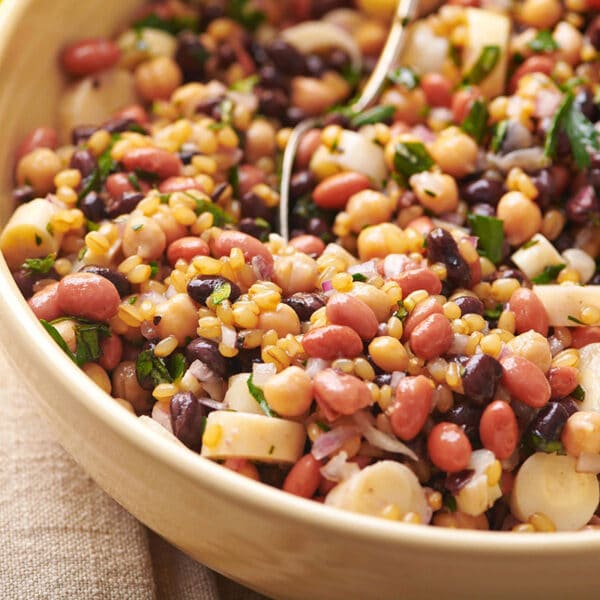
Ways to Enjoy Your Farro
- As a hearty side instead of rice or potatoes.
- Tossed in salads or grain bowls.
- Stirred into soups and stews.
- To replace pasta or rice in various dishes.
Farro holds its texture beautifully, making it perfect for make-ahead meals and grain salads. Because it’s a dense grain, if it is the main ingredient, you will want to add a substantial amount of other ingredients so that the grain salad doesn’t feel too heavy.
Recipes With Farro

Farro FAQs
Rinse, toast if desired, then simmer in 3 parts water/broth per 1 part farro for 25-35 minutes until tender but still chewy. Drain off any excess liquid.
Pearled or semi-pearled farro cooks fine without soaking. Whole farro benefits from an overnight soak to reduce cooking time and improve digestibility.
Yes! Broth adds flavor. You can also use water and season it with butter or olive oil and salt.
Store in an airtight container in the fridge for up to 5 days. It reheats well in soups, salads, or as a side.
Dry-toasting enhances the nutty aroma and adds depth to the flavor. You can skip it if you’re short on time.
Absolutely! It’s perfect for chilled salads or grain bowls. It holds its texture better than most grains when cooled.
Use this method to get chewy, nutty, and flavorful farro every time.
Pin this now to find it later
Pin It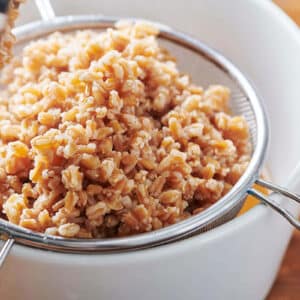
Perfect Stovetop Farro
Ingredients
- 1 cup farro
- 3 cups water (or stock or a mixture of both)
- ½ teaspoon Kosher salt
- 1 teaspoon butter or olive oil (optional)
Instructions
- Place the farro into a mesh sieve and rinse with cold water. Drain.
- Place the farro into a medium-sized pot with a lid. Add the water or stock or a combination of both, and add the salt and butter or olive oil if using. Bring to a boil over high heat.
- Reduce the heat to low, cover, and gently simmer for about 30 minutes, until it is tender but still chewy (if you have soaked it overnight, the cooking time will be shorter). The cooking time depends on a number of factors, all explained above! If there is liquid remaining in the pot, drain it in a sieve.
- If you are using it in a salad or a room-temperature dish, spread it out on a rimmed baking sheet to cool to prevent it from getting mushy.
Notes
Farro Cooking Tips
- Rinse and drain your farro before cooking.
- You can toast the farro first in a dry pot over medium heat, stirring frequently, for a few minutes to give it an even nuttier flavor before proceeding with the simmering instructions below.
- Soaking farro can shorten the cooking time, but it’s not necessary.
- Use a combo of half water and half chicken or vegetable broth to give your farro an extra bump of flavor.
- Farro is not gluten-free, so people with gluten intolerance or celiac disease should not eat it.


Absolutely love this recipe….so flavorful! Farro has become my favorite ❤️!
How do I eat it for breakfast ? Can I eat it with milk like I eat my oat meal? I’m just starting to experience eating grains and for adding protein .
You could! maybe a little honey or brown sugar, and maybe a pinch of cinnamon? it’s much denser than oatmeal, so a little will be pretty filling.
If the farro is toasted, do I still need to rinse it?
Thank you!
I am not 100% sure, but I would err on the side of rinsing!
Hi, just read your steps to cook Farro and a excited to try. I do have a question though. Step 4 says if you’re using it in a salad to spread it out on a baking sheet to ‘cook’ to prevent it from getting mushy. Do you mean spread it out to ‘cool’? Thank you!
I surely did mean cool, thank you!