Old-Fashioned Buttermilk Biscuits
Updated Aug 23, 2024
This post may contain affiliate links. Please read our disclosure policy.
Homemade light and flaky biscuits are so easy to make, and you can make the dough ahead of time!

Making your own biscuits is one of the most satisfying baking projects around, and it’s downright easy. If you are a baker who hails from the South, you already know this. If you are a Northerner, you might only think of canned refrigerated dough biscuits when it comes to baking them at home. And those canned biscuits are delicious — I‘m a fan. But making old-fashioned buttermilk biscuits from scratch — wow, some real dividends to be had.
These biscuits employ two leaveners: baking soda and baking powder. If you only have one, read how to substitute baking powder for baking soda, and vice versa. And please don’t wonder what to do with leftover buttermilk – there are so many good options!
What's In This Post?
Old-Fashioned Buttermilk Biscuits: Homemade light and flaky biscuits are so easy to make, and you can make the dough ahead of time!
By signing up, you agree to our Privacy Policy.
Tips for Perfect, Tender Biscuits
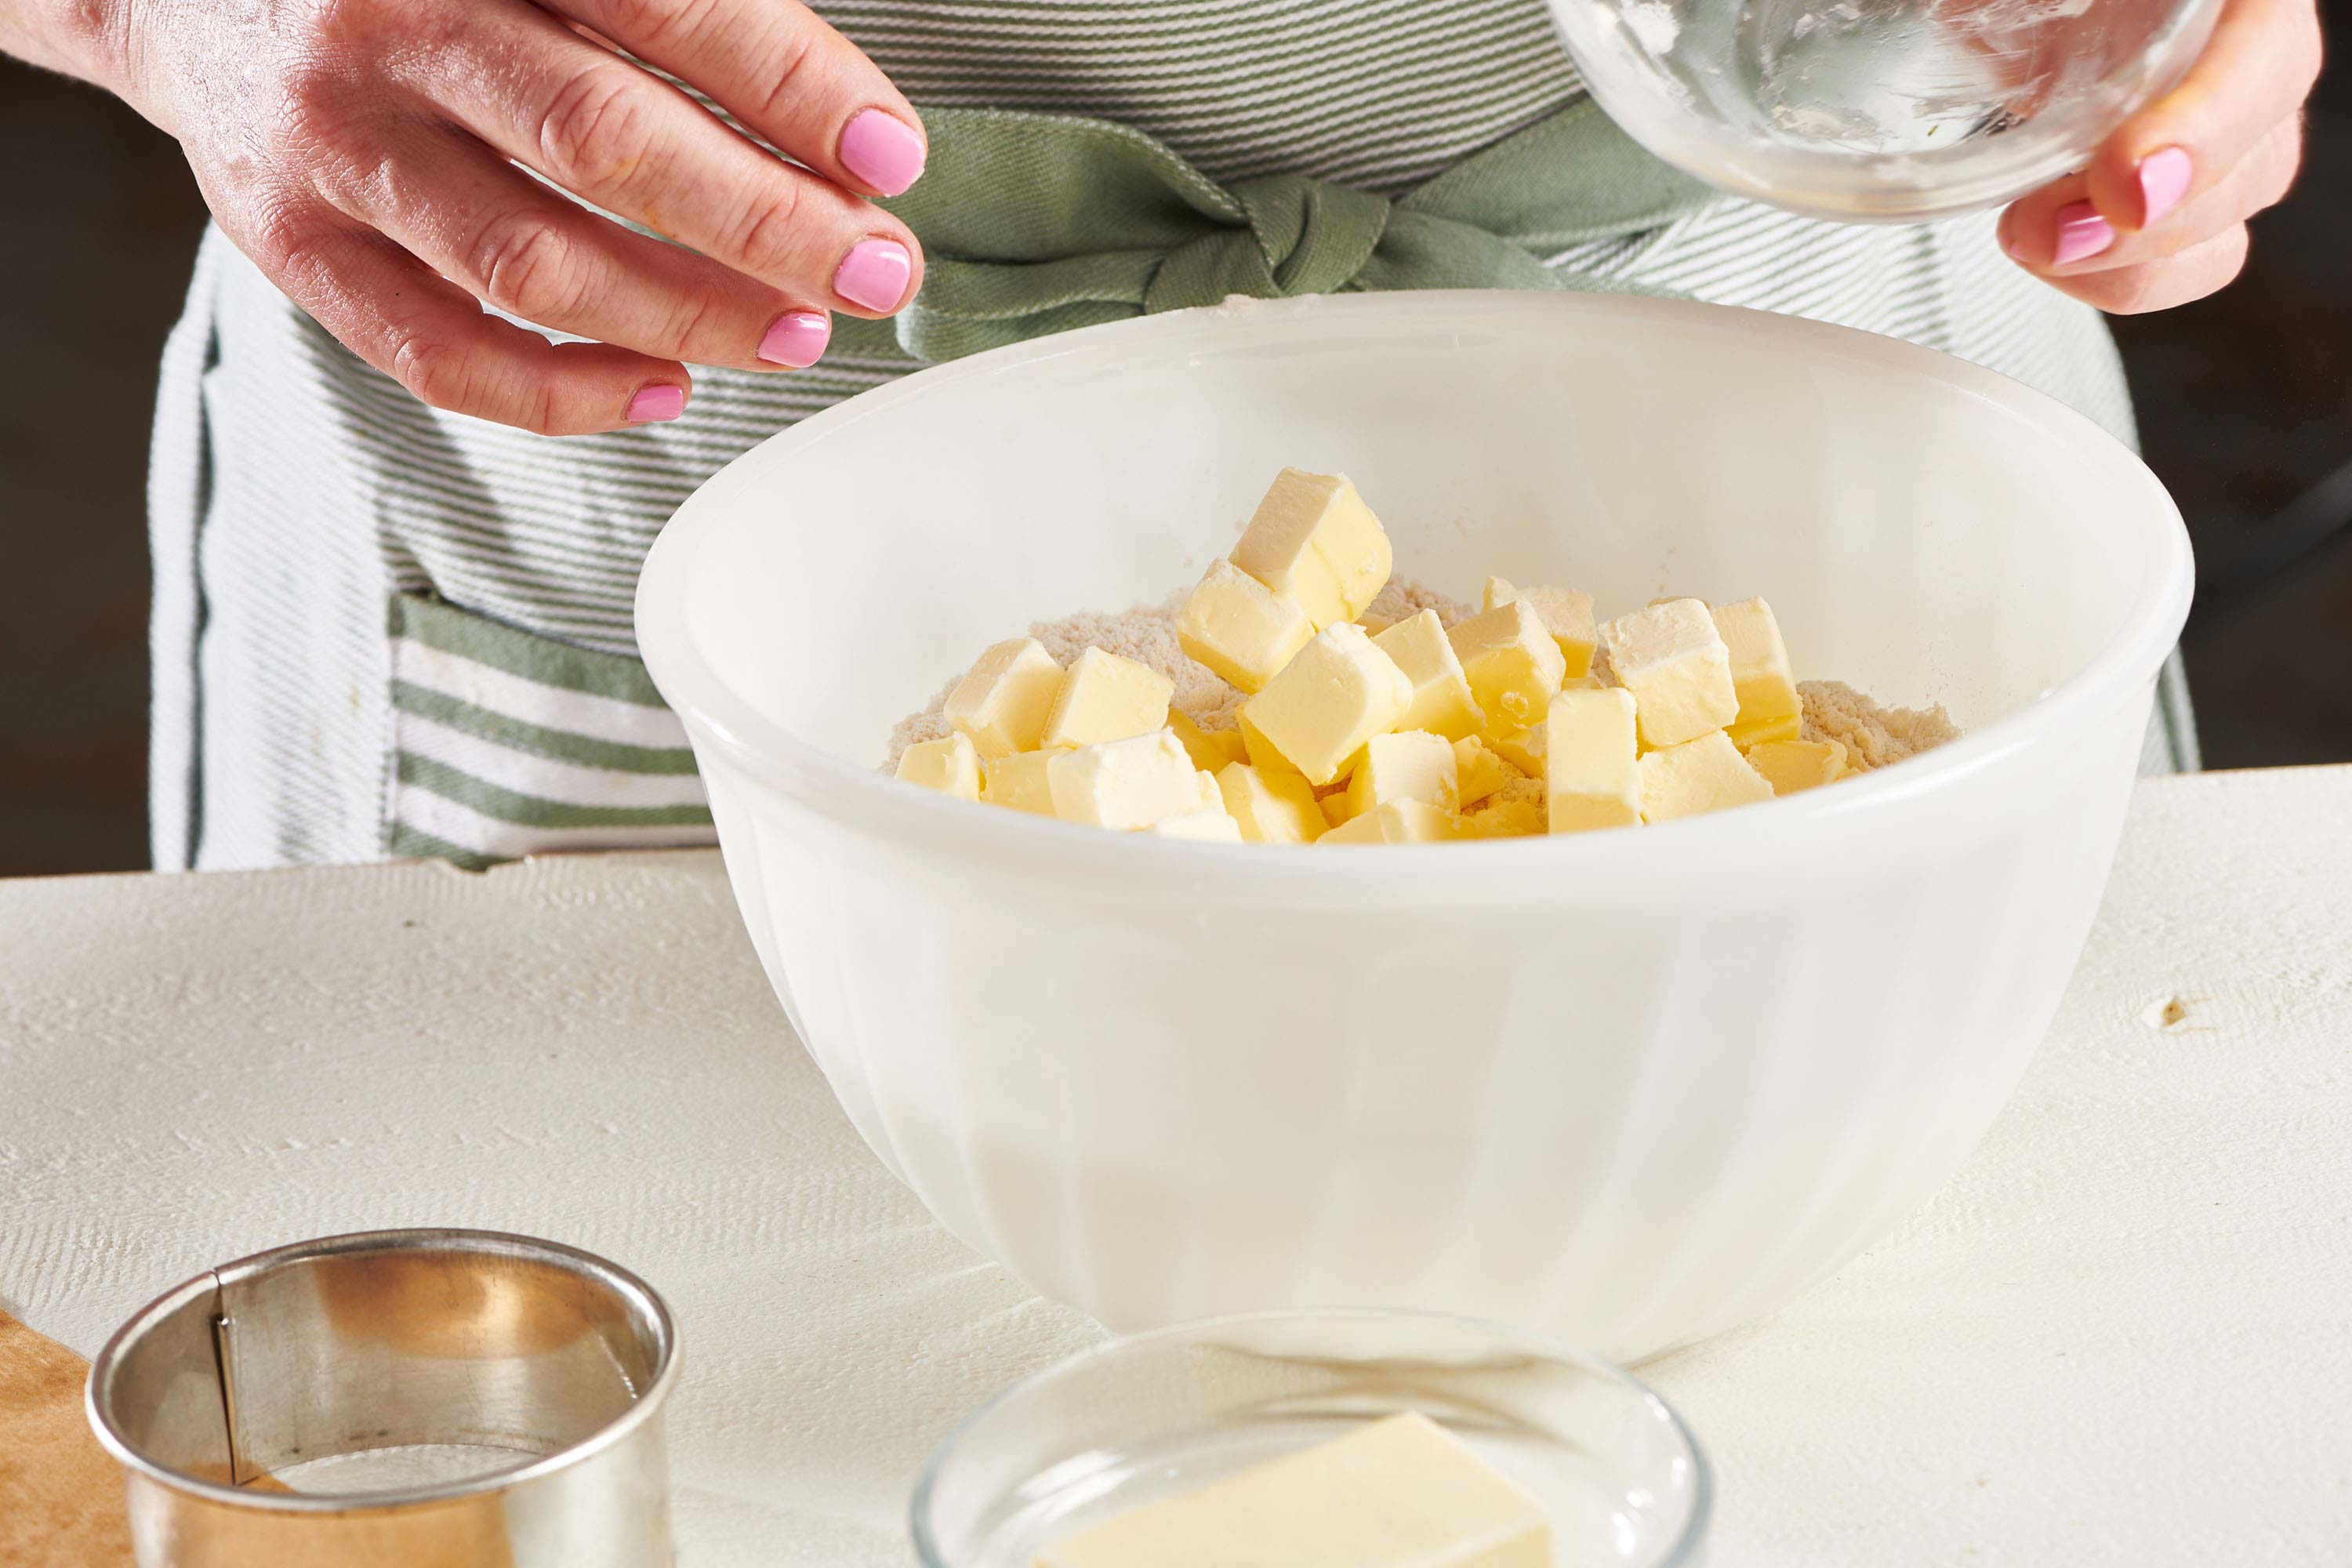
Make Sure the Butter and Milk Is Cold
If your butter is warm, you won’t be able to cut it in properly. You want to use very cold butter, so after you cut it in, there are lots of small bits of chilled butter throughout the dough. These bits of butter then create those flaky pockets when they melt during the baking. The result is the light-textured, tender biscuits that we all dream of. If your butter is soft, it will blend into the flour, resulting in biscuits that are heavier and don’t rise as well.
Handle the Dough as Little as Possible
Once you add the liquid to the flour and butter mixture, combine it as quickly and gently as possible. When the dough is just able to hold together, turn it onto the lightly floured work surface. Then we are talking about 20 seconds of “kneading,” which isn’t really kneading but more patting the dough until it holds together into a shape. Overworked dough makes tough biscuits.
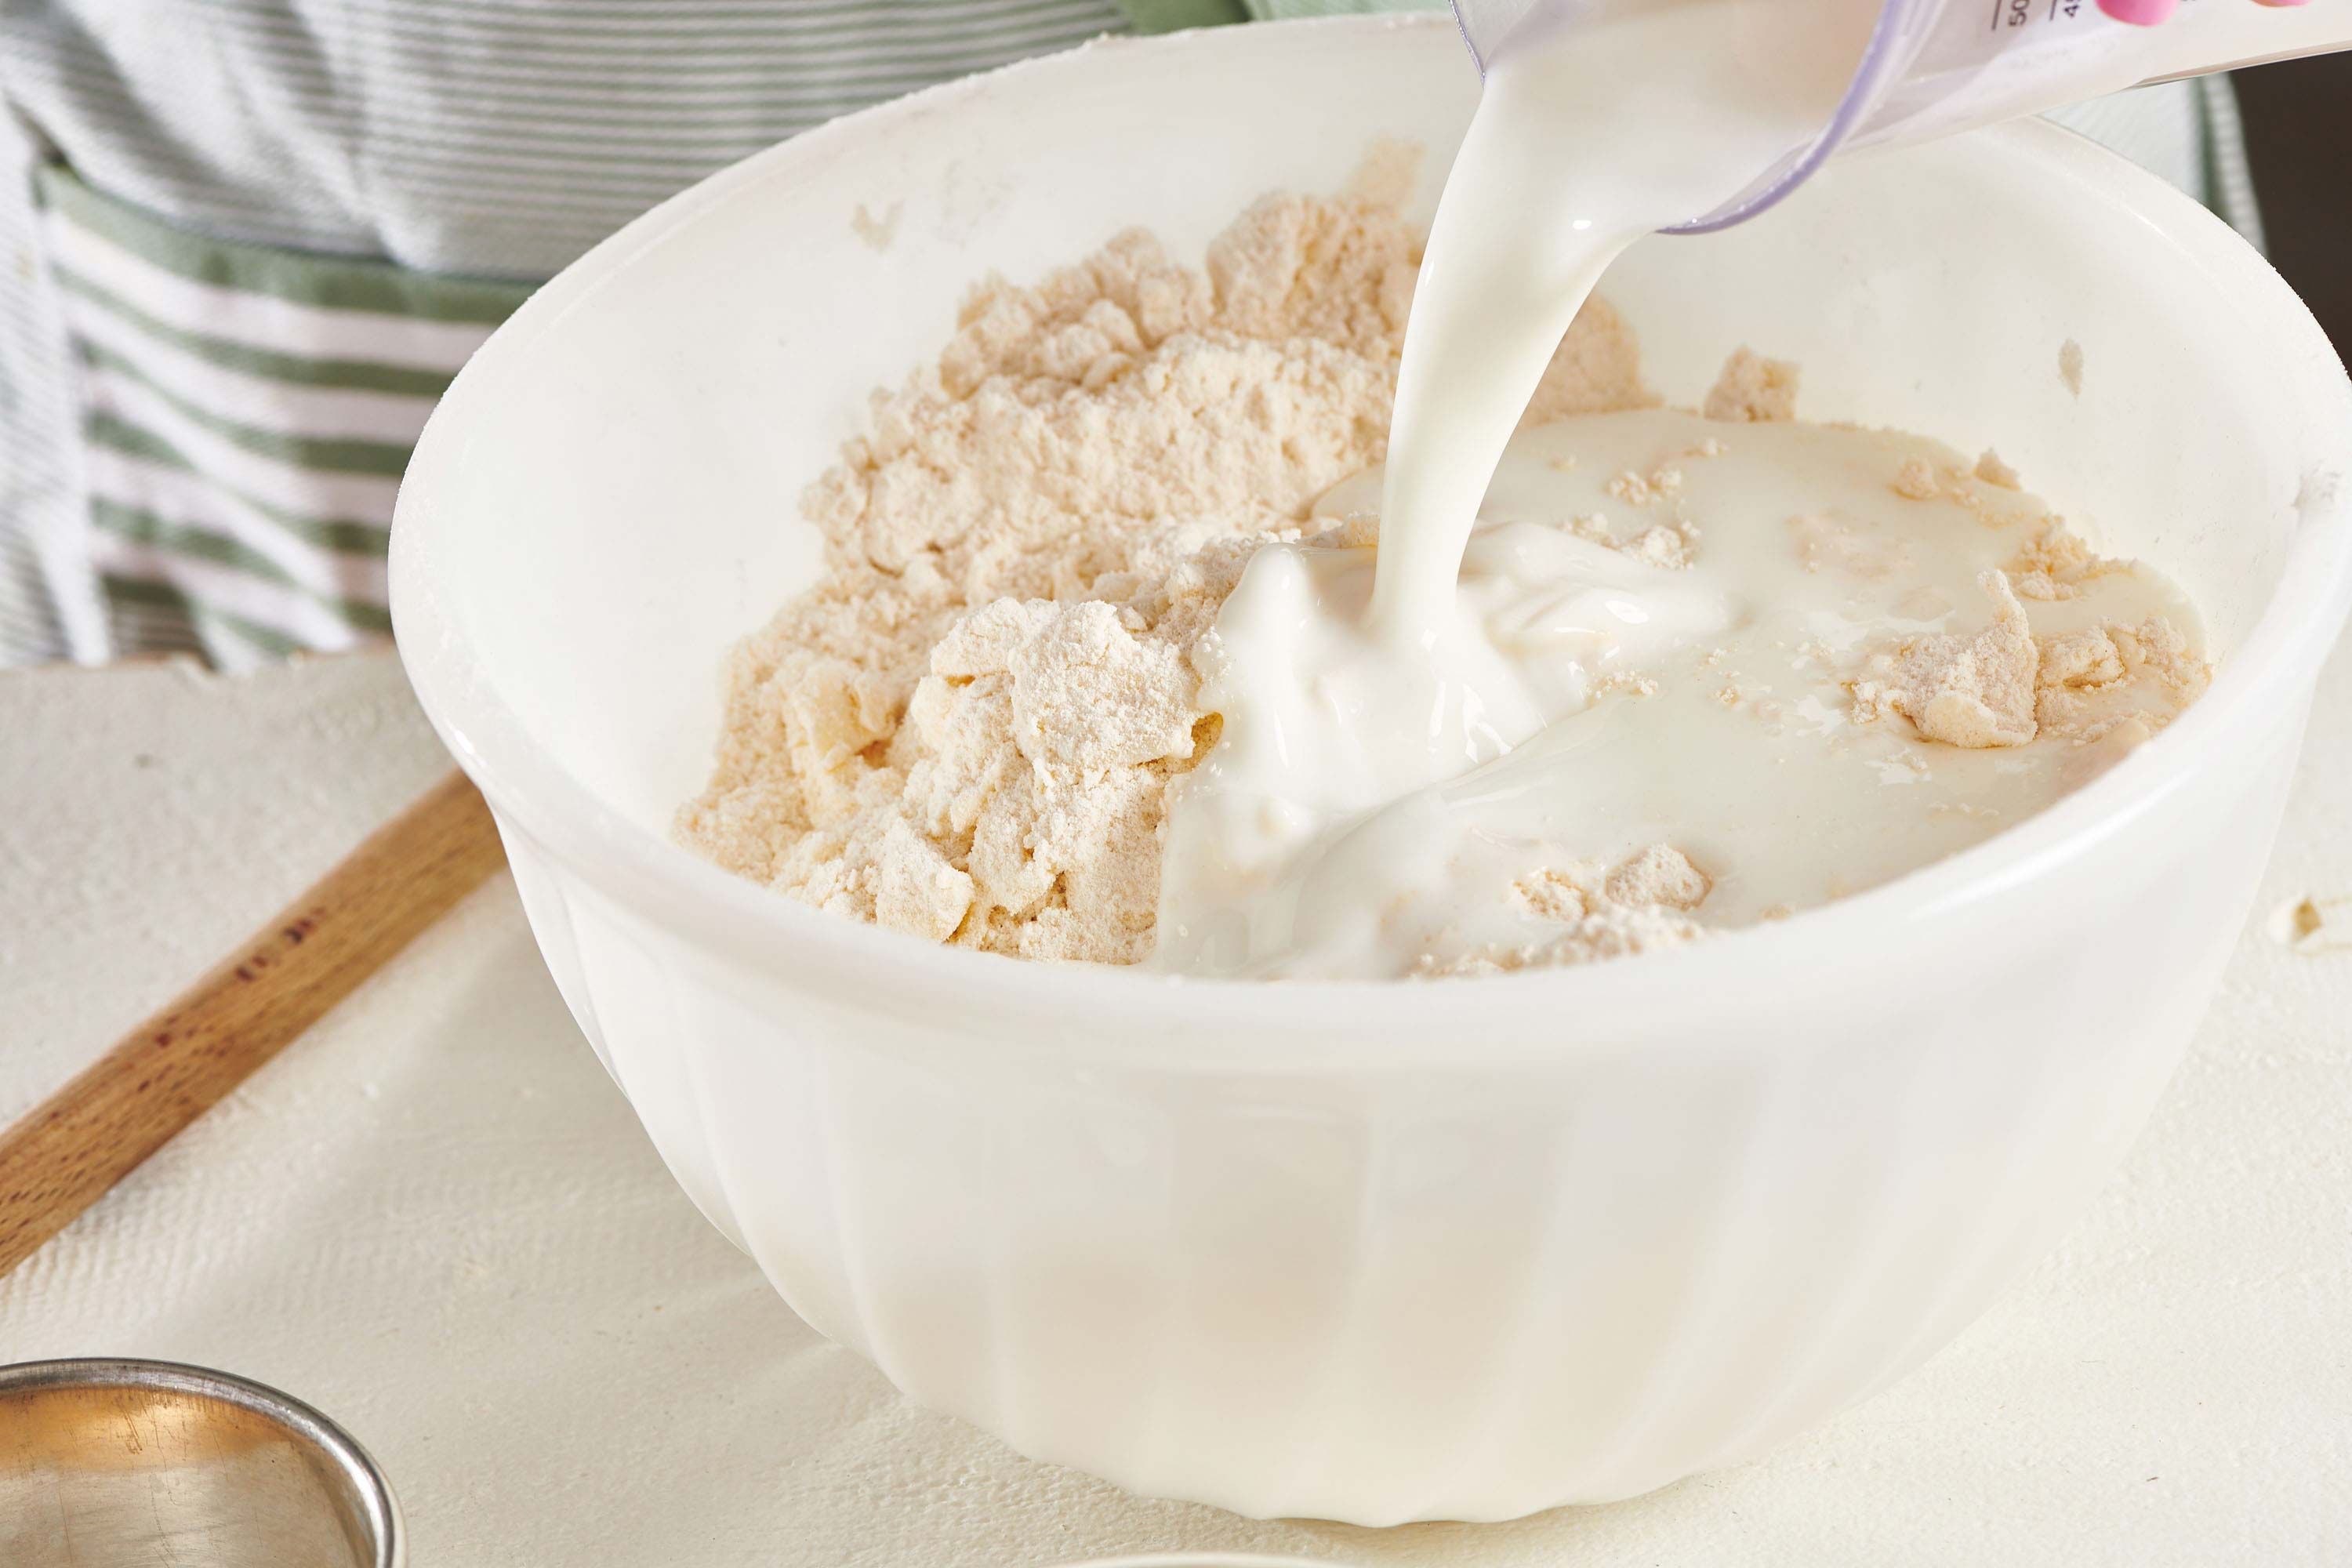
Determine How Much Liquid to Add
This will depend on the flour you are using and also the weather. High humidity requires less liquid/buttermilk. This takes a bit of practice to get the feel of it, but keep temperature and humidity in mind, as well as altitude.
Bake at High Temperature
Baking at a temperature of around 450°F (different recipes may have slight variations on the baking temperature) will allow for maximum rising and browning.
Vegetable Shortening in Biscuits
Butter vs. shortening is a biscuit baker’s dilemma. I always lean towards butter for the flavor, but you can use part vegetable shortening instead of the butter for flakier biscuits. Replace up to half of the butter, but keep some butter for the best taste.
Substituting for Buttermilk
Buttermilk gives the biscuits a light tang and extra tenderness. If you don’t have it on hand, you can make your own buttermilk!
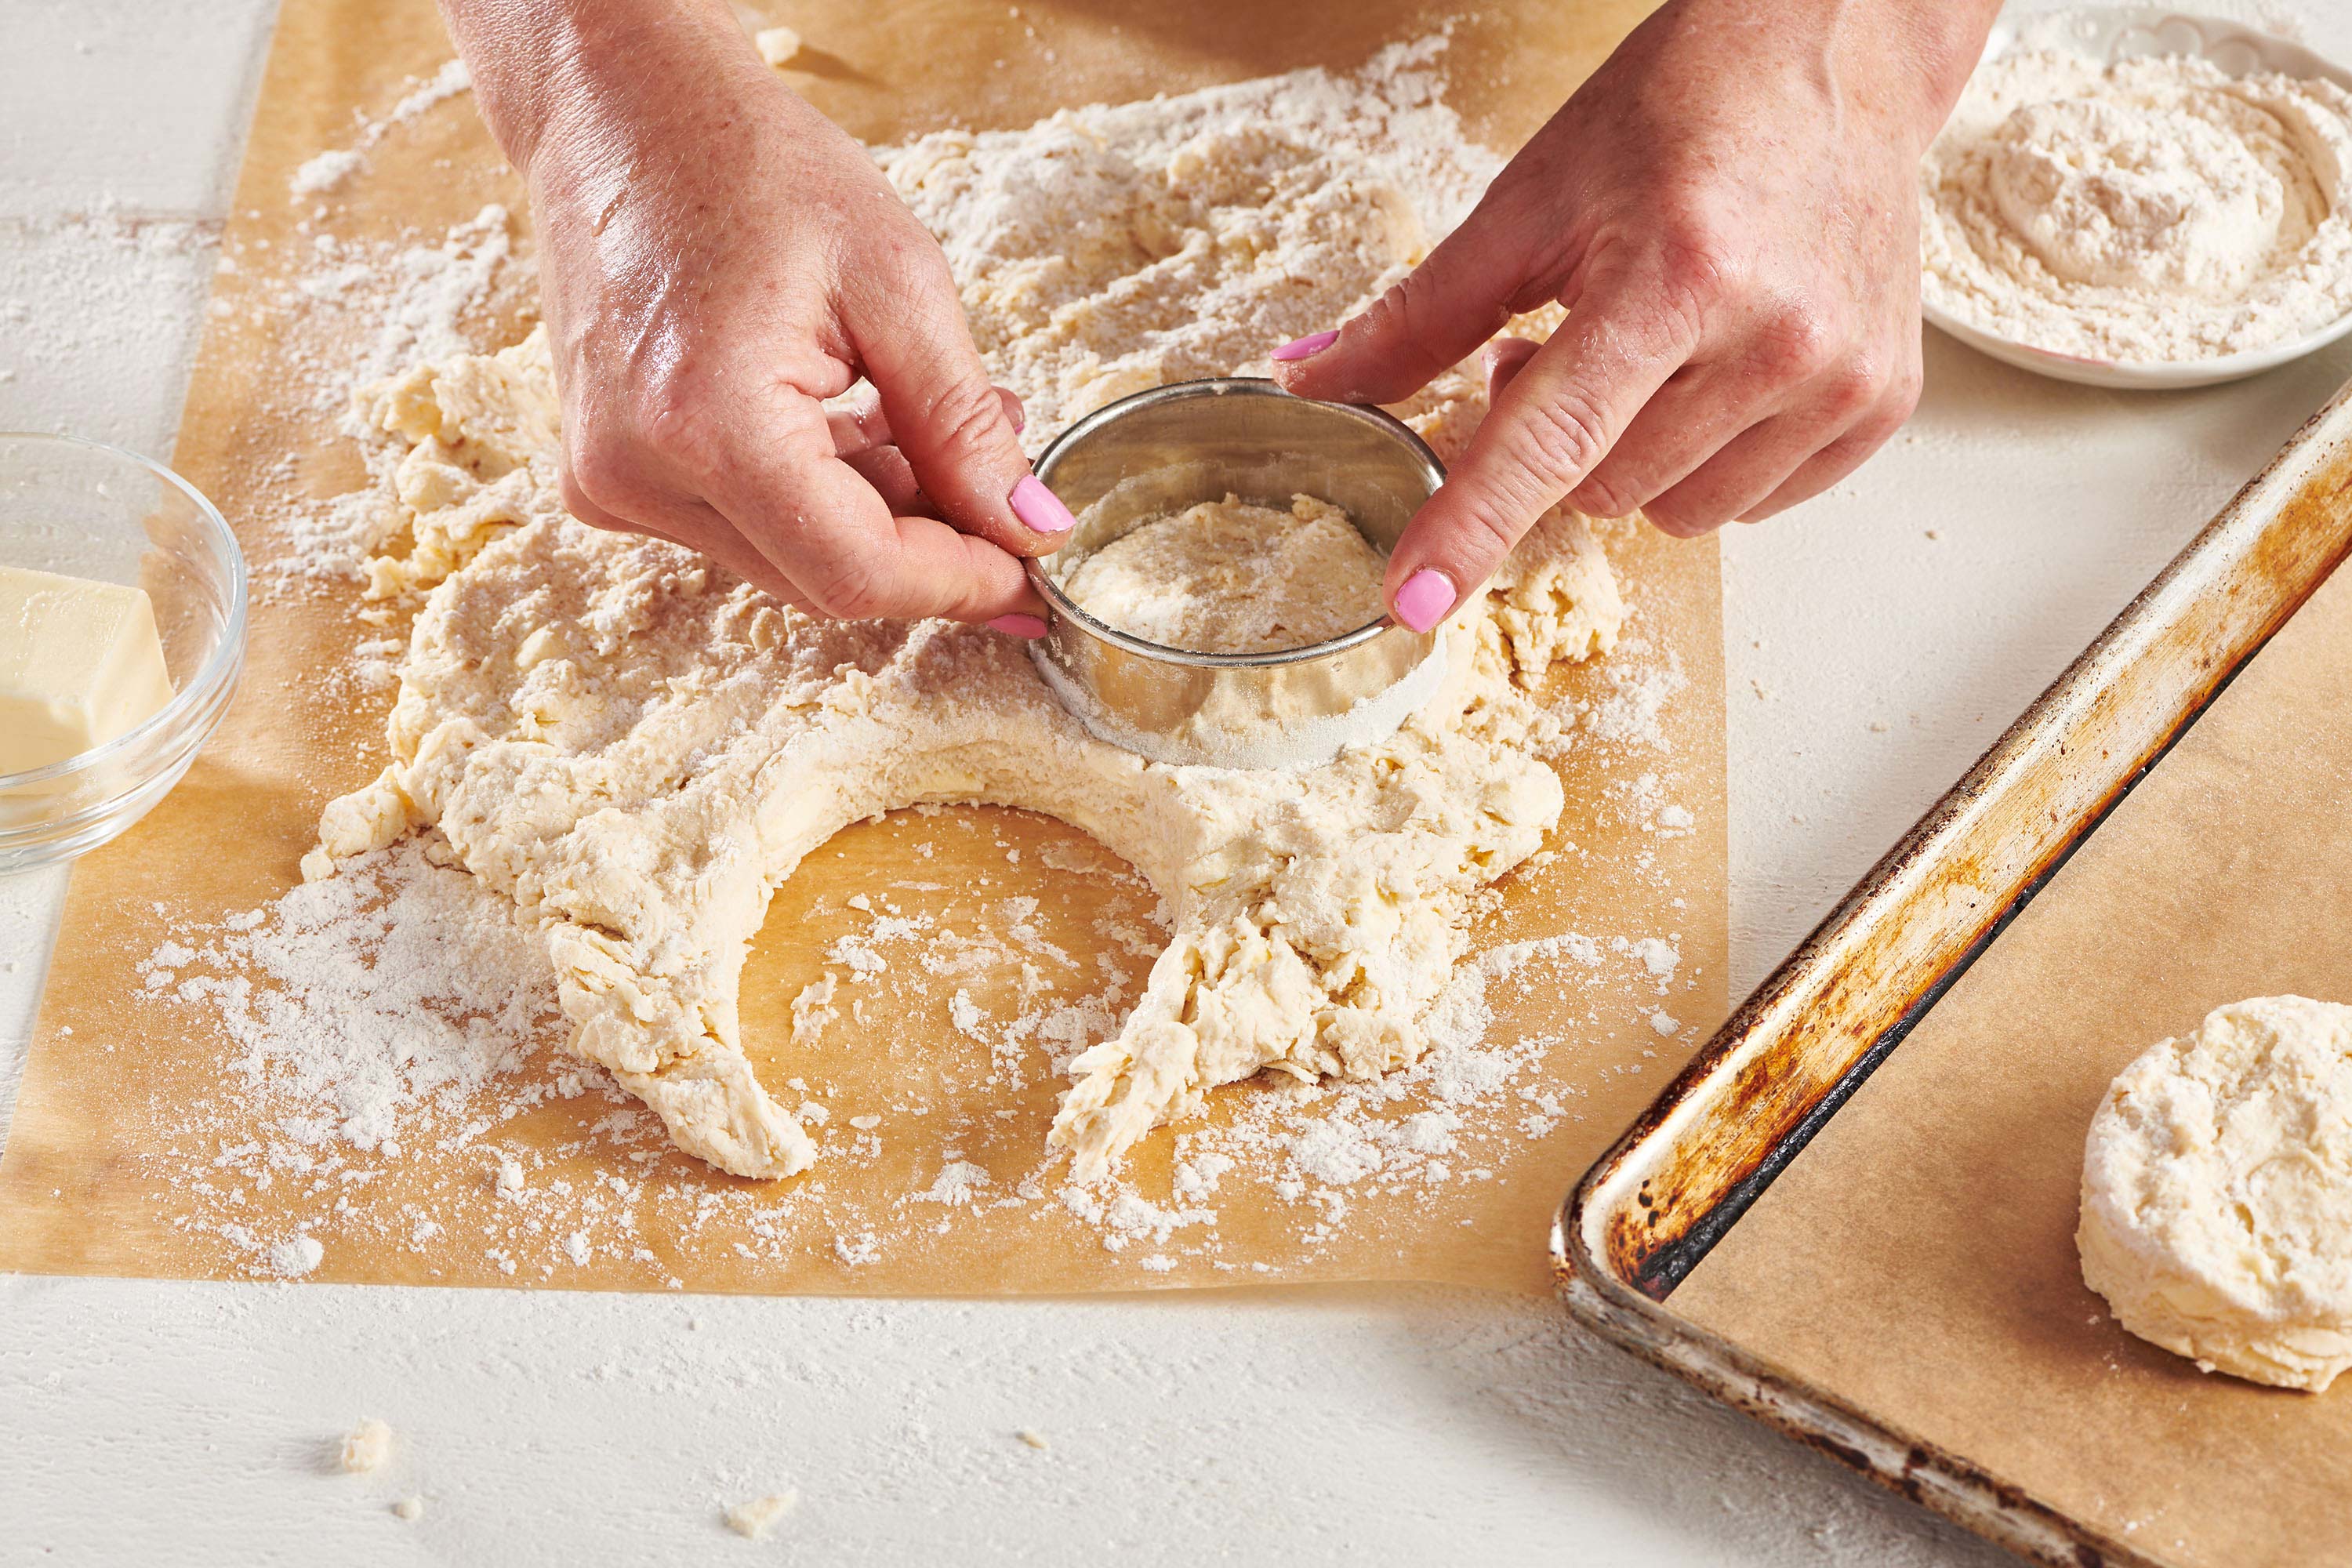
Cutting Perfect Biscuits
Cut circles with a biscuit or cookie cutter, making the circles as close together as possible to use as much of the dough in this first round of cutting. Do not twist the cutter as you press in or pull out, which will seal the layers of the dough and prevent them from rising to their tallest selves. Use a cutter with a sharp edge; you don’t want to use a glass, which won’t cut through the dough cleanly and will compress the layers, hindering the rising process.
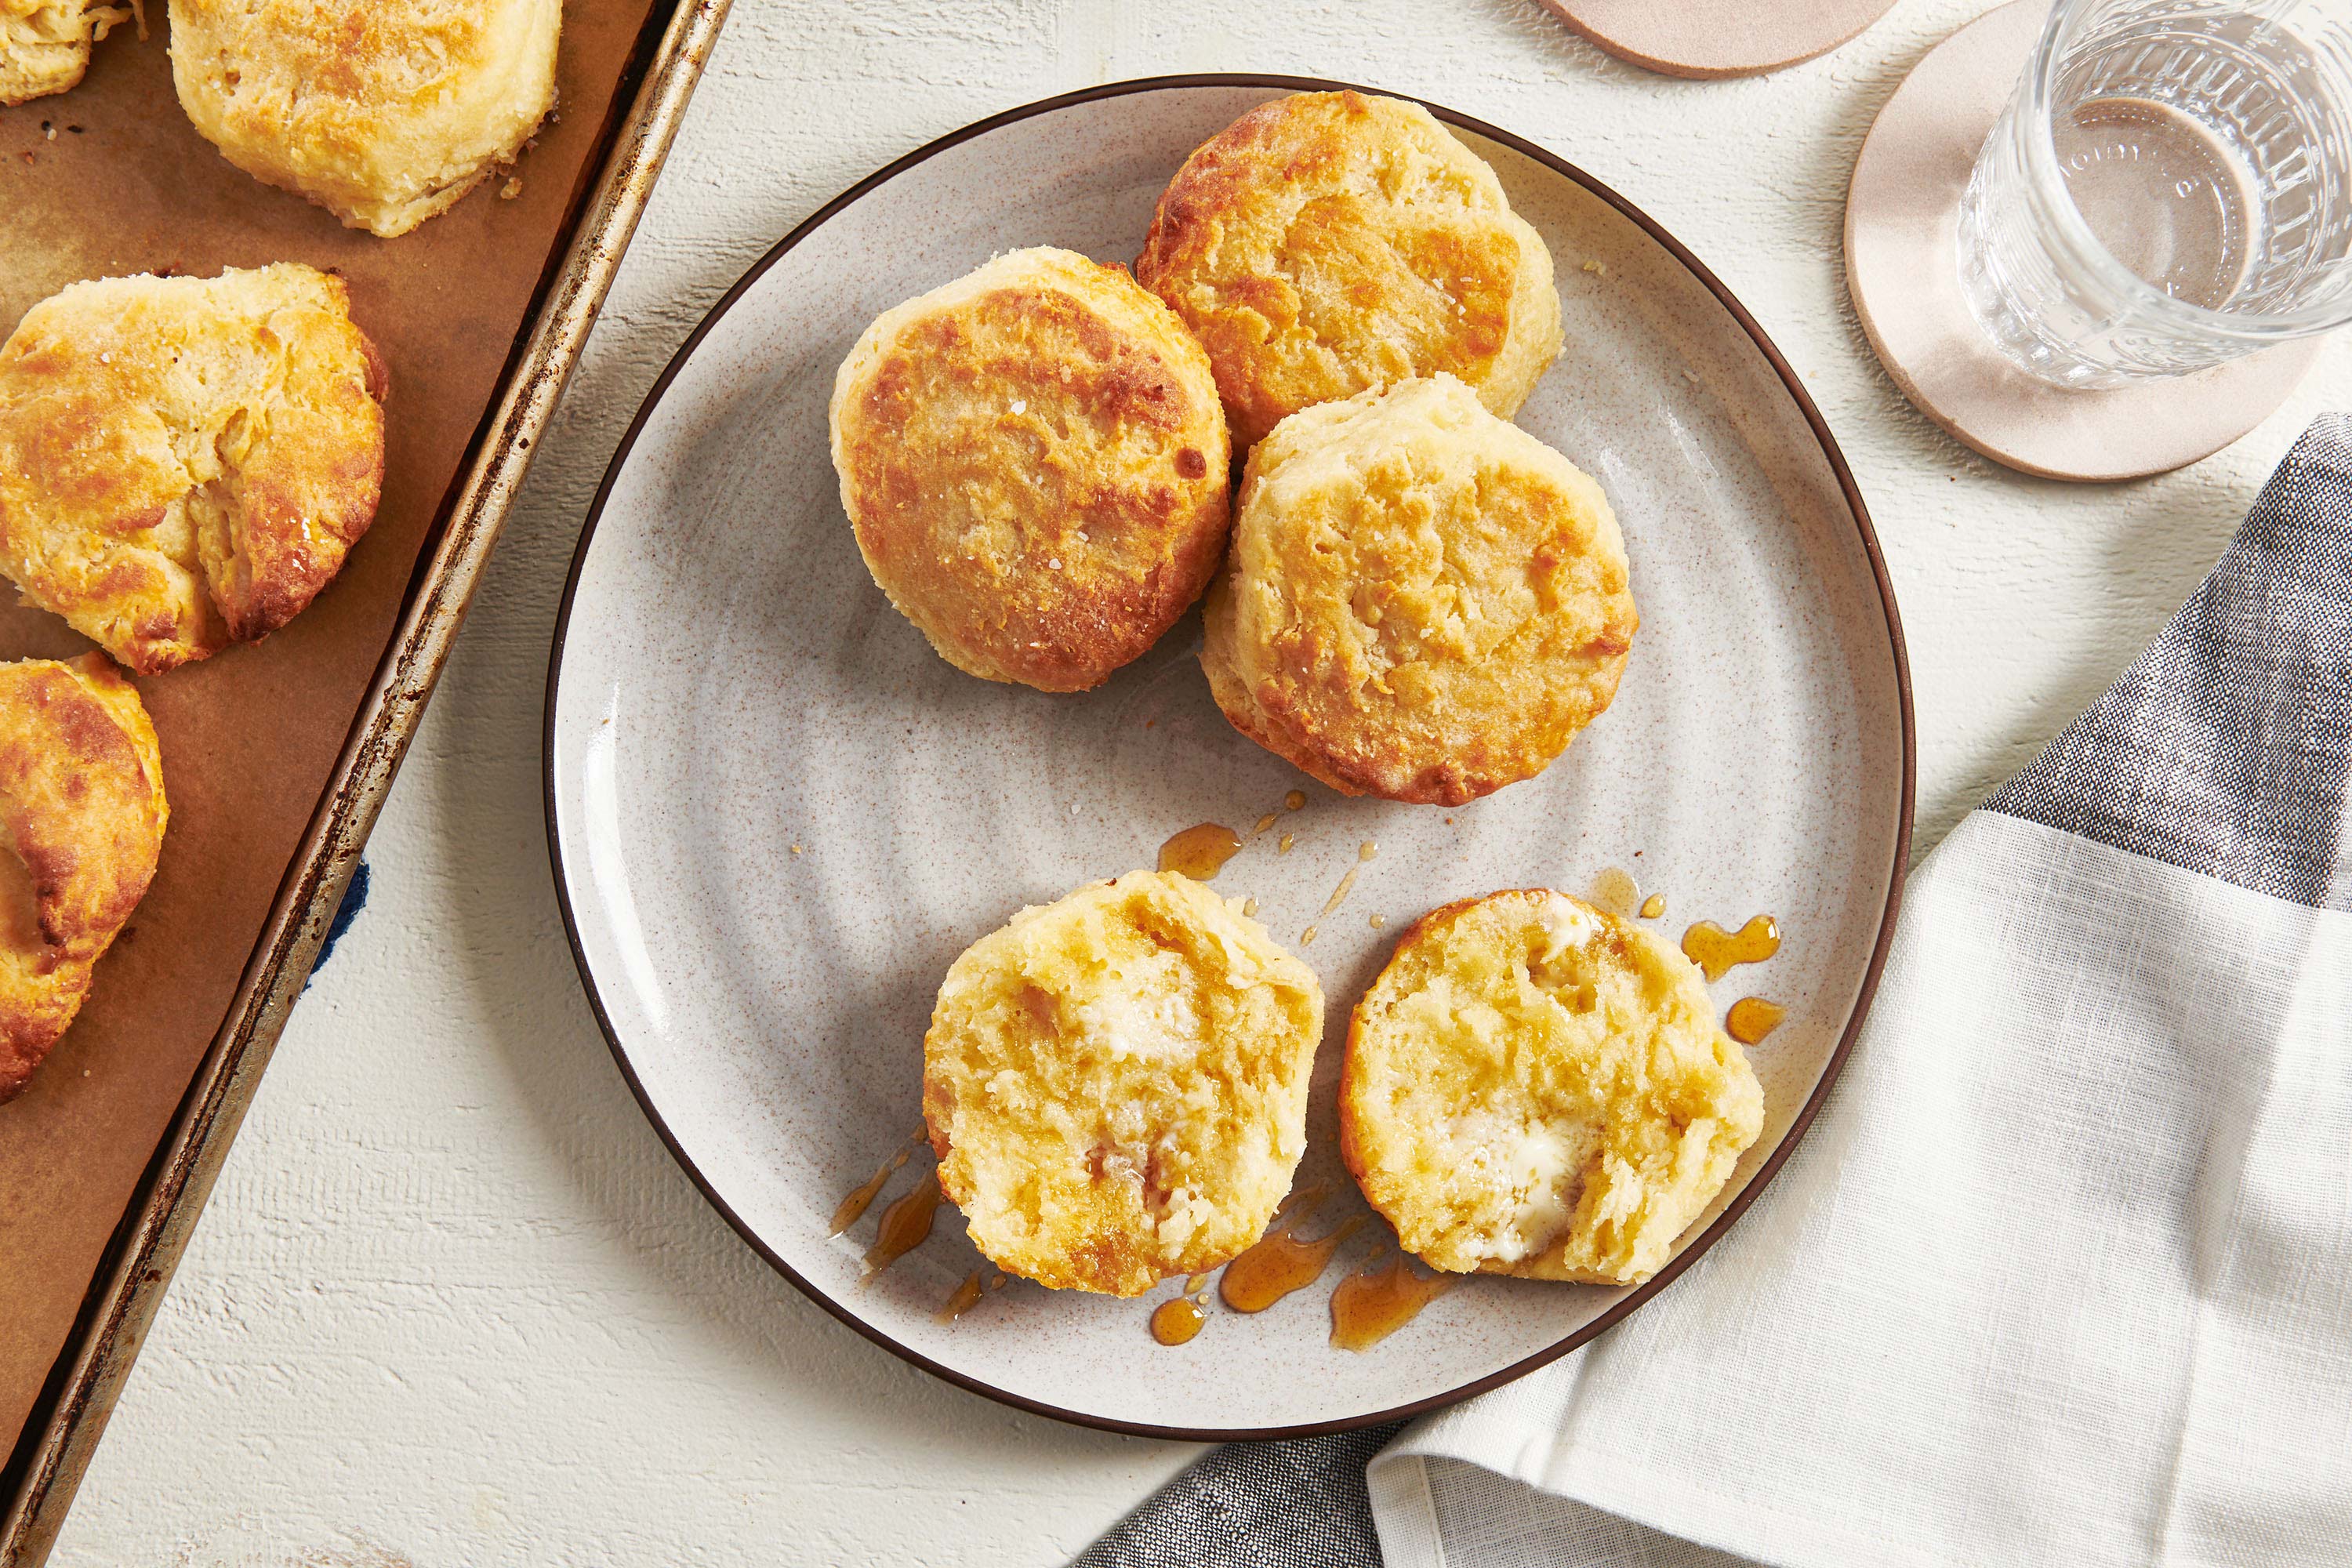
I used a 3-inch biscuit cutter for these nice fat biscuits. You can use a smaller size cookie or biscuit cutter, just note that the cooking time may need to be shortened.
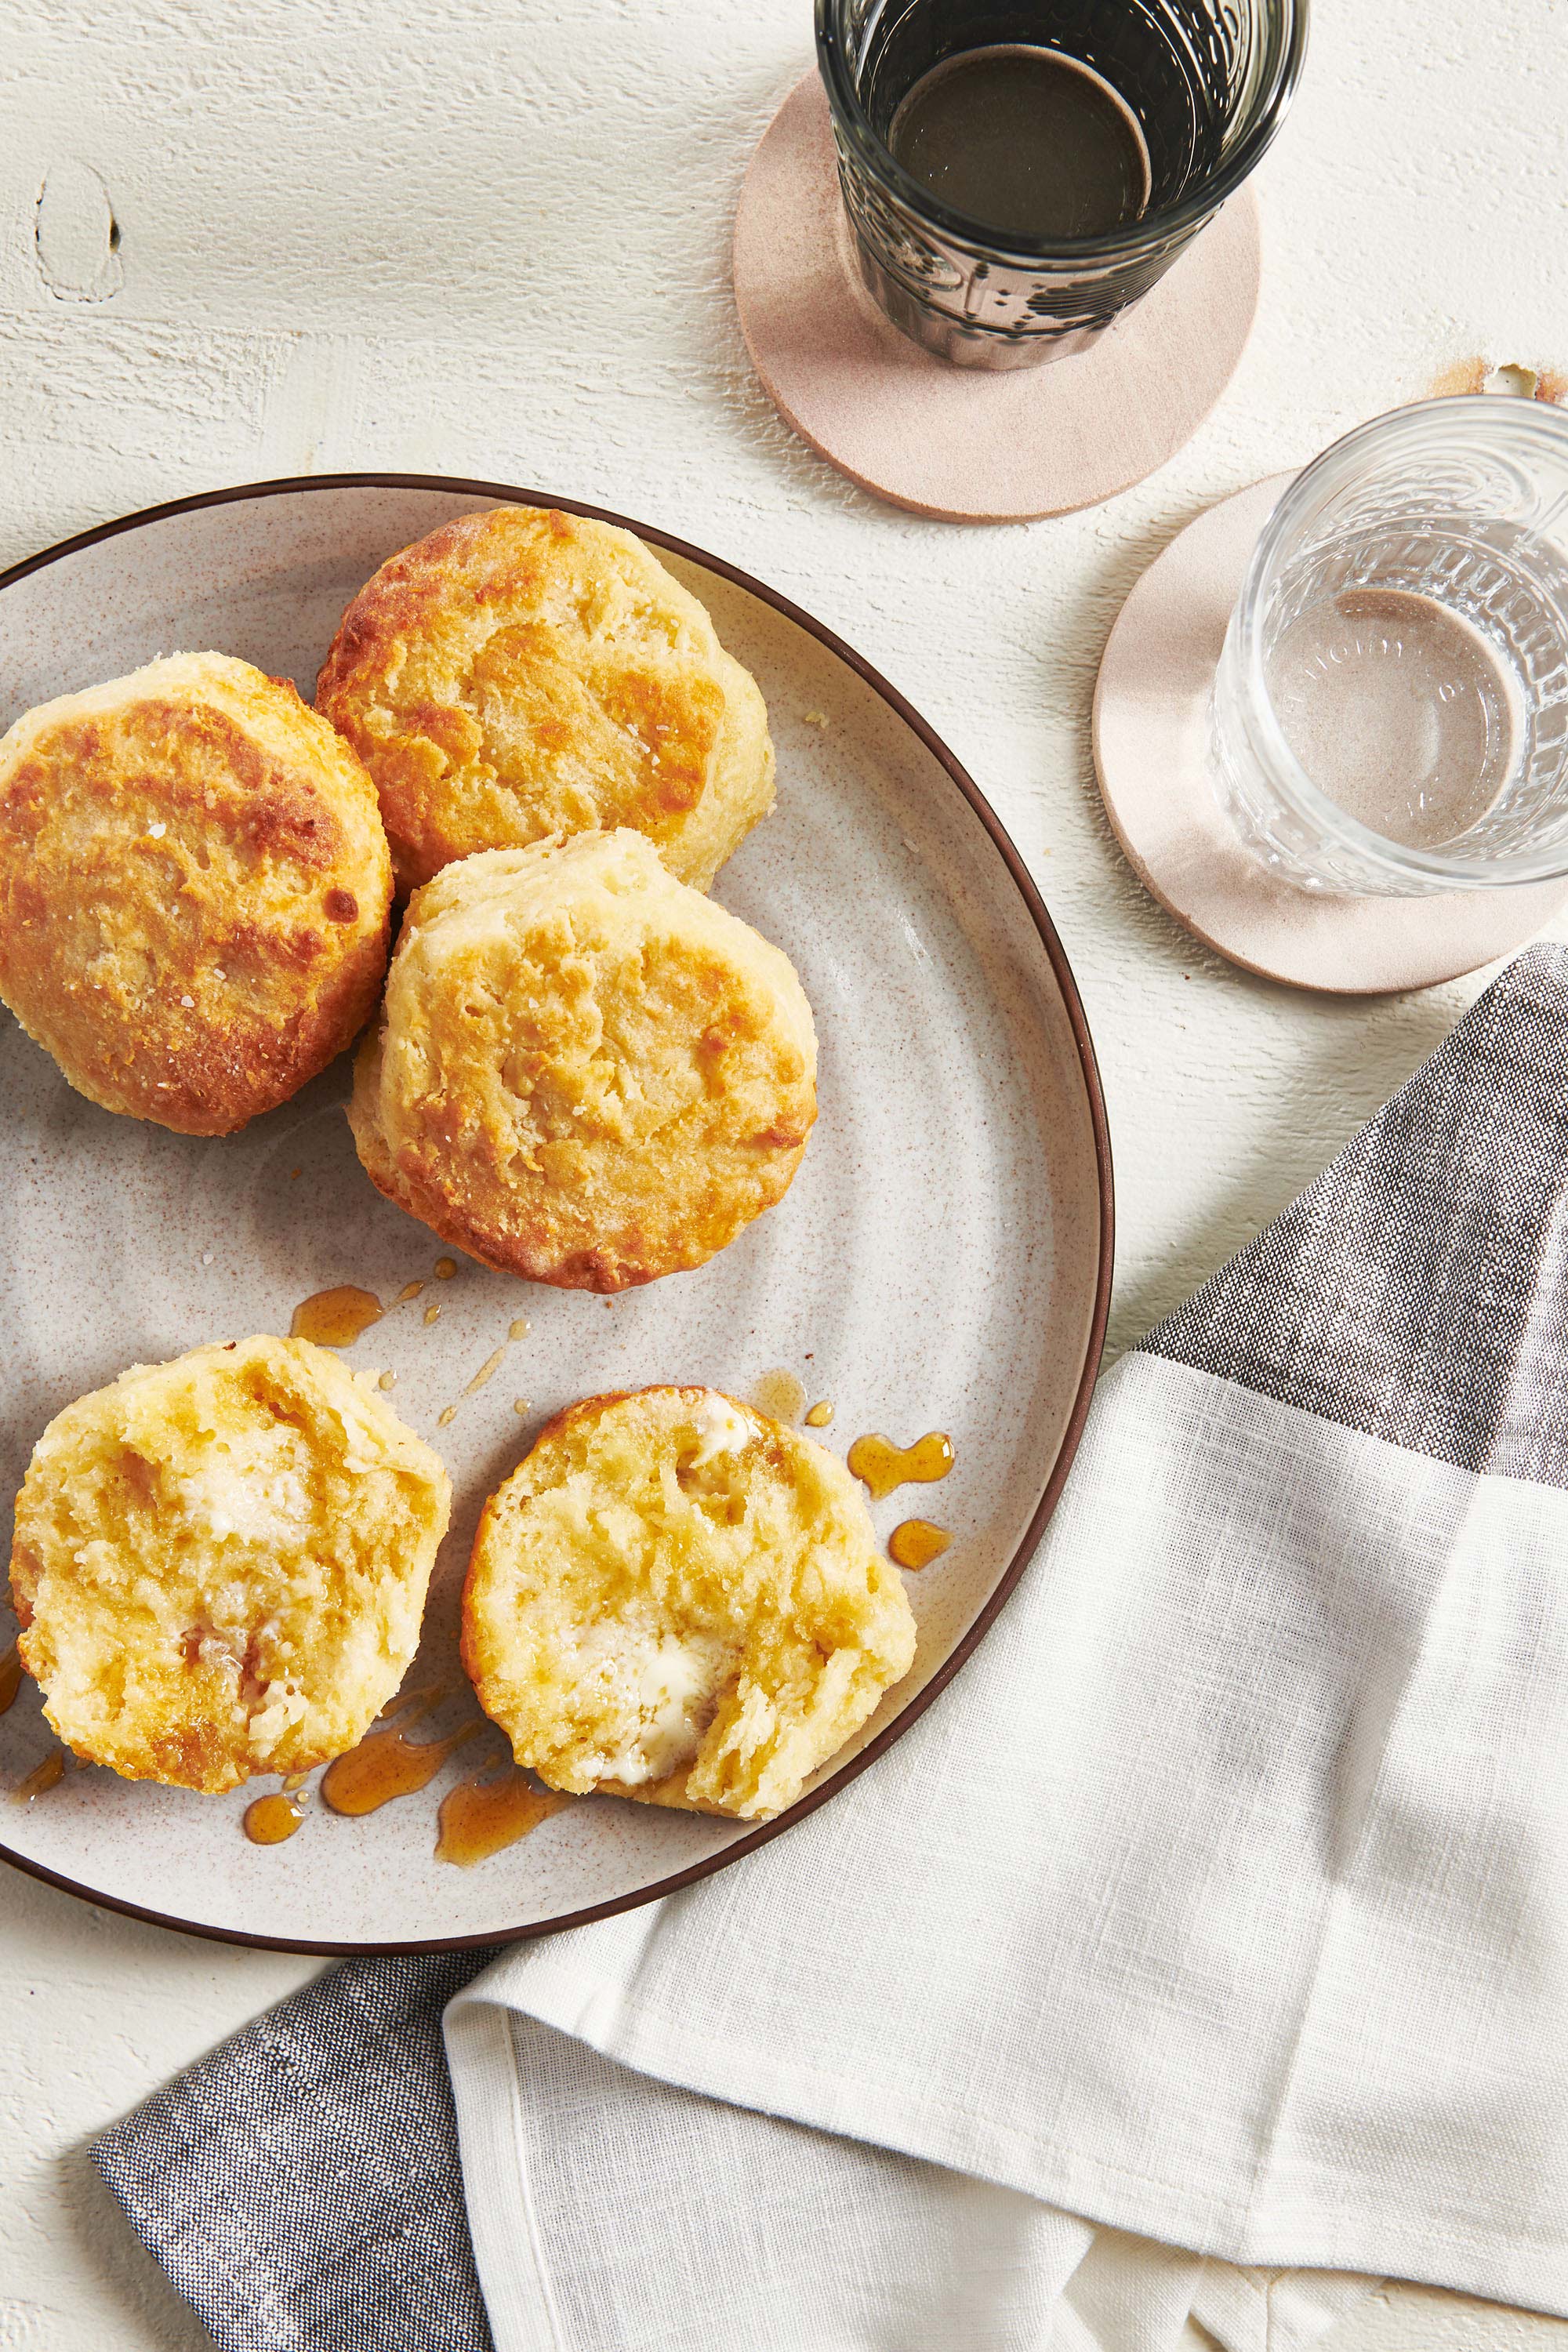
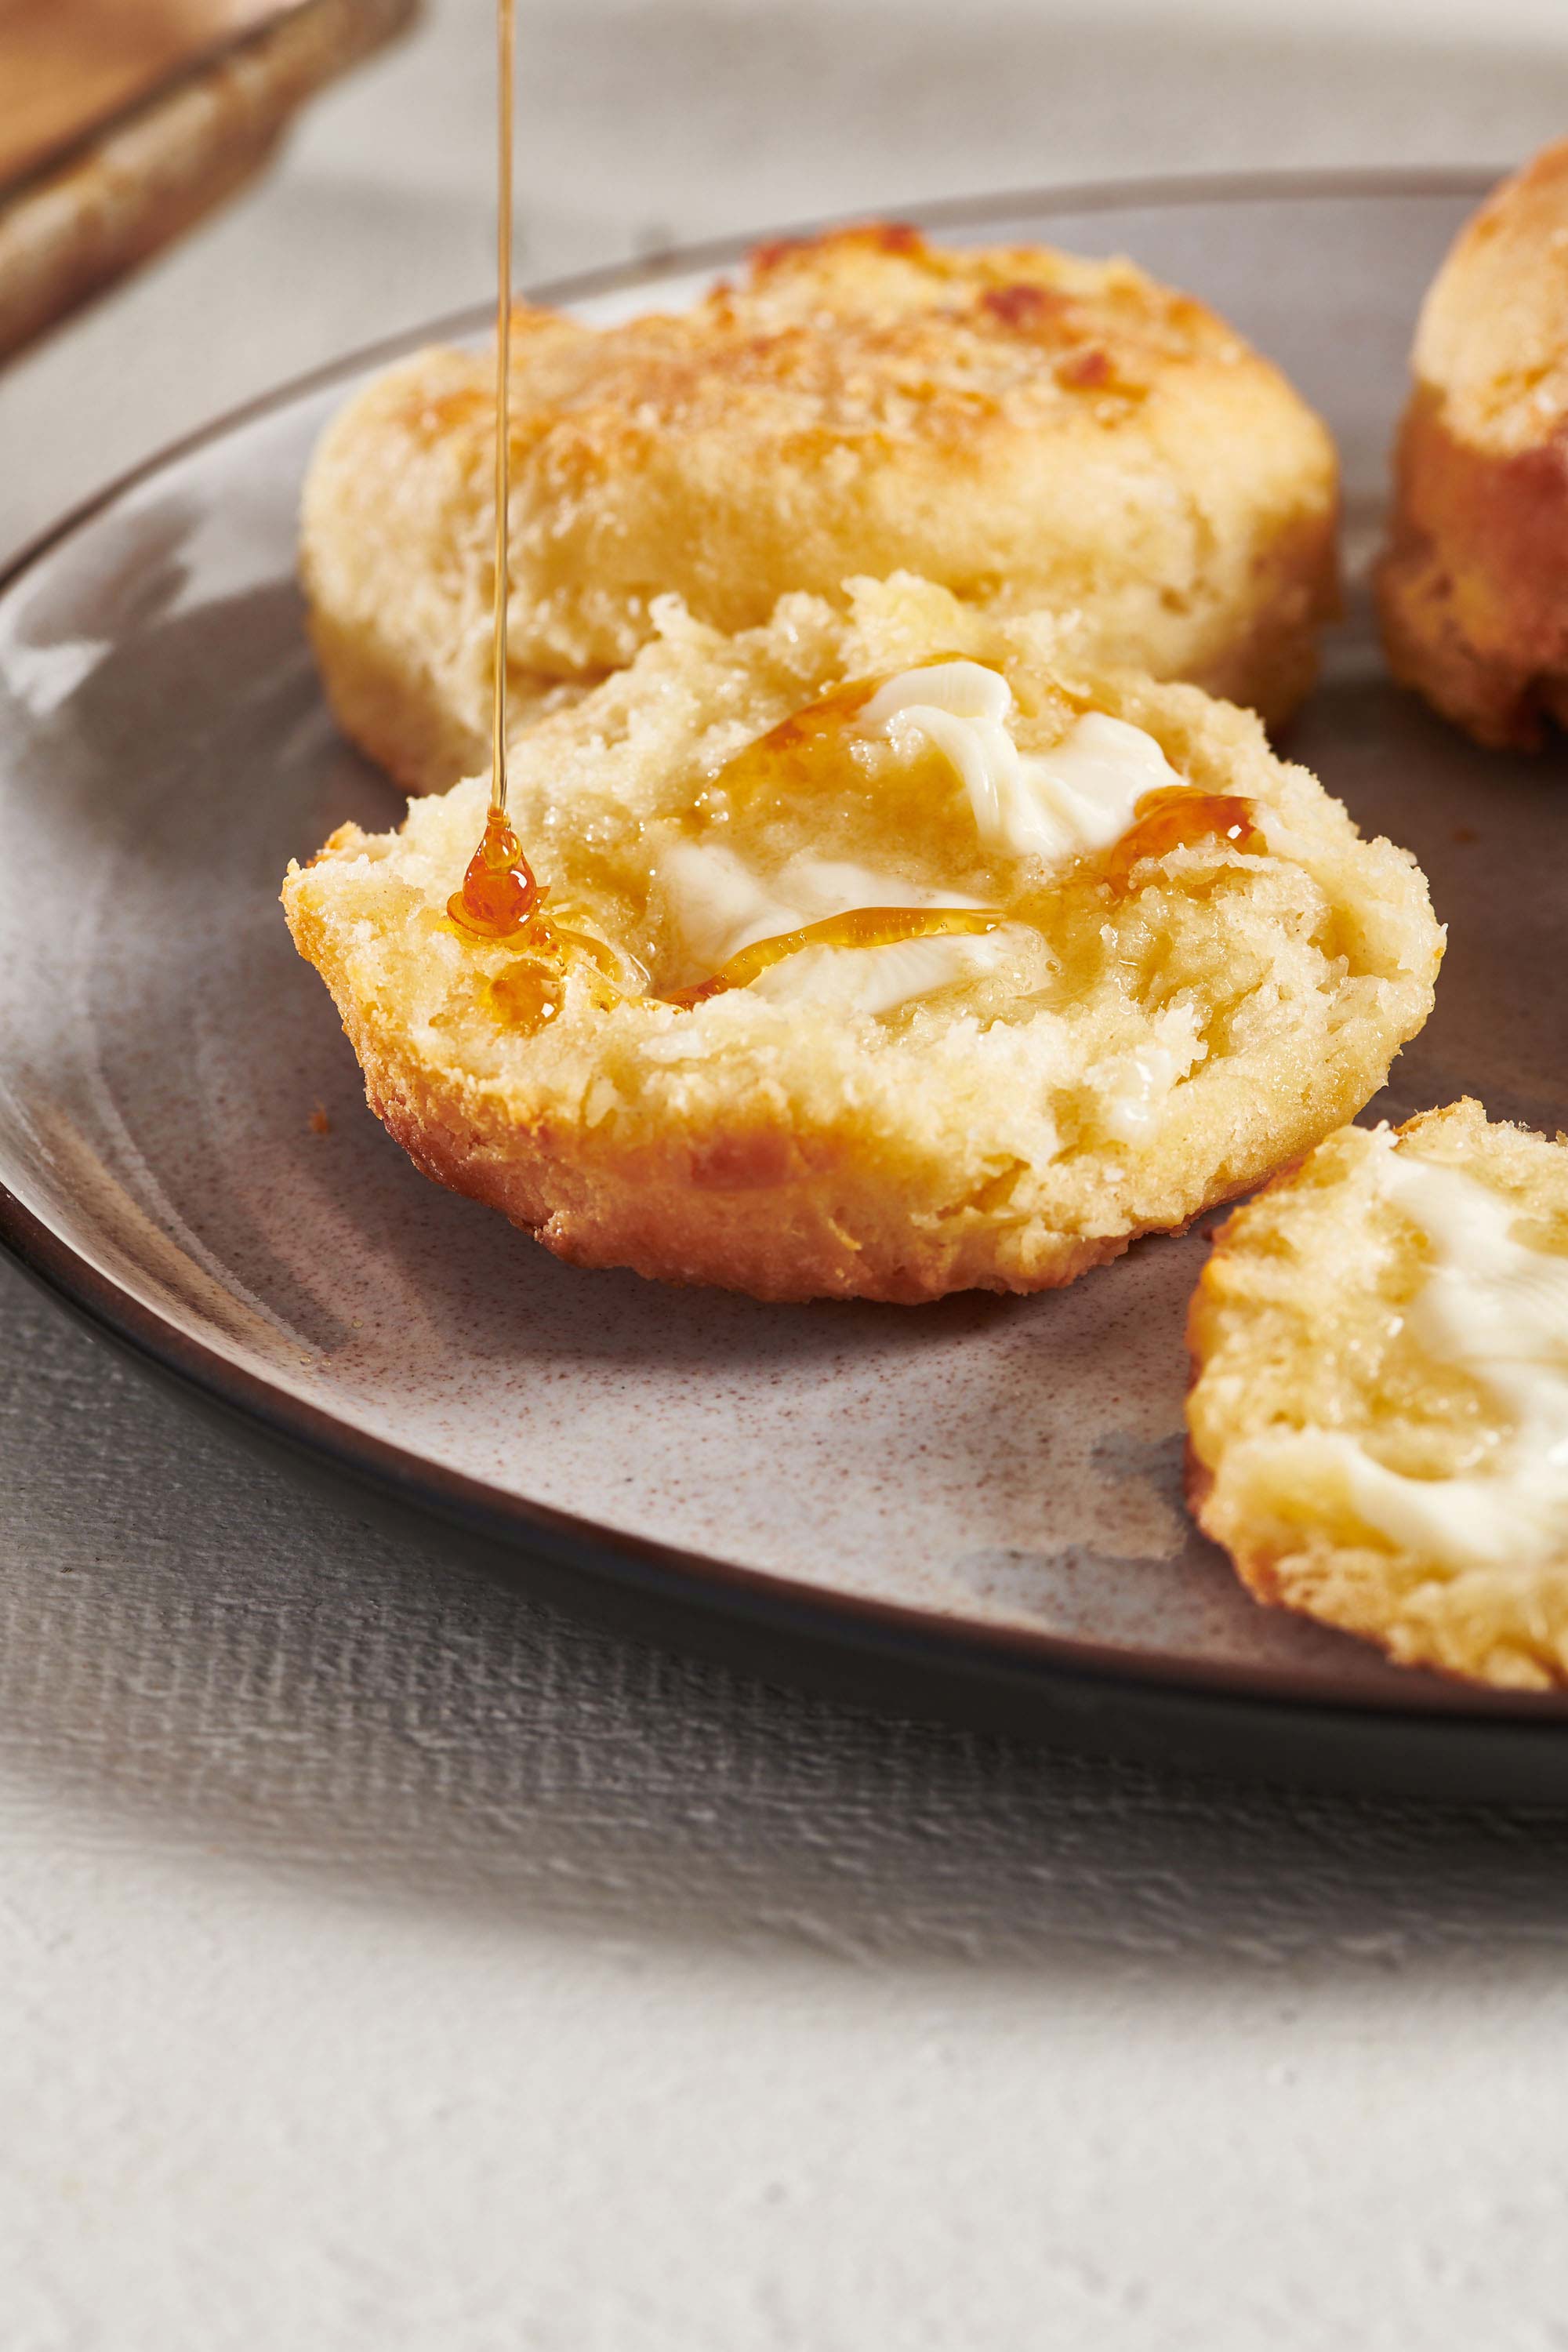
And perhaps the most important tip of all…homemade biscuits are best served hot and definitely best eaten the day they are baked. A smear of soft butter and maybe a drizzle of honey are perfection.
Storing and Freezing
First, you can store the dough in the fridge for up to 5 days, which is really a great idea. That means you can bake up half of your biscuits one day and half a few days later. Fresh homemade hot biscuits twice in one week — that’s pretty appealing.
You can also wrap cooled biscuits in plastic wrap or foil and freeze them for up to 3 months. They are best frozen the day they are made, as soon as they are completely cooled.
Reheating Buttermilk Biscuits
To reheat biscuits, wrap them in foil and warm them in a 400°F oven for 5 to 7 minutes. If your biscuits are frozen, no need to defrost them; just defrost and warm them in a 400°F oven wrapped in foil for 20 minutes, then open the foil and bake for an additional 5 minutes.
This recipe incorporates some hints and wisdom from a few fabulous Southern bakers: Cheryl and Griff Day from Back in the Day Bakery and Sara Foster from Foster’s Market, all of whom I have had the pleasure of meeting. And all of whose biscuits I have had the pleasure of eating. As always, credit where credit is due.
What to Serve With Buttermilk Biscuits
- Lentil Tomato Soup
- Simple Beef Stew
- Easy Roasted Thanksgiving Turkey
- Classic Baked Ham
- Chicken Fried Steak with White Gravy
- Vegetarian Collard Greens
More Easy Bread Recipes
Pin this now to find it later
Pin It
Old-Fashioned Buttermilk Biscuits
Ingredients
- 3 ½ cups all-purpose flour (plus more for pressing out the dough and dipping the biscuit cutter)
- 2 teaspoons baking powder
- 1 teaspoon baking soda
- 1 teaspoon kosher salt
- ½ teaspoon granulated sugar
- 1 cup (2 sticks) cold chilled unsalted butter (cut into 1/2-inch cubes)
- 1 ½ cups cold buttermilk (see intro for how to make buttermilk)
- 4 tablespoons unsalted butter (melted; for brushing)
Instructions
- Preheat the oven to 450 F. Lightly butter a baking sheet or line it with parchment.
- In a large mixing bowl, combine the 3 1/2 cups flour, baking powder, baking soda, and salt. Add the butter and cut it in with a pastry blender, or use your fingers to rub the butter into the flour mixture, working quickly so the butter stays cold. Stop when you have a texture that is a combo of pea-sized pieces of butter, and a somewhat sandy texture. You can also do this by pulsing the butter into the flour mixture in a food processor.
- Add the buttermilk to the mixture and stir just until it comes together into a shaggy, sticky dough, but do not overmix.
- Lightly flour a clean work surface and place about 1/2 cup of flour in a small bowl big enough to accommodate the 3-inch biscuit cutter.
- Turn the dough onto the work surface. Press it together just until it forms a ball, handling the dough lightly. Pat it into a rough square or circle, about 3/4-inch thick. Cut circles with a 3-inch biscuit or cookie cutter, making the circles as close together as possible to use as much of the dough in this first round of cutting. Do not twist the cutter as you press in or pull out, which will seal the layers of the dough and prevent them from rising to their tallest selves. Gather up the scraps and gently press them into another small 3/4-inch-thick shape, and cut as many biscuits as you can from the remaining dough.
- Place the biscuits on the prepared baking sheet having them just barely touch each other. Place the baking sheet in the oven and bake for 14 to 18 minutes until the biscuits are golden brown. Immediately brush the tops with the melted butter. Enjoy hot or warm, if possible, but you can also cool them on a wire rack and store them in an airtight container for one day.


I made these for my family this morning. This was like sitting in my grandmother’s kitchen waiting for her to pull out the best smelling homemade biscuits. Homemade texture, light and fluffy, simply delicious! My new go to recipe! Thank you for teaching me so well how to do this! You set me up for success!