How to Make a Galette or Crostata
on May 31, 2019, Updated Jan 17, 2025
This post may contain affiliate links. Please read our disclosure policy.
Baking a pie or a tart understandably unnerves some people. The pastry alone seems daunting. But with chilled ingredients, a light touch, some patience, and a fairly simple seasonal filling, it’s as easy as….. well, a galette. Read through all of the instructions, then head over to Yellow Plum and Crystallized Ginger Galette and give it a go!
What's In This Post?

What Is a Galette? What Is a Crostata?
A galette is essentially a free-form tart, baked on a baking sheet instead of in a pie or tart pan. They are rustic looking, and the pastry is folded up around the filling so that it essentially holds itself together without a pan. Galette is a French word, but you might well hear this type of pastry referred to as a crostata, which is the Italian word for the same idea. No real difference.
By signing up, you agree to our Privacy Policy.
Galettes can be sweet or savory, they are fun for kids to help with, and they are forgiving since their rustic nature is part of their charm. The filling can be anything from some simple seasonal fruit tossed with a bit of sugar to sliced vegetables mixed with herbs, and then, of course, you can get more elaborate from there.
One of my favorite shortcuts for making galettes is to roll out the pastry right on the parchment paper you will be baking it on, eliminating the need to transfer the pastry from the counter to the baking sheet, which is (in my opinion) the most daunting part of making homemade crusts.
How to Make a Galette or Crostata
- Combine the dry ingredients: If you have a food processor, just a few pulses will bring together the dry ingredients for the crust (usually flour, sugar, salt, and possibly another add-in like cornmeal, ground nuts, or other seasonings). Otherwise, you can stir the dry ingredients together in a bowl.

- Cut in the butter: This step incorporates the butter (almost always cold) into the dry ingredients but leaves the butter in little tiny bits throughout the mixture rather than fully blended or creamed in. These little bits of butter will melt as the pastry bakes, creating tiny flaky pockets.
Again, with a food processor, it’s a matter of a few pulses, but if you’re working by hand, you can use a pastry cutter (available inexpensively online or at any well-stocked cooking store), two knives, or even your fingers to distribute the butter into the dry ingredients. Shortening, lard, or another fat may be used instead of butter.

- Add the liquid: The liquid may be in the form of ice water, dairy, an egg, or even vodka (an ingredient some cooks love to add tenderness to a crust). You want the liquid to be cold, and you want to add just barely enough to allow the mixture to hold together in a ball. Pulse in the liquid, or use a fork to quickly stir it in, and handle the dough as little as possible.

- Form the dough and chill it: Quickly and gently gather the dough onto a ball and then pat it into a disk on a generous piece of plastic wrap. Wrap it well, then refrigerate it, usually for about an hour, to firm it up so it rolls out easily and has less chance of sticking to the counter. You can often make the pastry dough ahead of time and chill it, wrapped, for up to several days, though you will want to let it warm up very slightly before rolling, or it will be too hard to roll out.

- Roll the dough: Transferring rolled-out pastry dough from a counter to a baking sheet is not easy stuff for most of us, so a little hack is to roll out the dough on the parchment paper itself. Make sure your work surface is clean and dry, place the parchment on the counter, and sprinkle it with flour to prevent the dough from sticking to the surface you are rolling it out on. Sprinkle the top of the dough with flour to prevent it from sticking to the rolling pin, and roll out the dough from the center to the edges until you have a round or oval shape, 1/4- to 1/3-inch thick. Do not worry if your shape is not perfectly even.

- Trim the edges: Transfer the pastry on the parchment paper to a rimmed baking sheet. You will likely have ragged edges – you may choose to trim those a bit with a knife to make it look a little neater, but don’t lose too much of the crust.

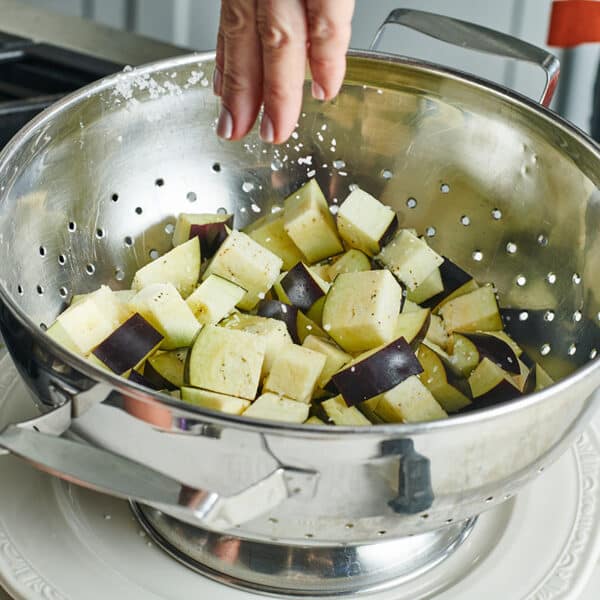
- Prepare the fruit filling: The fruit (or whatever filling you are using) may be tossed with some seasonings or other supporting ingredients, such as crystallized ginger or dried fruit. If your fruit is juicy, you may also wish to add in a bit of flour, cornstarch, or tapioca, which will help absorb the juices as the galette cooks, and prevent the crust from becoming soggy on the bottom. Another option is to sprinkle the rolled pastry, before filling it, with a mixture of flour and a bit of sugar, or a bit of beaten egg or egg whites.

- Fill the galette: Usually, the fruit is arranged in the center of the pastry, leaving a border of about 2 inches so that the edges of the pastry can be folded up to encase the filling.

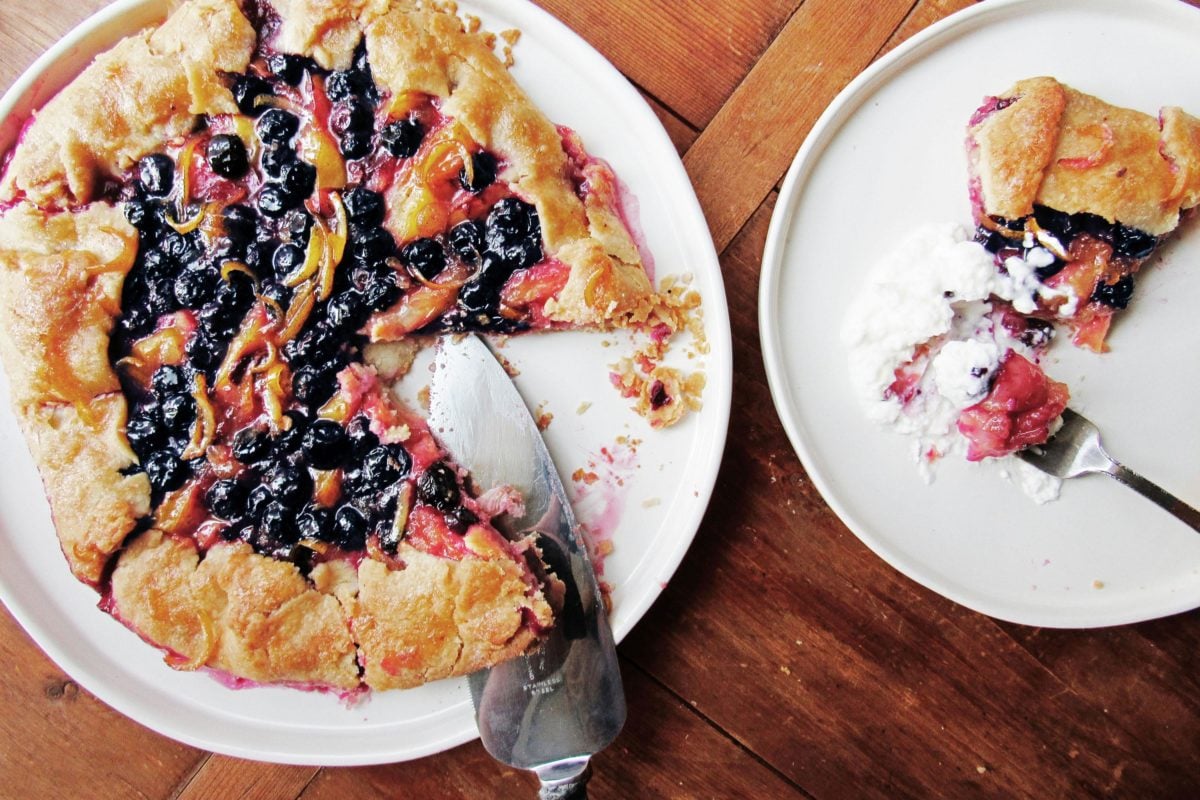
- Fold over the edges: Gently lift the edges of the pastry over the filling. You will have overlap in parts of the crust, and when you are finished, you will still see a large area of open fruit filling in the middle of the galette, which is both beautiful and allows steam to escape.

- Finish the galette: Often, small pieces of butter are dotted over the top of the fruit for extra flavor and richness. You may also wish to sprinkle the outer crust with sugar, or brush it with an egg wash or melted butter, which do things like add texture, color, and shine.

- Brush the cooked galette with preserves and cool: Another quick little flavor move is to brush the cooked tart with some sort of melted preserves, which add another layer of flavor, color, and shine. Transfer the galette on the parchment paper to a wire rack, and cool completely. Allowing it to cool on a wire rack helps firm up the bottom of the galette. You may see some juice spill out from the sides, especially if you are using berries—this is fine (and a little dramatic!), and the reason we love parchment paper.

Serving Galette
When you are ready to serve, loosen it from the paper with a large spatula and slide it onto a serving platter. Slice into wedges and serve. Yes, this is a welcome moment for ice cream or sweetened whipped cream!