Ebinger’s Blackout Cake
on Dec 07, 2018, Updated Aug 21, 2023
This post may contain affiliate links. Please read our disclosure policy.
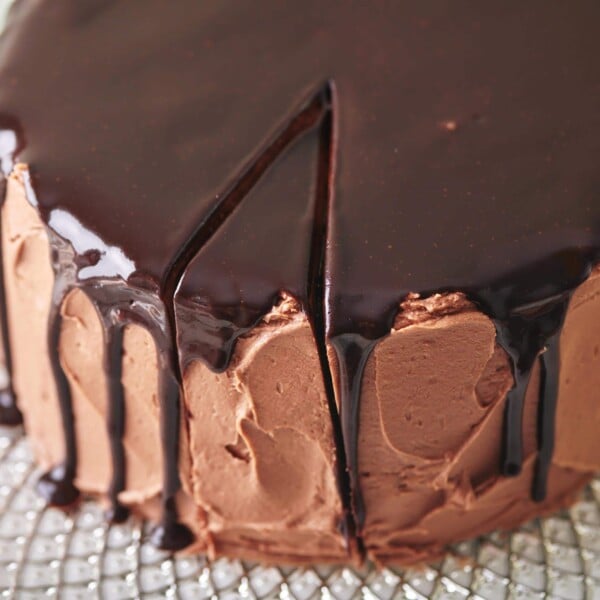
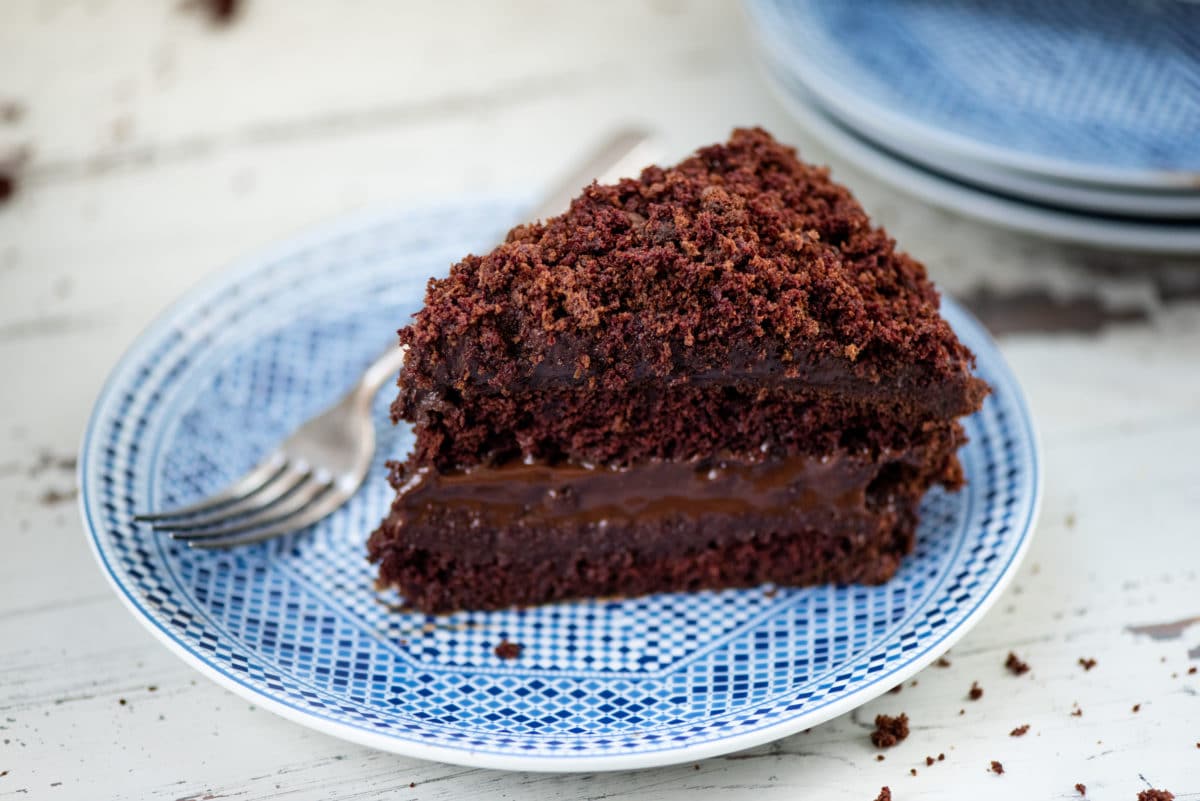
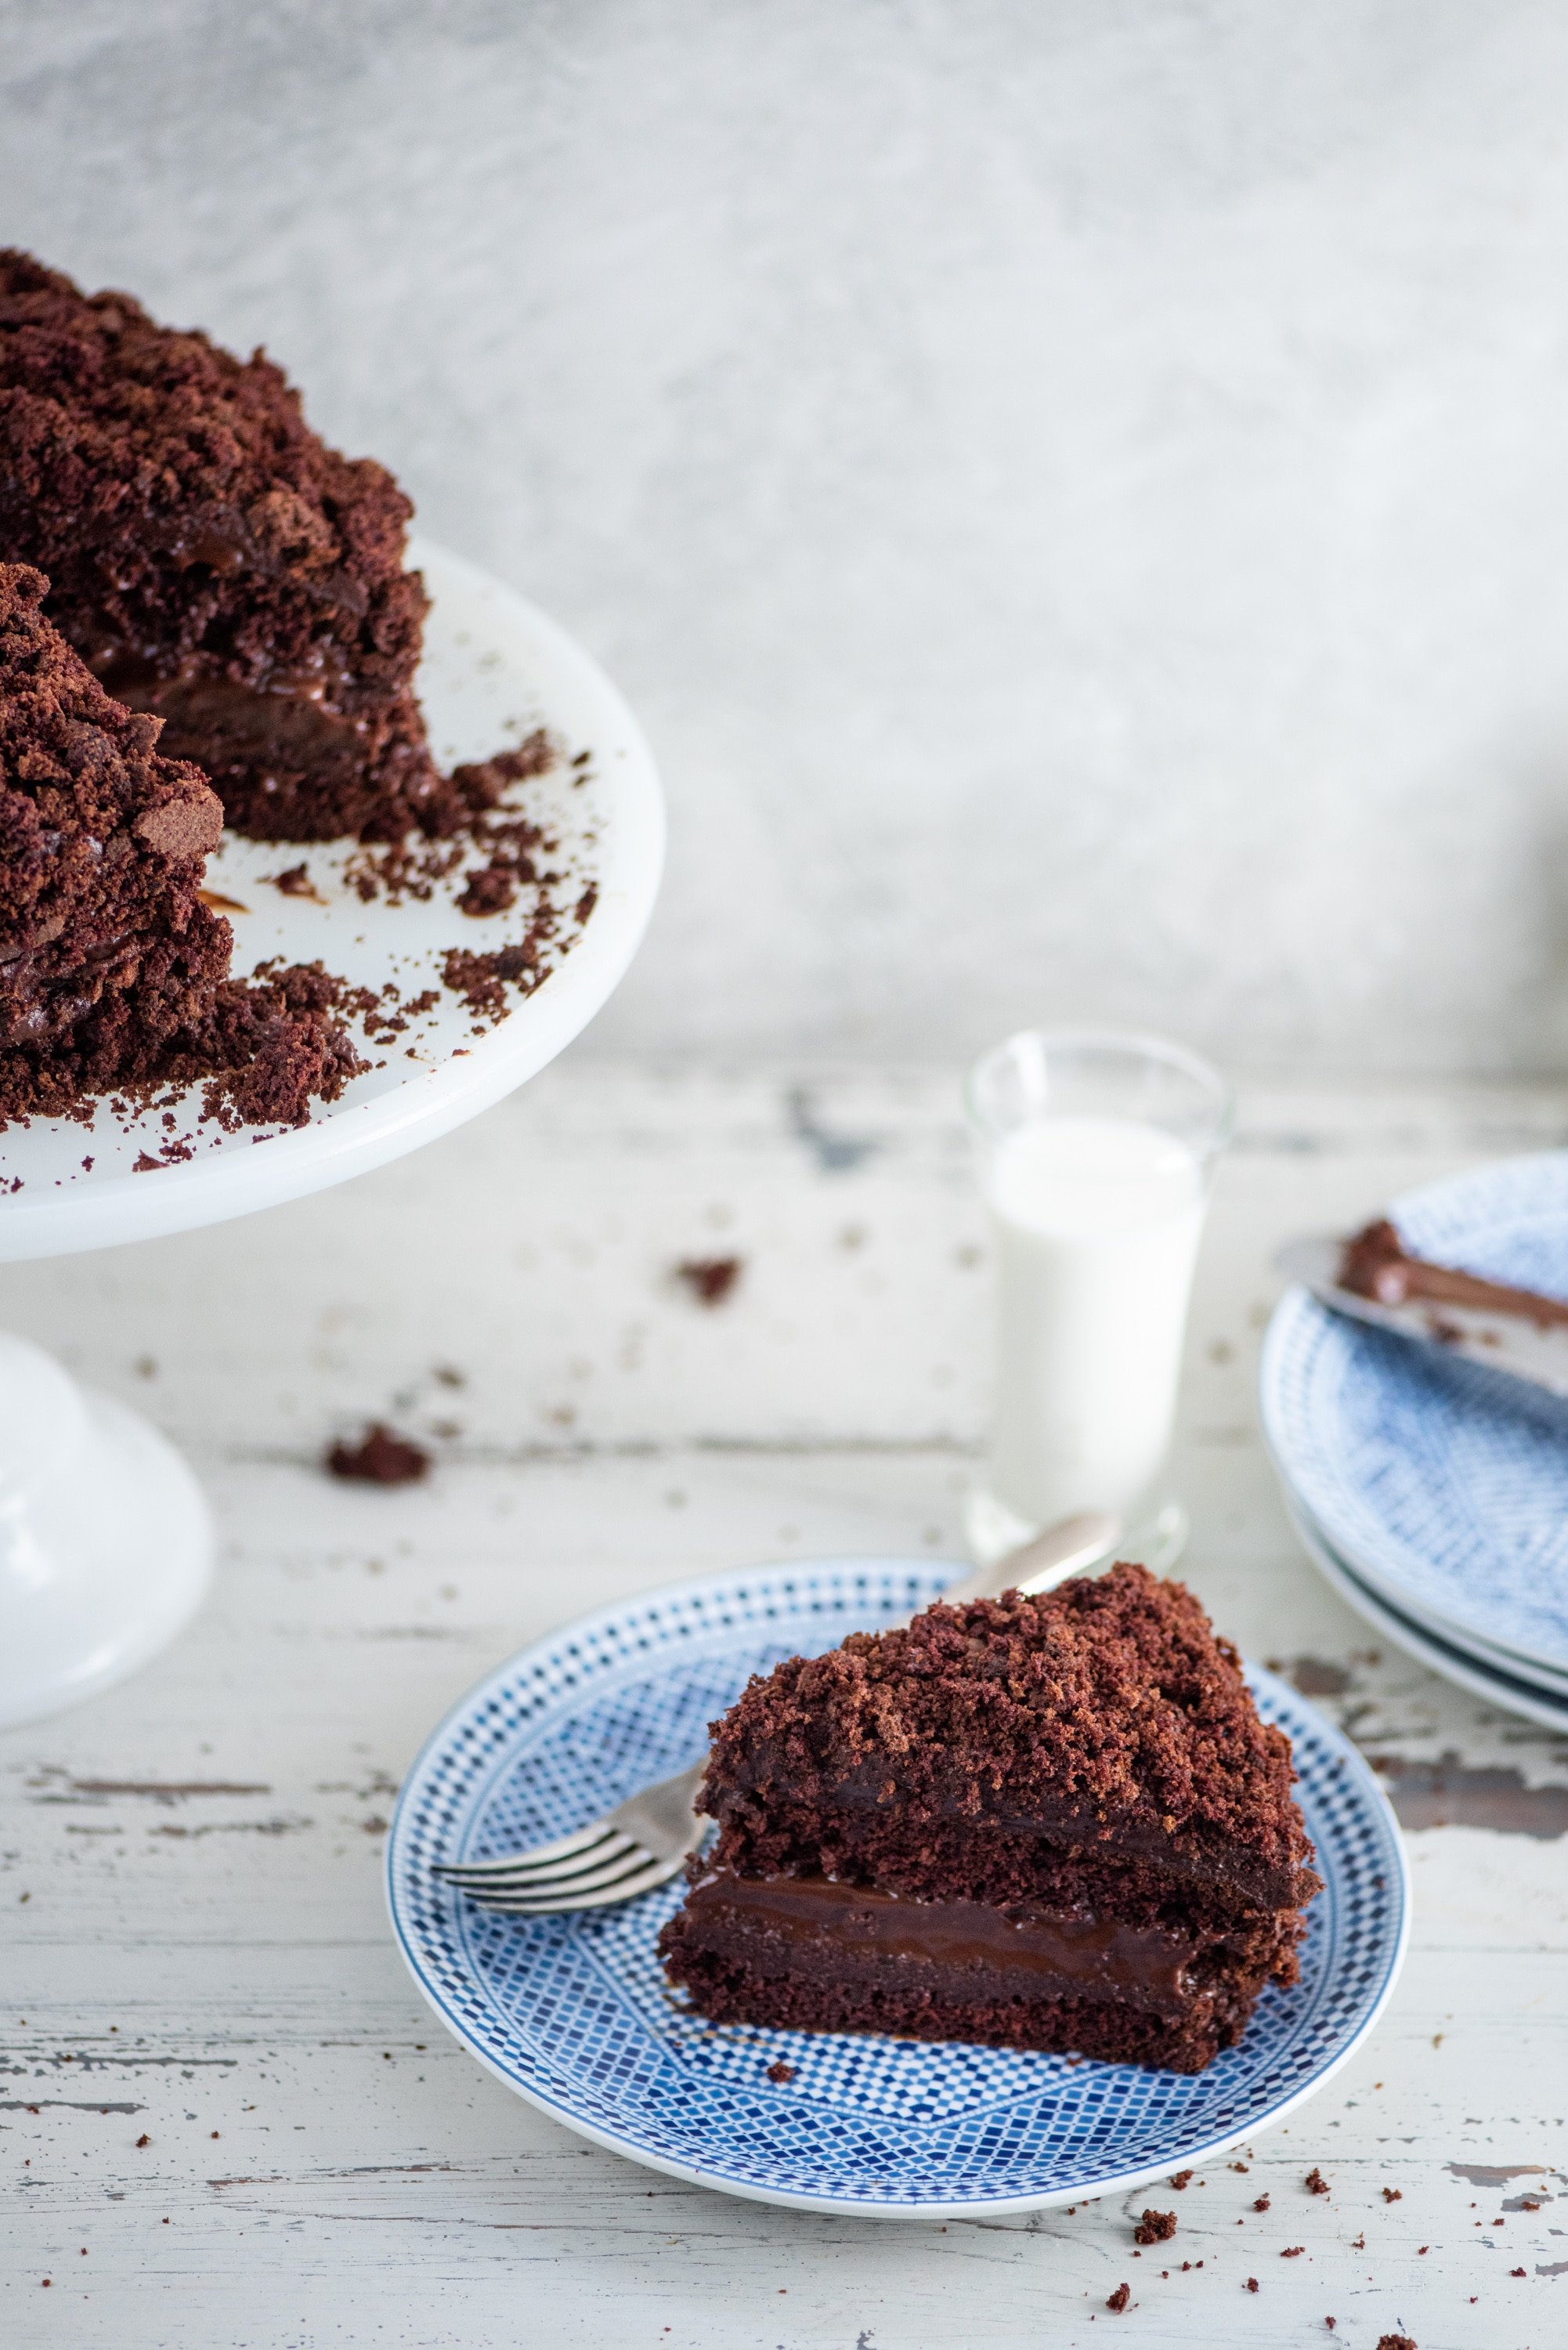
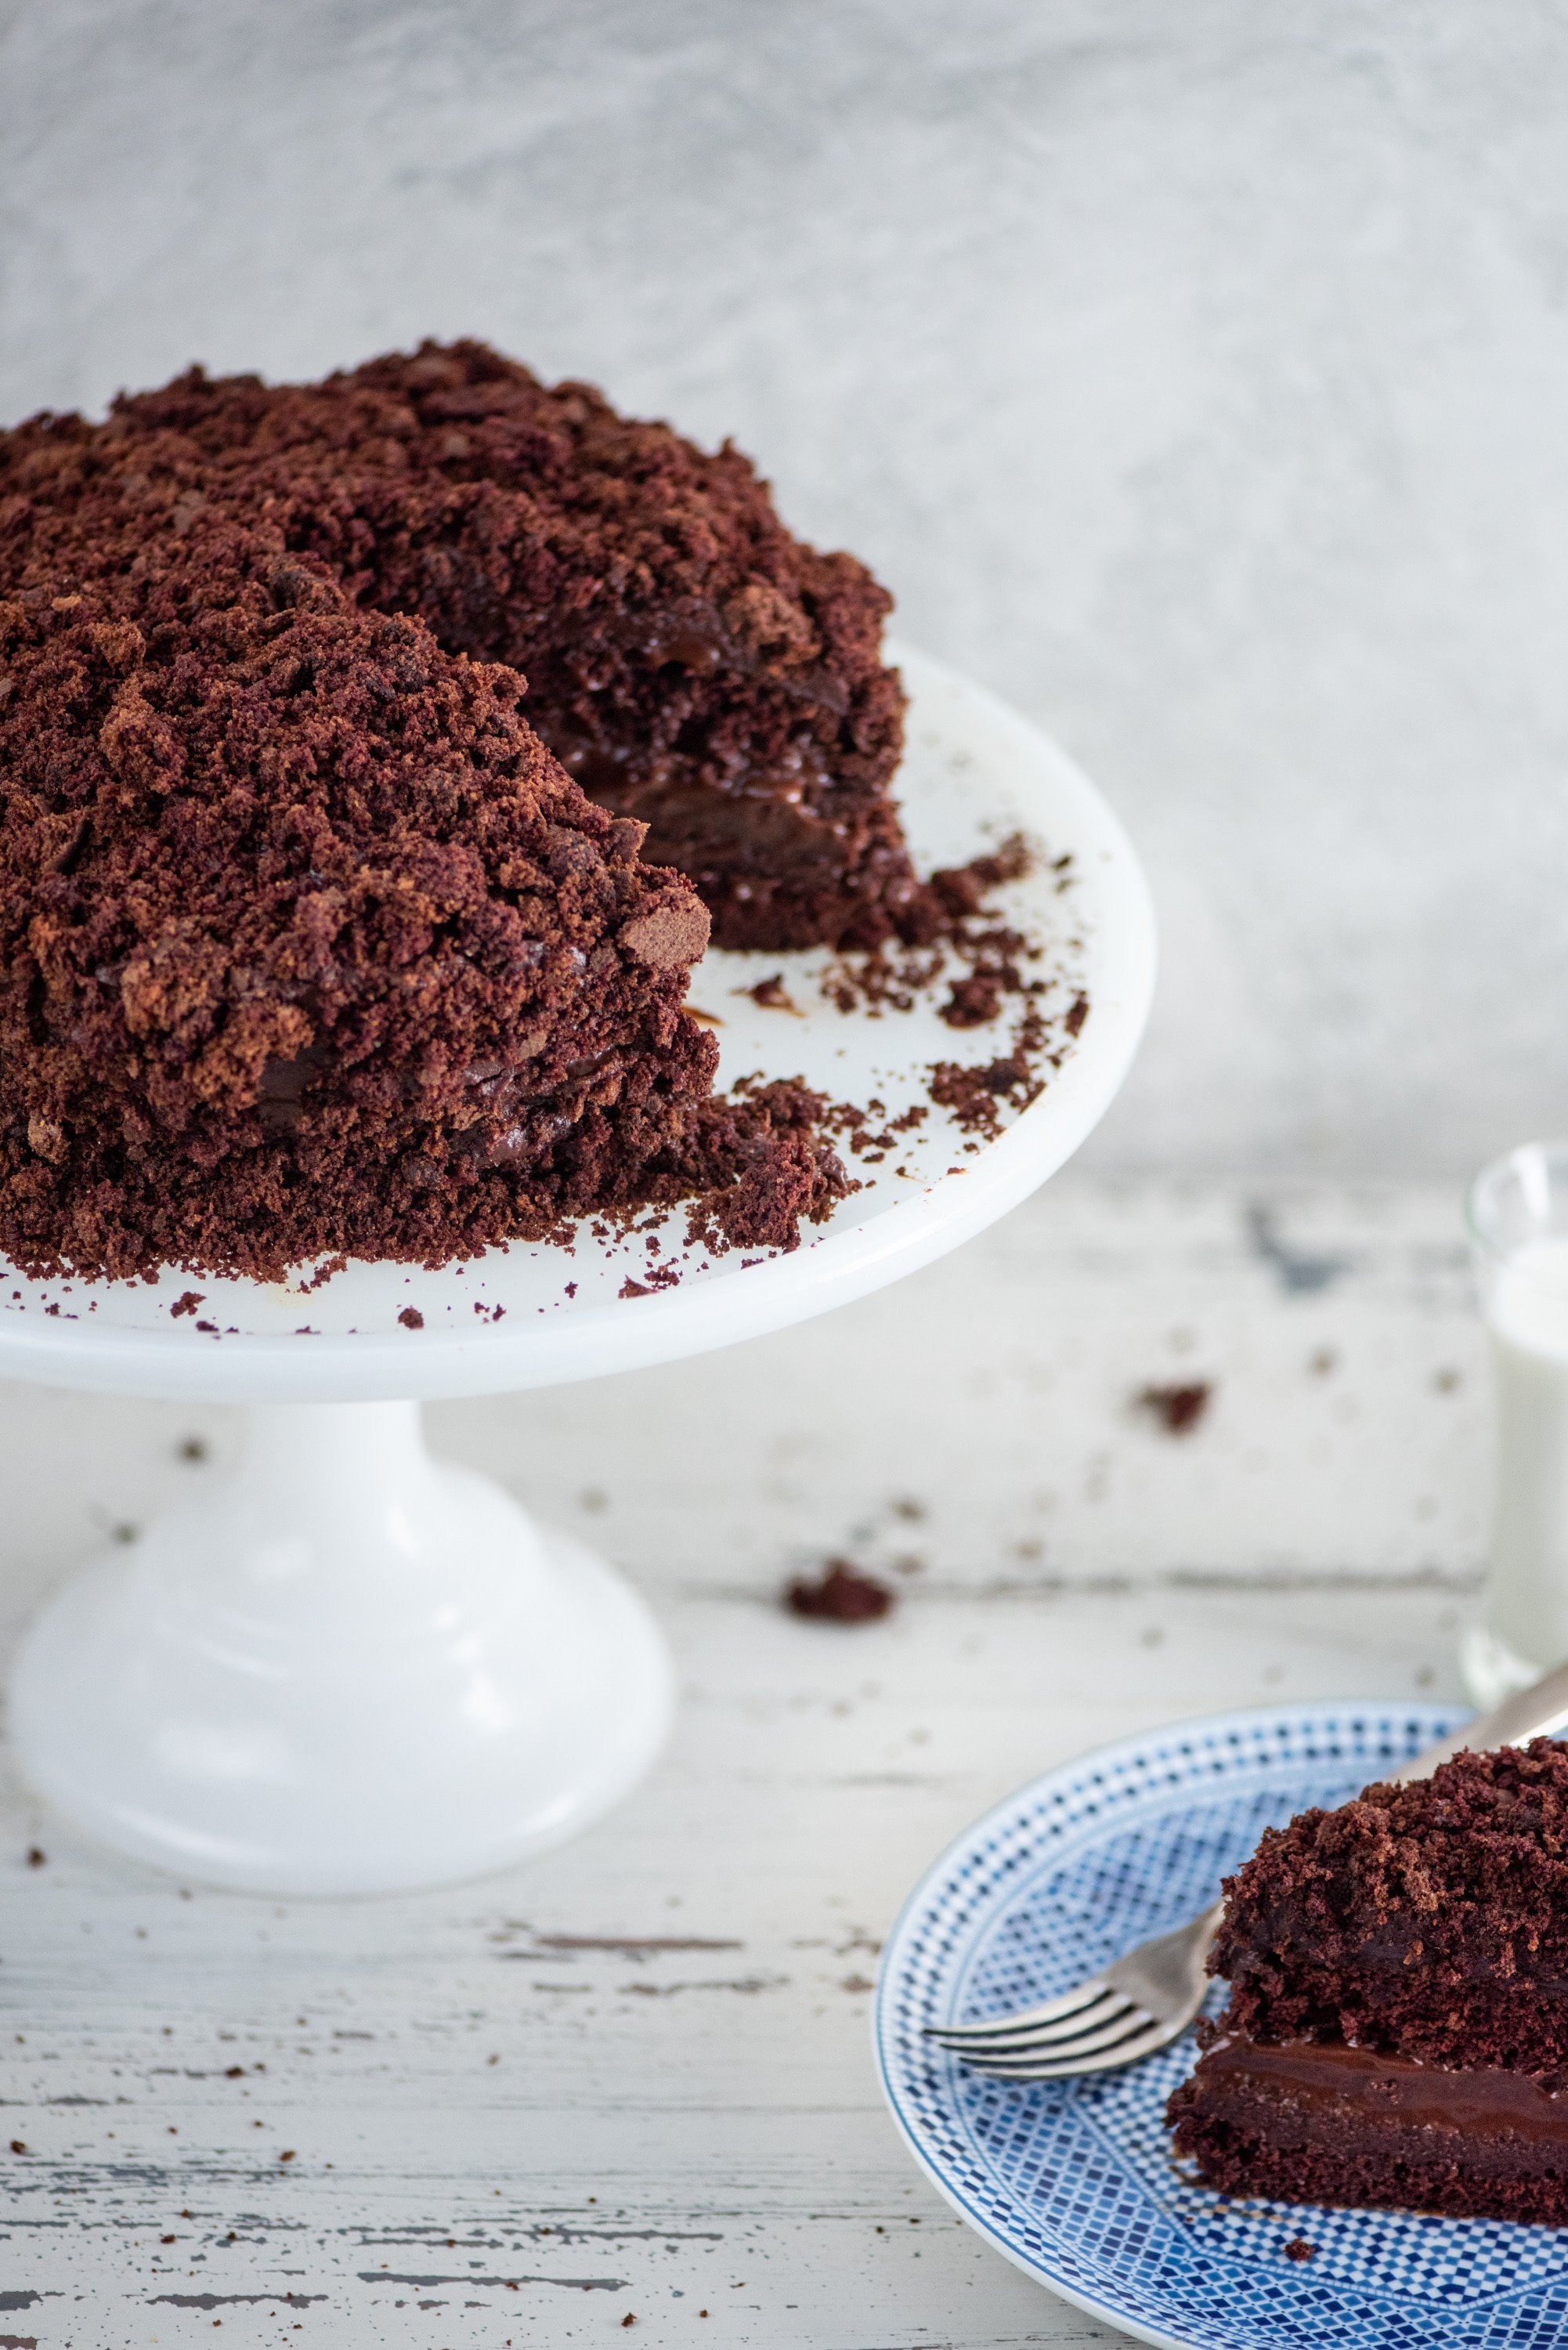
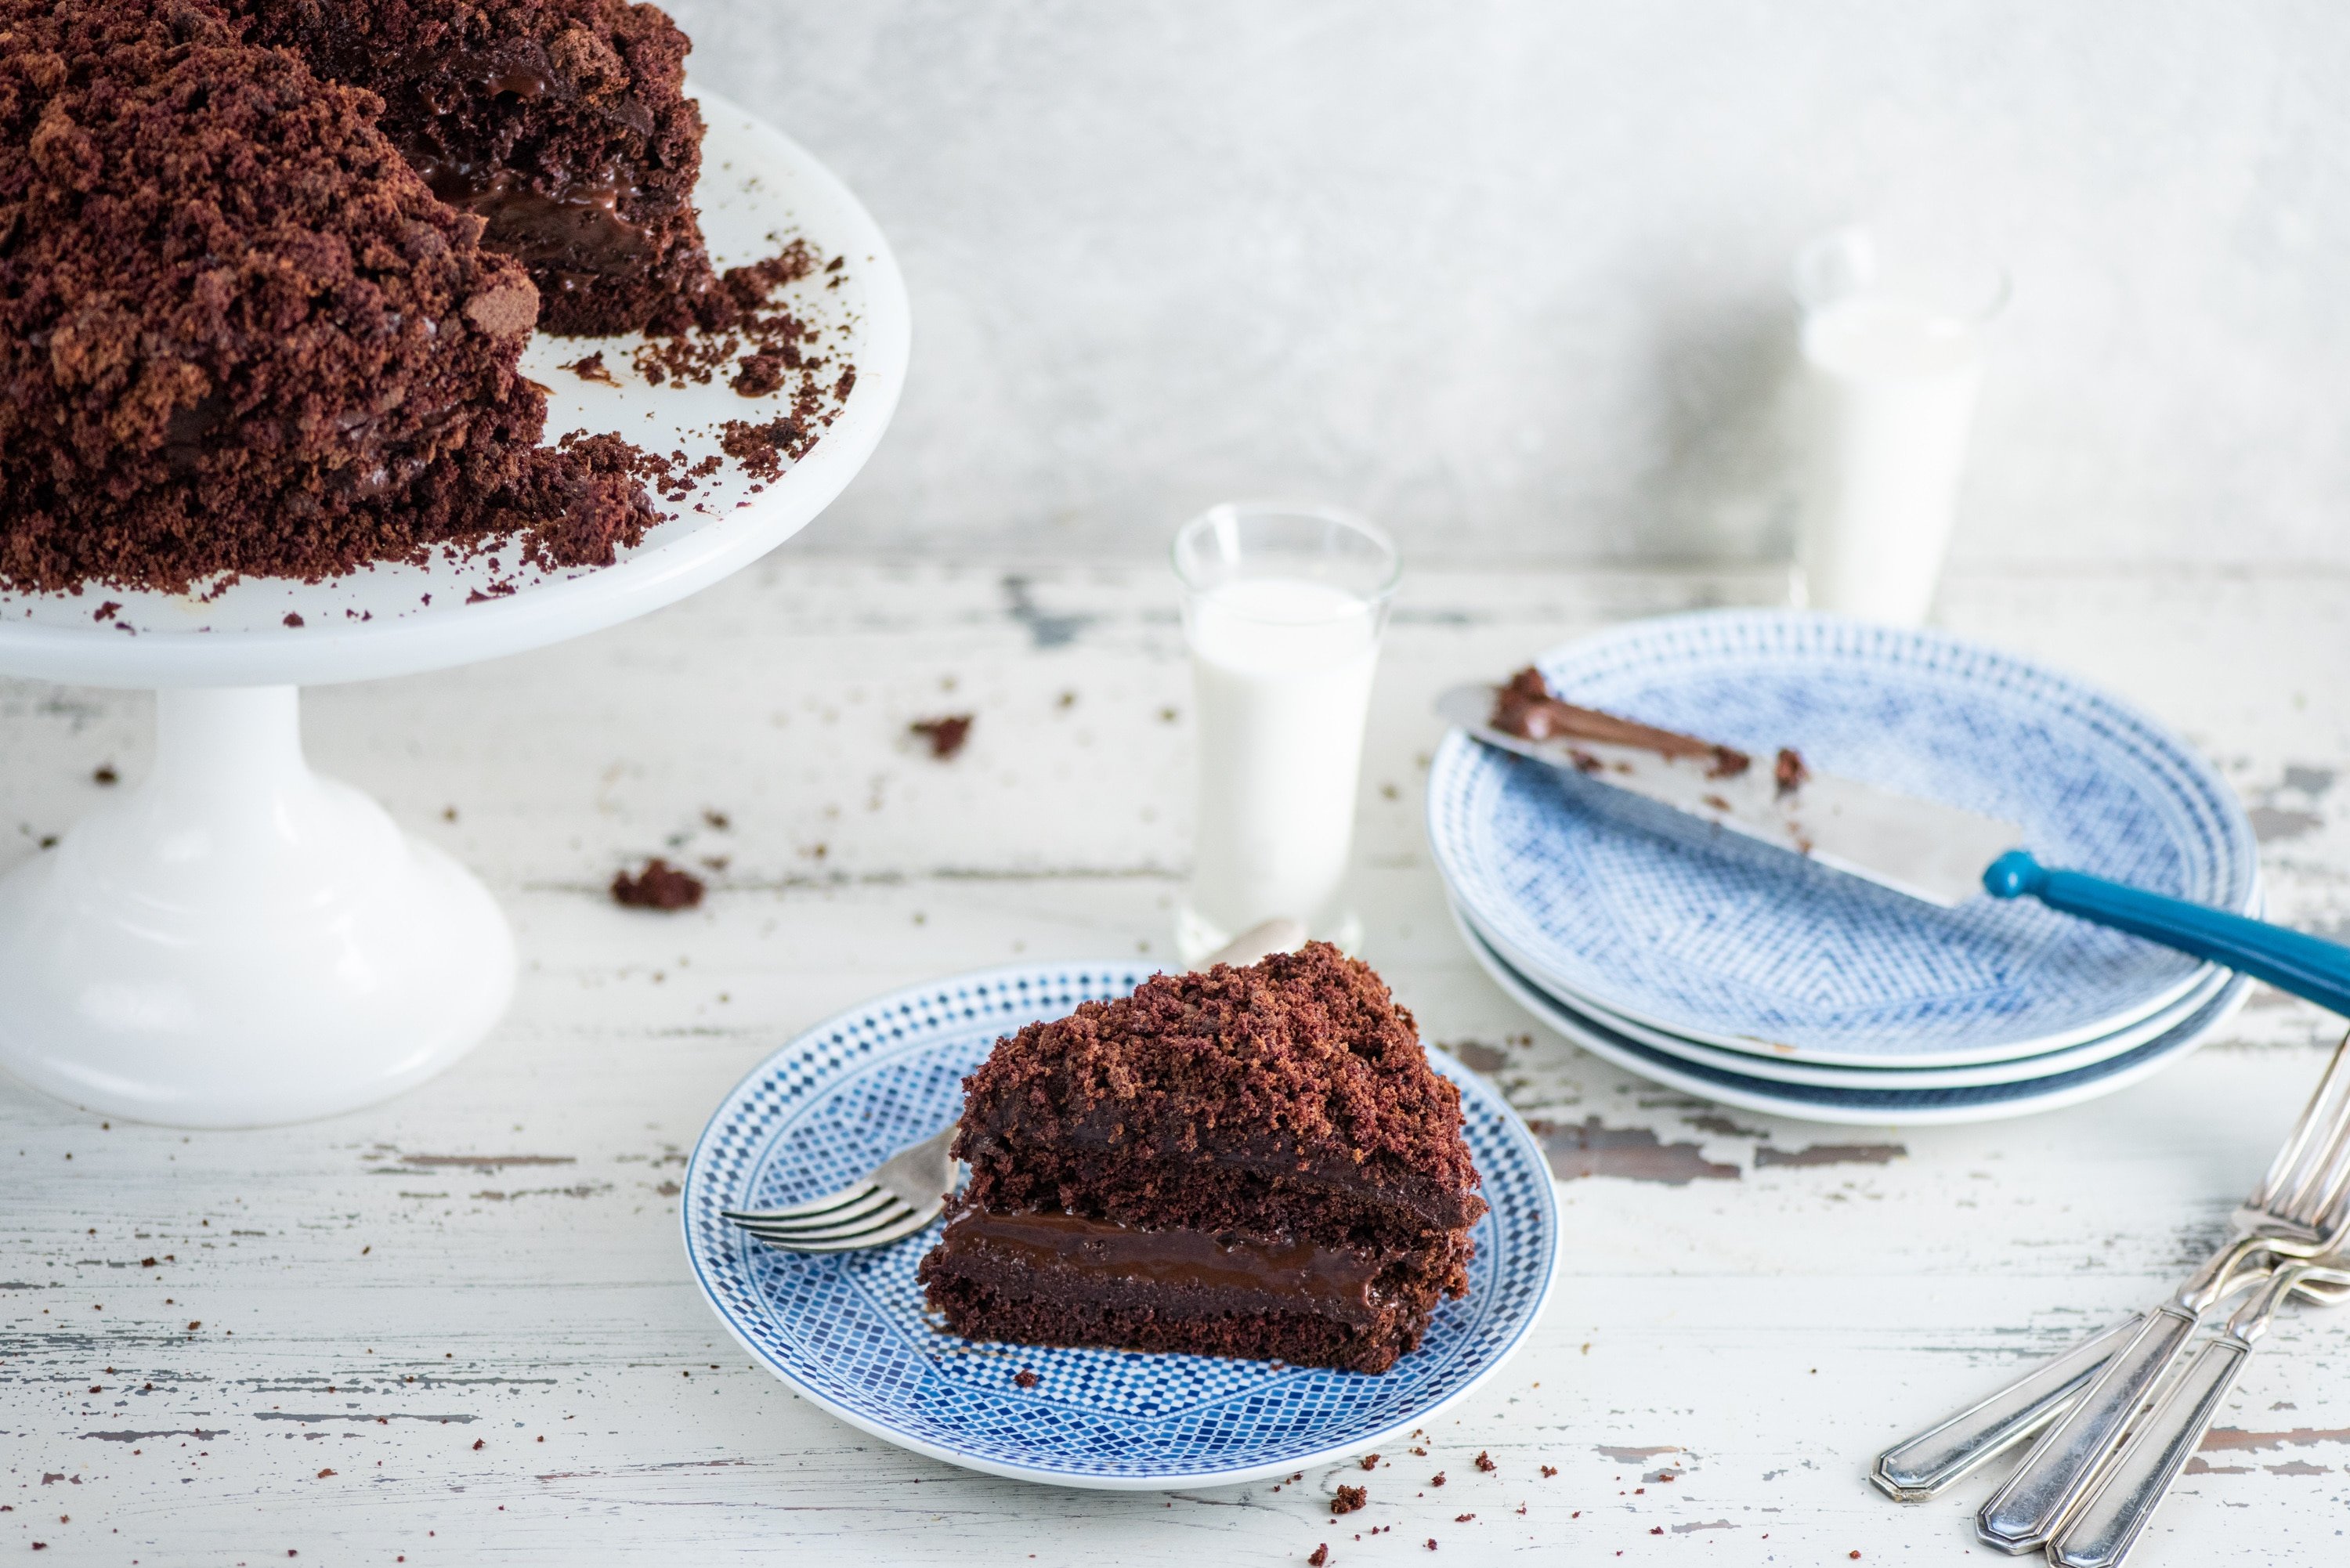
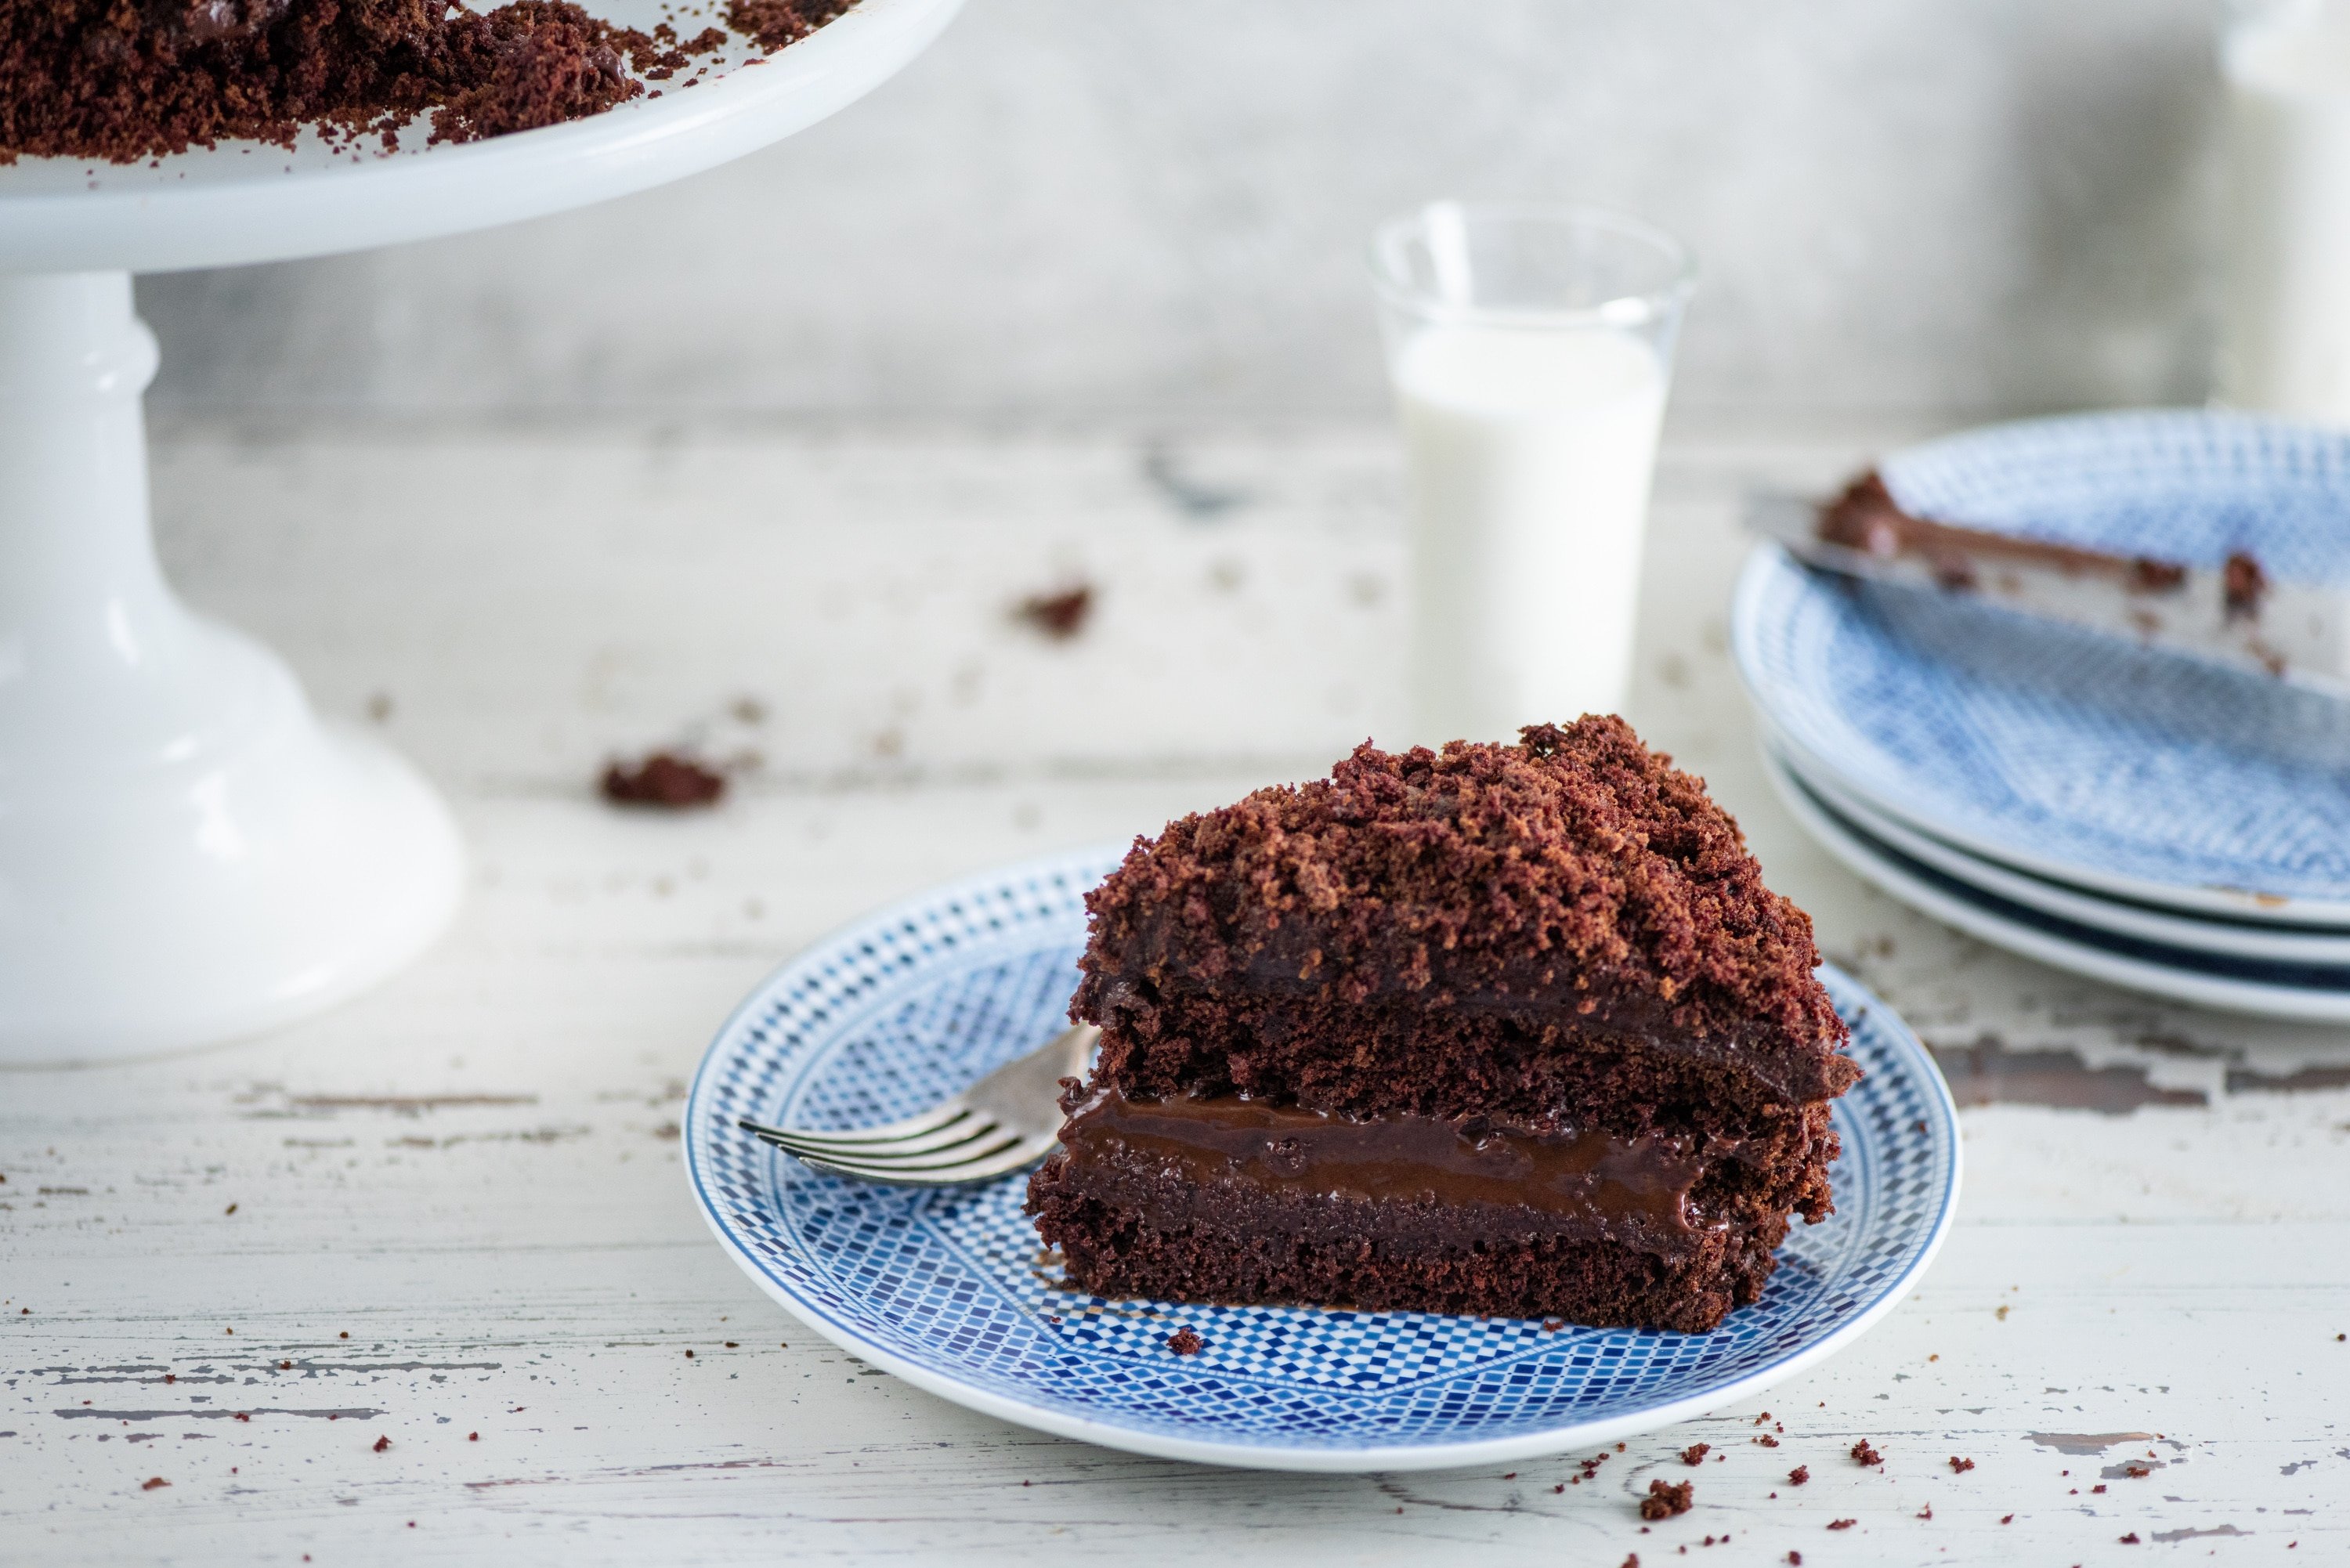
The legend, the recipe. The chocolatey, moist cake from the popular Brooklyn bakery that disappeared in 1972.
If you don’t like very chocolately chocolate cake then you should move along quickly. Perhaps you’d like to read about Fruit Salad on a Stick? Or Shredded Sauteed Brussels Sprouts? They actually quite delicious.
Table of Contents
Now that we’ve gotten rid of the crazy people…..
Ebinger’s Bakery
Ebinger’s Bakery opened in 1898, and grew into a string of 54 bakeries, all over Brooklyn – it was THE bakery, packed with favorites people were crazy about. Probably the most popular item was the Ebinger’s Blackout Cake, a chocolate monument that Brooklynites lived and died by. The following was rabid.
And then, abruptly, Ebinger’s went bankrupt in 1972. The end of an era. A couple of failed attempts to revive the brand, but no more. People bought cakes on the last day and froze them, tearfully defrosting them months later, savoring the slightly compromised flavor of a time gone by.
Ebinger’s Blackout Cake
I first read about Ebinger’s Blackout Cake when I was in my early twenties, in a wonderful cookbook by Molly O’Neill called The New York Cookbook, published in 1992 and I knew I had to make it for my grandfather for his birthday. It sounded magical, the ultimate chocolate cake. He was then in his 80s and had grown up in Brooklyn during the heyday of Ebinger’s, and I knew he would remember it.

I readied myself to bake this legendary cake. First, the very moist and very chocolatey cake itself. Not a simple cake, a cake that involved melting chocolate, whipping egg whites, creaming, folding. I mean not a big deal either, but you know, steps.
Ebinger’s Blackout Cake Filling and Frosting
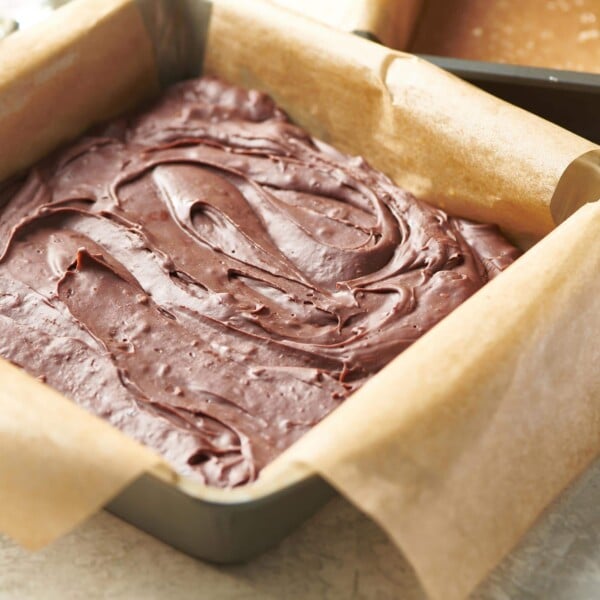
While the cake was baking I made the filling, essentially a chocolate pudding in its own right. More stovetop cooking, lots of whisking, thickening, refrigeration. The original recipe didn’t call for much chilling of the filling,and I added some time, since I am many other bakers found it too loose to really serve as a filling.
Then the frosting: MORE stovetop cooking, 12 tablespoons of butter being added one tablespoon at a time, more whisking, refrigeration. A total of 25 ingredients in the three components.
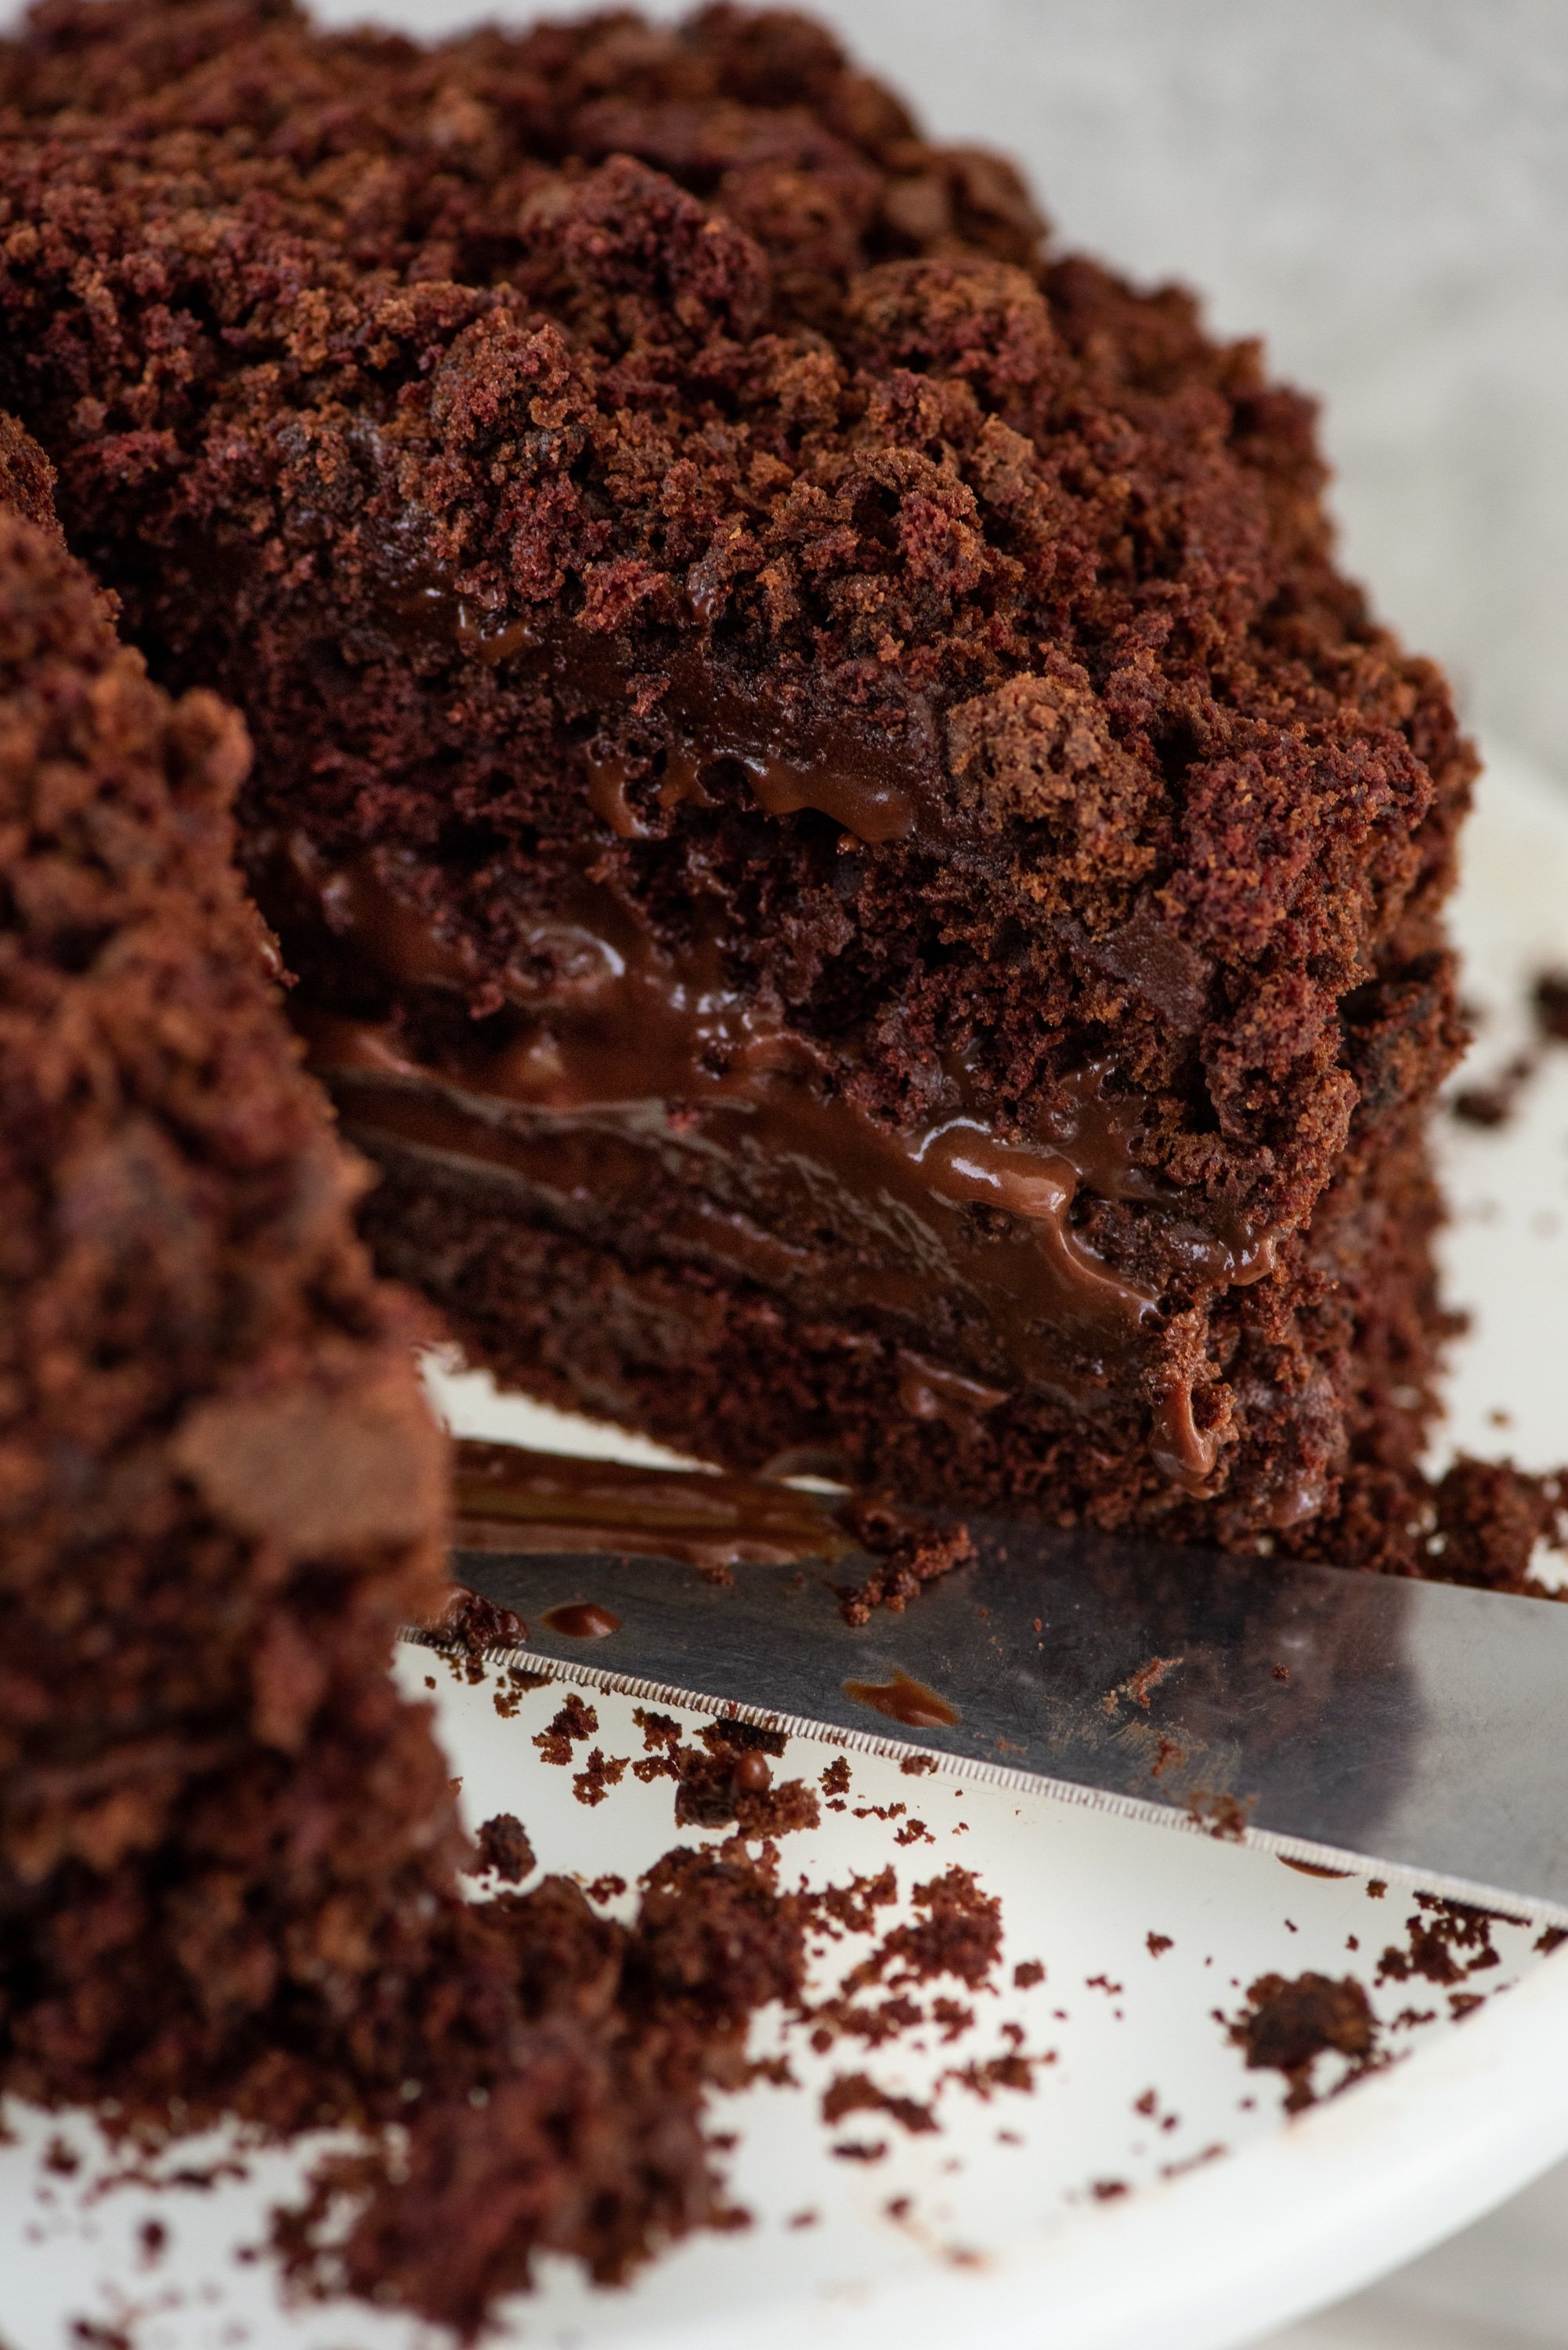
The cake was cooled. And then guess what? The directions said to slice it into four layers. HORIZONTALLY. And crumble one of the layers to sprinkle on top at the end.
Assembling Ebinger’s Blackout Cake
A layer of cake, a layer of filling, layer of cake, layer of filling, layer of cake. Then the frosting, top and sides, and finally the crumbs sprinkled on top. And then the kicker: says,the original recipe:it must be consumed within 24 hours! (Though please- we have eaten this cake over several days with no grievances).
The legend, the recipe. The chocolatey, moist cake from the popular Brooklyn bakery that disappeared in 1972.
Tweet This
To Grandpa’s House
My dad drove and I carefully, carefully brought the finished cake to my grandfather’s apartment in Great Neck, Long Island, holding it gingerly on my lap.
We had dinner. I lit the candles and presented the cake, excitedly explaining that it was in fact THE Ebinger’s Blackout Cake of his youth. The very one people reminisced about, dreamed about. Brooklyn Blackout Cake. And here it was. That very cake. Right here, for his very own birthday.
The male people in my father’s family are not overly prone to effusive praise, and so at some point I was relegated to asking my grandfather, “So, Grandpa, how do you like the cake?”
“Do you know what I like?” he asked, holding his fork aloft.
“What?” I asked, wondering what he would single out first: The flavor? The texture? The wonderful layering of components?
“Lemon,” he declared.
Really??? REALLY?????? I’ll give you a lemon, old man.
Don’t let this diatribe dissuade you. It’s quite a cake. I made it last night, to a much warmer reception.
More Chocolate Recipes? Sure!
- Easy Chocolate Mousse
- Fudgy Chocolate Cake
- Chocolate Banana Cake
- One-Pot Mexican Hot Chocolate Brownies
- Chocolate Peanut Cornflake Crunch
- Chocolate Peanut Butter Ice Cream Pie
- Big Chewy Brownie Cookies with Dried Cherries and White Chocolate Chips
- Chocolate Espresso Buttercream
- Chocolate Peanut Butter Squares
Pin this now to find it later
Pin It
Ebinger’s Blackout Cake
Equipment
Ingredients
For the Cake
- ½ cup unsweetened Dutch-process cocoa powder
- 2 tablespoons boiling water
- 2 ounces unsweetened chocolate chopped
- ¾ cup milk
- 1 cup (2 sticks) unsalted butter, softened slightly
- 2 cups sugar
- 4 large eggs separated
- 2 teaspoons vanilla extract
- 2 cups all-purpose flour
- 1 teaspoon baking powder
- 1 teaspoon baking soda
- 1 teaspoon salt
For the Filling
- 1 tablespoon plus 1 ¾ teaspoons unsweetened Dutch-process cocoa powder
- 2 cups boiling water
- ¾ cup plus ½ teaspoon sugar
- 1 ounce bittersweet chocolate chopped
- 2 tablespoons cornstarch dissolved in 1 tablespoon cold water
- ¼ teaspoon salt
- 1 teaspoon vanilla extract
- 2 tablespoons unsalted butter
For the Frosting
- 12 ounces semisweet chocolate chopped
- 12 tablespoons (1 ½ sticks) unsalted butter
- ½ cup hot water
- 1 tablespoon light corn syrup
- 1 tablespoon vanilla extract
Instructions
- Preheat the oven to 375°F degrees. Butter and lightly flour two (8-inch) round cake pans.
- Make the cake: Place the cocoa in a small bowl and whisk in the boiling water to form a paste.
- Combine the chopped chocolate and milk in a saucepan over medium heat. Stir frequently until the chocolate melts, about three minutes. Remove from the heat. Whisk a small amount of the hot chocolate milk into the cocoa paste to warm it. Whisk the cocoa mixture into the milk mixture. Return the pan to medium heat and stir for one minute. Remove and set aside to cool until tepid.
- In the bowl of a mixer, cream the butter and sugar together. Beat in the egg yolks, one at a time, and the vanilla. Slowly stir in the chocolate mixture. Combine the flour, baking powder, baking soda and salt. Using a spatula or a wooden spoon, slowly add the flour mixture to the chocolate mixture. Fold in until just mixed.
- In another bowl, whisk the egg whites until soft peaks form. Using a spatula, gently fold the egg whites into the batter.
- Divide the batter between the prepared pans. Bake until a toothpick inserted in the center comes out clean, 35 to 45 minutes. Cool the cakes in the pans on rack for 15 minutes. Gently remove the cakes from the pans and continue to cool.
- While the cake is baking, make the filling: Combine the cocoa and boiling water in a small saucepan over low heat. Stir in the sugar and chocolate. Add the dissolved cornstarch paste and salt to the pan and bring to a boil, stirring constantly. Boil for one minute. Remove from heat and whisk in vanilla and butter. Transfer the mixture to a bowl, cover and refrigerate until cool and thick.
- Make the frosting: Melt the chocolate in a double boiler over hot, not simmering, water, stirring until smooth. Remove the top of the double boiler from the heat and whisk in the butter, one tablespoon at a time. Return the top to the heat, if necessary, to melt the butter.
- Whisk in the hot water all at once and whisk until smooth. Whisk in the corn syrup and vanilla. Cover and refrigerate for about 45 minutes until it reaches a spreadable consistency.
- Assemble the cake: use a sharp serrated knife to slice each cake layer horizontally in half to form four layers. Set one layer aside. Place one layer on a cake round or plate. Generously swath the layer with one-half of the filling. Add the second layer and repeat. Set the third layer on top. Quickly apply a thin layer of frosting to the top and sides of the cake. Refrigerate for 10 minutes.
- Meanwhile, crumble the remaining cake layer. Apply the remaining frosting to the cake. Sprinkle it liberally with the cake crumbs. Refrigerate for at least 1 hour before serving.