Pear Tart Tatin
on Jun 26, 2019, Updated Dec 30, 2022
This post may contain affiliate links. Please read our disclosure policy.
This Pear Tart Tatin dessert looks fancy and difficult, but you can pull it off easily with the shortcut of premade puff pastry.
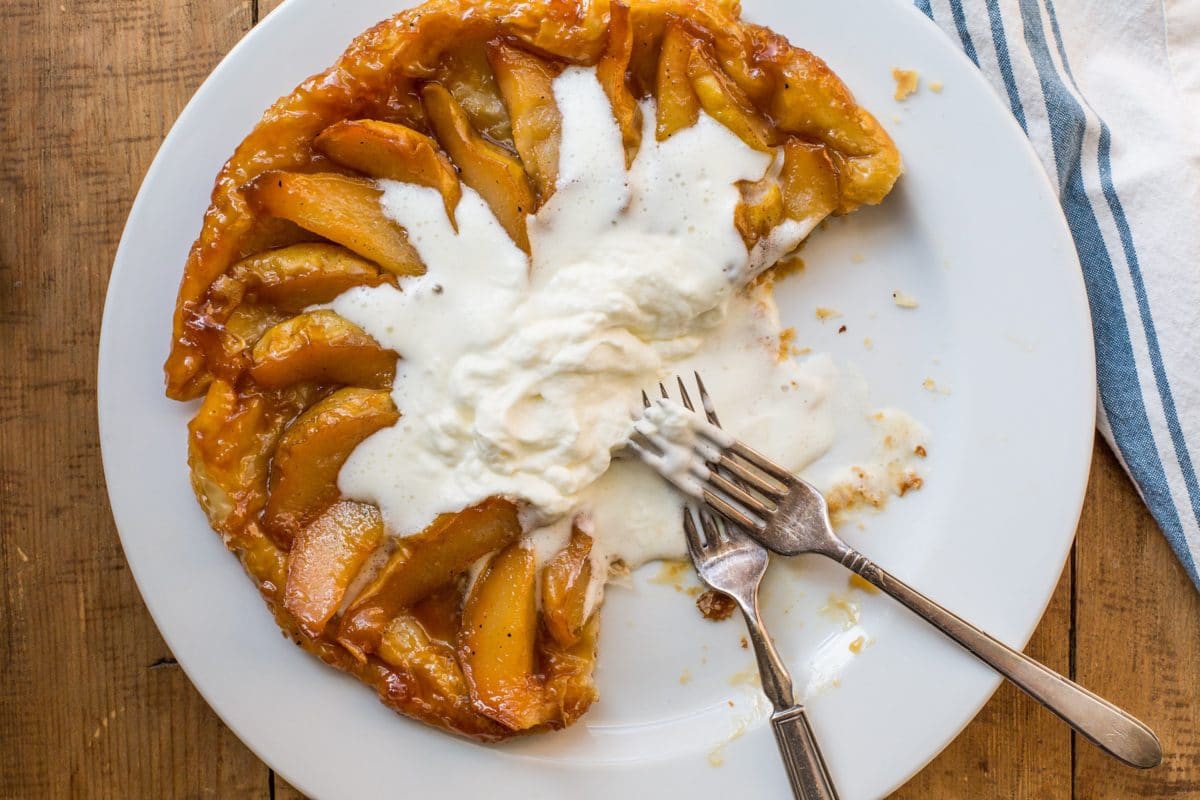
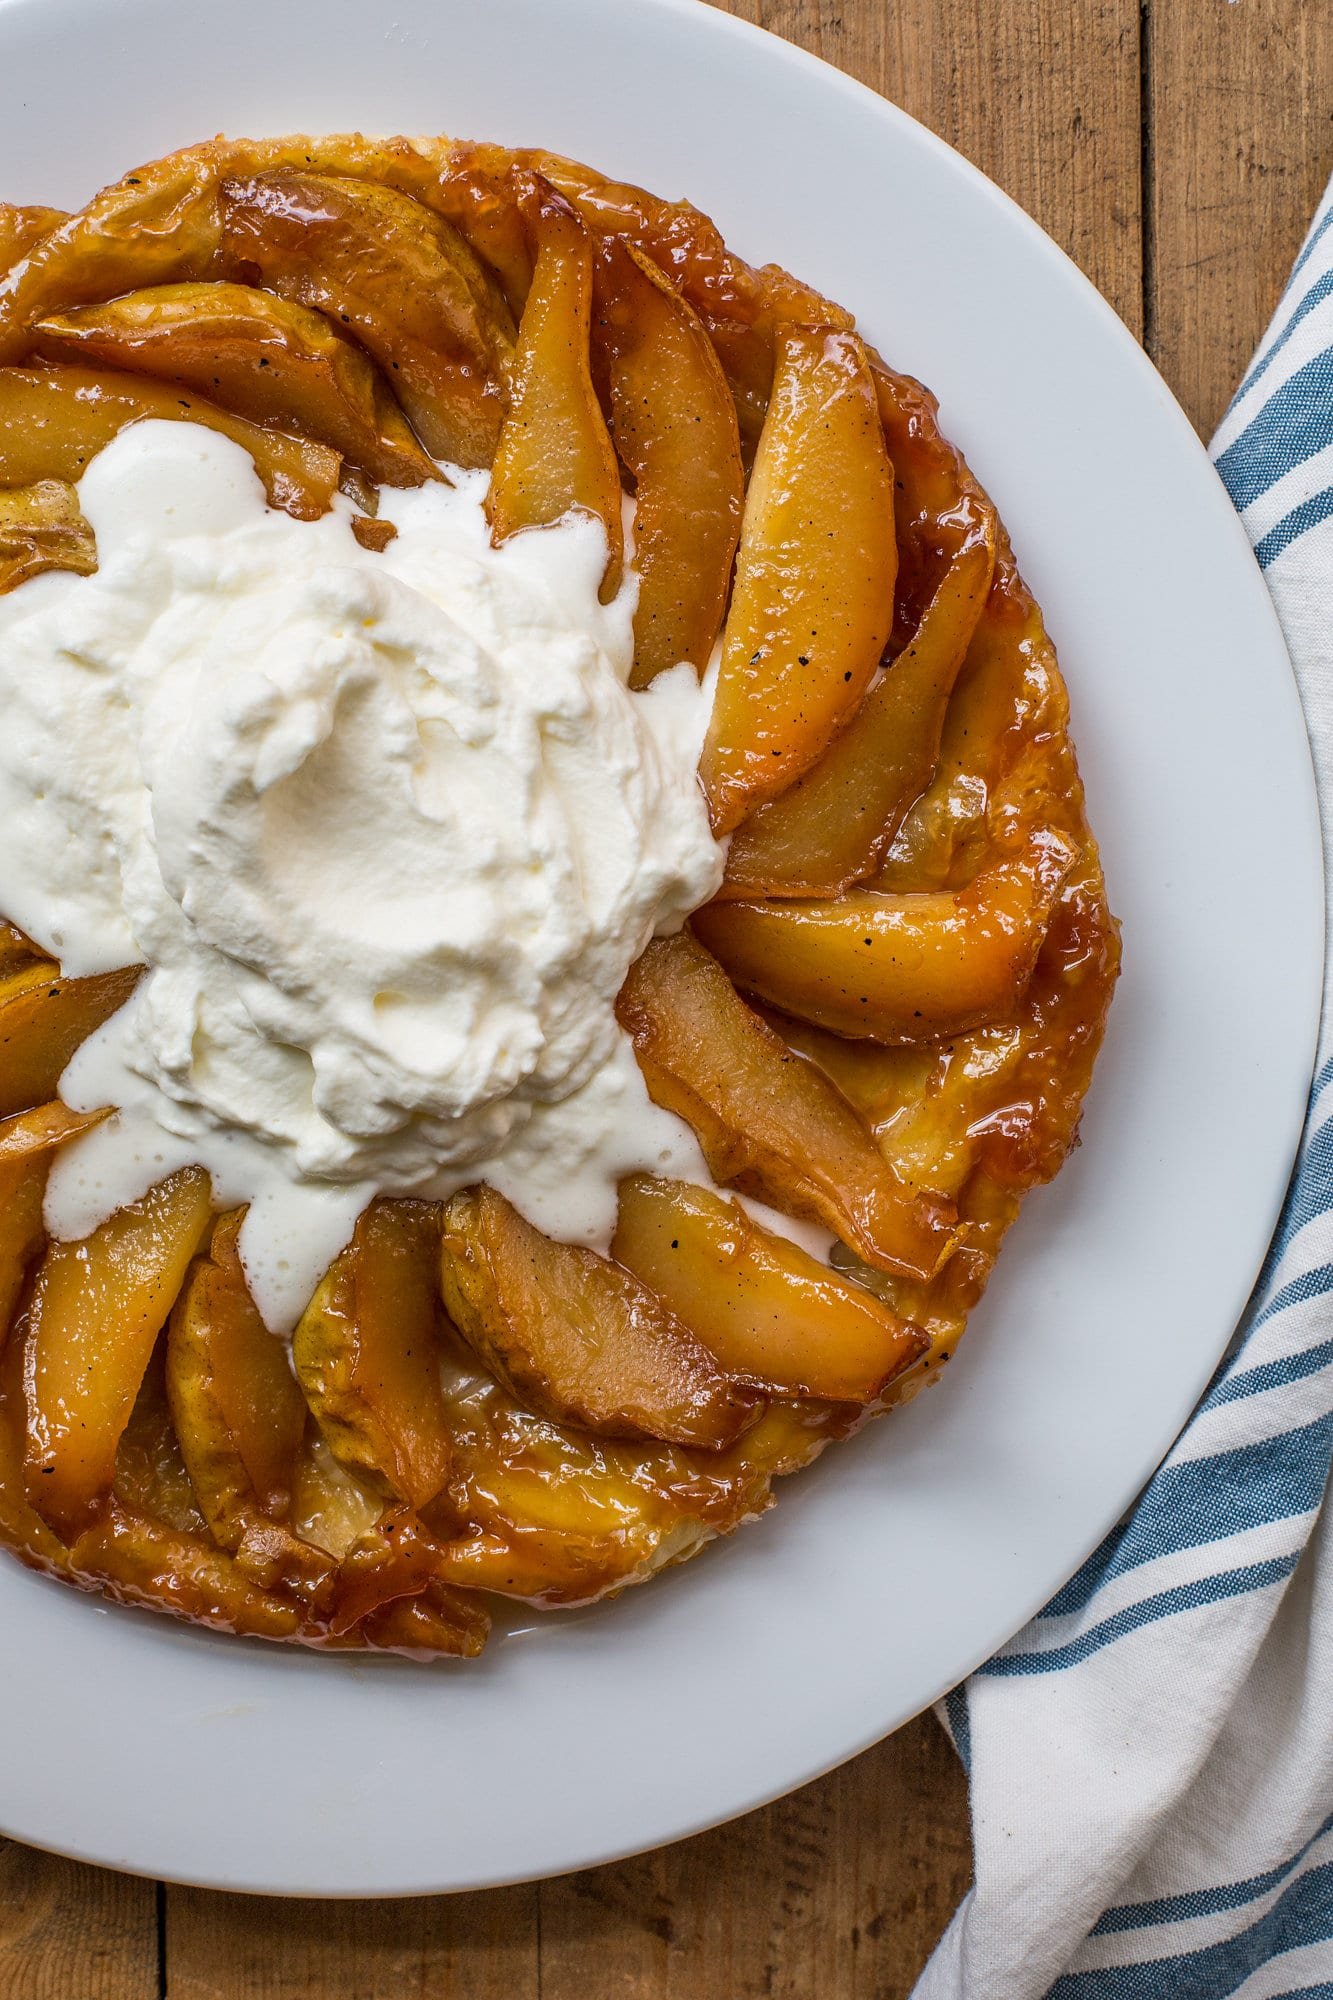
A beautiful dessert that finishes off any fall, winter or holiday meal with a bang. Sweet caramelized pears perched atop a puff pastry crust. And with store-bought puff pastry, it’s so much easier to make than you might think!
Like most people, I thought tart tatins sounded just plain scary. Flipping a pan over so that the fruit ends up on top, and the crust ends up on the bottom! Such drama! Why would anyone put themselves through such angst?
But then suddenly it was pear season, and the voluptuous, colorful, squatty fruits were everywhere. I bought some puff pastry, gave myself a big old pep talk, and turned up the music.
An hour later, my first pear tart tatin was a success. A few pears stuck to the pan when I inverted it, but I pulled them off and settled them back into place on the tart and no one was the wiser. (I’ll admit to being happy, however, to be flipping my first tart in the privacy of my kitchen, and not in front of a crowd.). After a few tart tatins, you’ll be wondering why you were ever intimidated by them in the first place!
And the caramel is easy, as well. In a skillet, preferably cast iron, stir together the sugar with 2 tablespoons of water. Cook over medium heat, without stirring, until the mixture starts to turn golden about 6 minutes. Stir in the butter, and continue stirring occasionally until the mixture is a rich golden color. Stir in the lemon juice.
This Pear Tart Tatin dessert looks fancy and difficult, but you can pull it off easily with the shortcut of premade puff pastry.
Tweet This
Best Pears for Tart Tatin
You want your pears to be just ripe, but not soft. They need to hold their shape in the baking. Try Anjou, Bosc or Bartlett pears.
What to Serve with Pear Tart Tatin
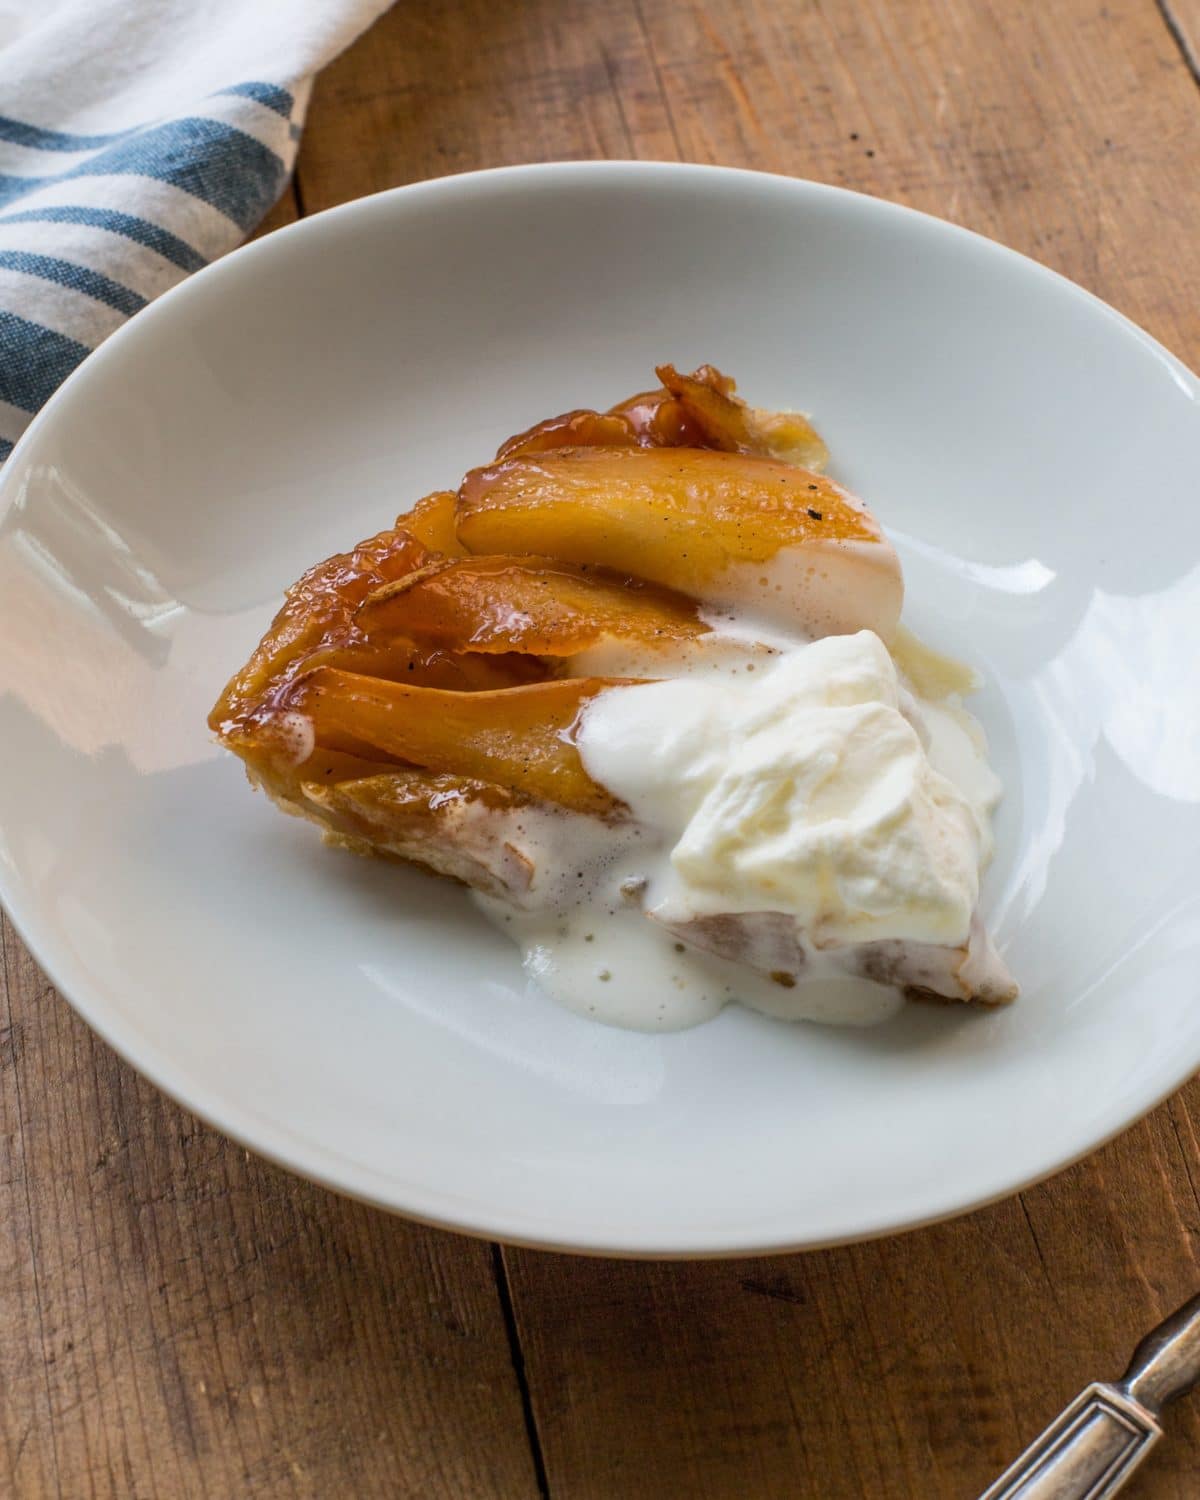
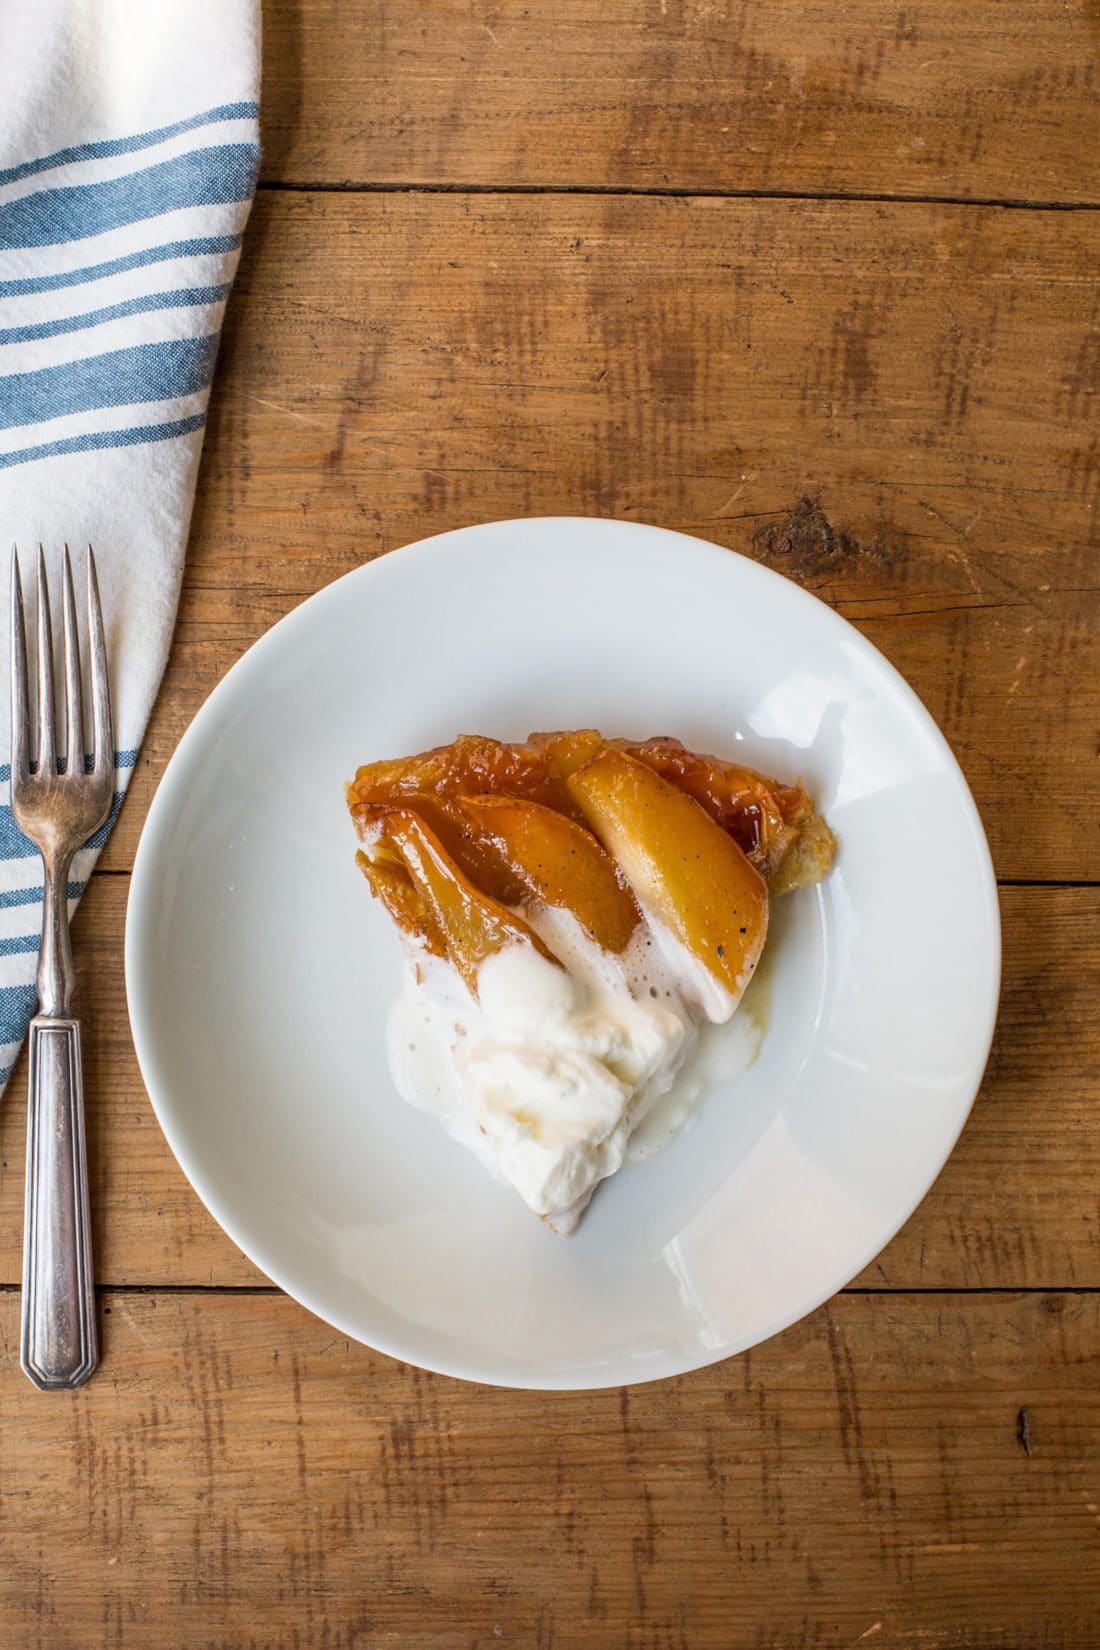
Buy yourself some vanilla good ice cream for this—you and your tart tatin deserve it. Or make homemade sweetened whipped cream to dollop on top.
And in closing, and once again, I will take a moment to profess my deep abiding love for premade puff pastry. I may be excited to add tart tatins to my repertoire, but I’m pretty far away from wanting to make my own puff pastry.

Other Great Fruit Desserts to Try:
- Peach Clafoutis
- Blueberry and Peach Crostada
- Banana Cupcakes with Cream Cheese Frosting
- Atlantic Beach Pie
- Lemon Squares
And check out How to Cook Pears.
Pin this now to find it later
Pin It
Pear Tart Tatin
Ingredients
- ½ cup sugar
- 3 tablespoons unsalted butter
- 2 teaspoons fresh lemon juice
- 4 Anjou, Bosc or Bartlett pears (just-ripe but firm)
- All-purpose flour for rolling out the pastry
- 1 sheet frozen puff pastry (½ of a 17.3 ounce package), thawed according to package directions, but still slightly chilled
- Vanilla ice cream or sweetened whipped cream to serve
Instructions
- Preheat the oven to 375°F.
- In a 10-inch heavy ovenproof skillet, preferably cast iron, stir together the sugar with 2 tablespoons of water. Cook over medium heat, without stirring, until the mixture starts to turn golden about 6 minutes. Stir in the butter, and continue stirring occasionally until the mixture is a rich golden color. Stir in the lemon juice.
- While the sugar mixture is cooking, slice the pears in half, then into quarters, remove the cores with a paring knife, and cut the halves lengthwise into 2 thick slices each (so, 8 slices total per pear). When the sugar mixture is golden, arrange the pear slices in concentric circles in the pan. Reduce the heat to medium low and cook until the pears are slightly tender, about 3 minutes.
- Meanwhile, lightly flour a clean work surface. Roll out the puff pastry to a square slightly larger then the diameter of the pan you are using. Trim the pastry into a circle just barely larger than the circumference of the pan, and prick the puff pastry in several places with a fork. Place the pastry over the pears and carefully tuck the edges around the tops of the pears (you may want to use a rubber spatula, as the pan will be hot). Bake for about 25 minutes until the pastry is golden brown and puffed.
- Place the pan on a wire rack and let cool for 15 minutes. Run a knife around the edge of the skillet, place a serving plate (larger than the pan) on top of the pan, and carefully invert the tart tatin onto the plate. If any pears clung to the pan, remove them, and place them back in their rightful spots. Let cool a bit more, then serve warm, with ice cream or sweetened whipped cream.


I’ve been making a variation of this for decades! The only real difference is that I add vanilla. I also don’t bother with ice cream or crème fouetée. This is one of dear hubby’s most favorite desserts. He’s the one who flips it too.
Just made this. It is incredible!! The only thing I would change is to initially cook the caramel in a small saucepan instead of directly in the skillet, because the sugar tends to crystallize (which you don’t want) more easily due to the surface area:liquid ratio. You can also prevent crystallization by gently brushing the sides of the pot with a pastry brush and water. When the caramel is done I transfer it to the warm skillet (warm so the caramel doesn’t harden while you spread it) and continue the recipe.
Tartes tatin deserve a prominent place in all of our repertoires. Thanks for this interesting twist!
I want to make more of them!